Lindz and I love Pinterest, and (hint hint) you can find Set to Stunning on there! Pinterest is a great source for craft ideas, because pretty much any DIY you find on there can be tweaked to be a geeky DIY!
 I pinned this shredded shirt DIY and couldn’t wait to put a geek twist on it. While it lacked detailed instructions, the step-by-step images made it clear what needed to be done. I’ve provided instructions in this DIY to hopefully make each step pretty clear.
 Supplies Needed:
- Shirt (preferably oversized for your body)
- Accent Fabric
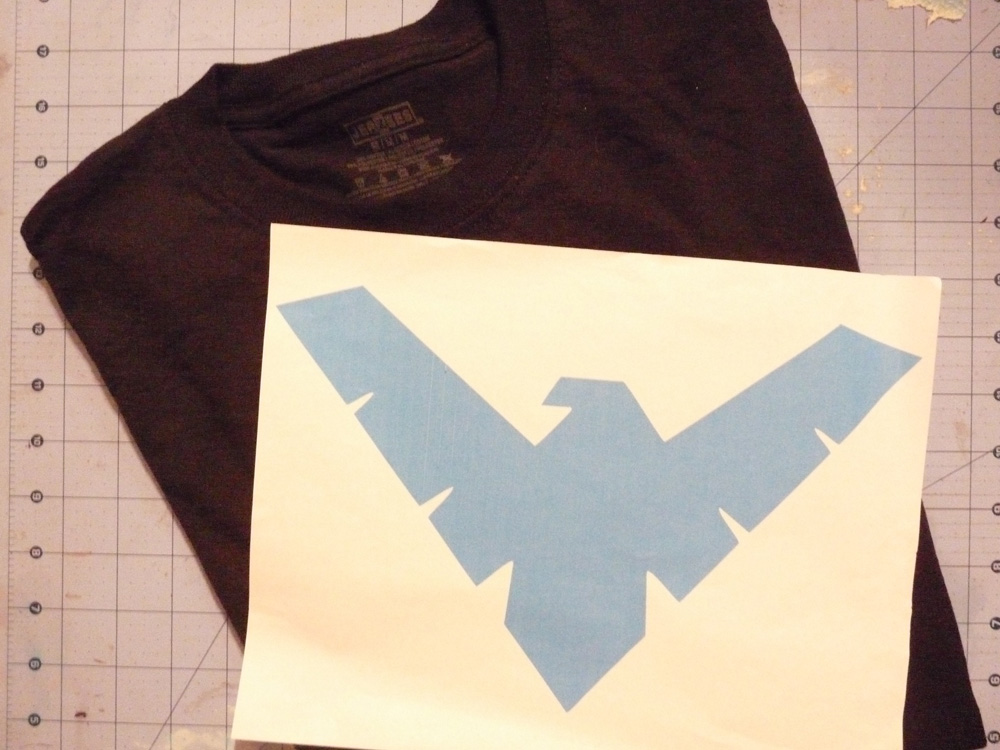
- Stencil/Pattern
- Chalk
- Ruler
- Scissors
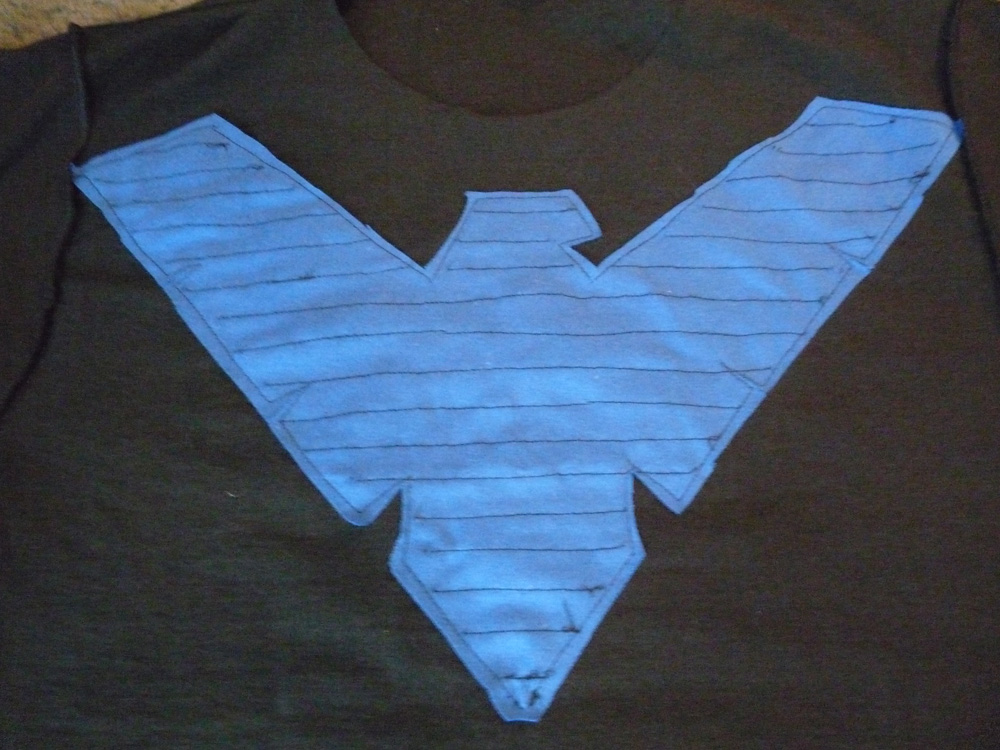
While I used Nightwing’s logo for this project, I would caution using any images or logos that are super detailed, as those very details will likely be lost in the shredding process.
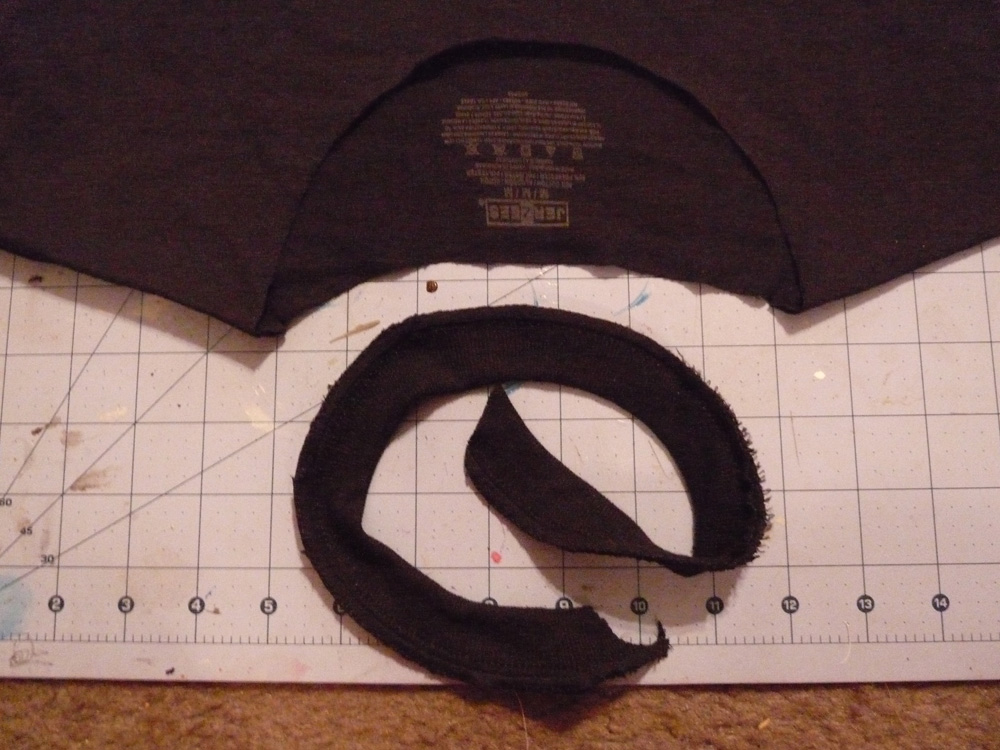 The DIY on Pinterest started with cutting off the collar, which is entirely optional, but I followed suit as I liked the look of the shirt being oversized and loose, and being able to go off-shoulder.


Place your logo/stencil wherever you like on the shirt (top/center is a standard placement) and trace the outline with chalk.
 Next you’ll need a ruler to measure and draw horizontal lines across your image. I went with a half inch space between each line.


Once you’ve drawn your lines, take your scissors and cut across all the horizontal lines.


Here is the point where you need to add your accent fabric. The original DIY was not clear on this at all, so I just made it up as I went along. I cut out a square of the accent fabric that was larger than the logo, turned the shirt inside out, and pinned the accent fabric across the logo area. Once the accent fabric is securely pinned to the inside of the shirt, I flipped the shirt right-side out again, and then proceeded to pin down each slashed strip of t-shirt to the accent fabric.
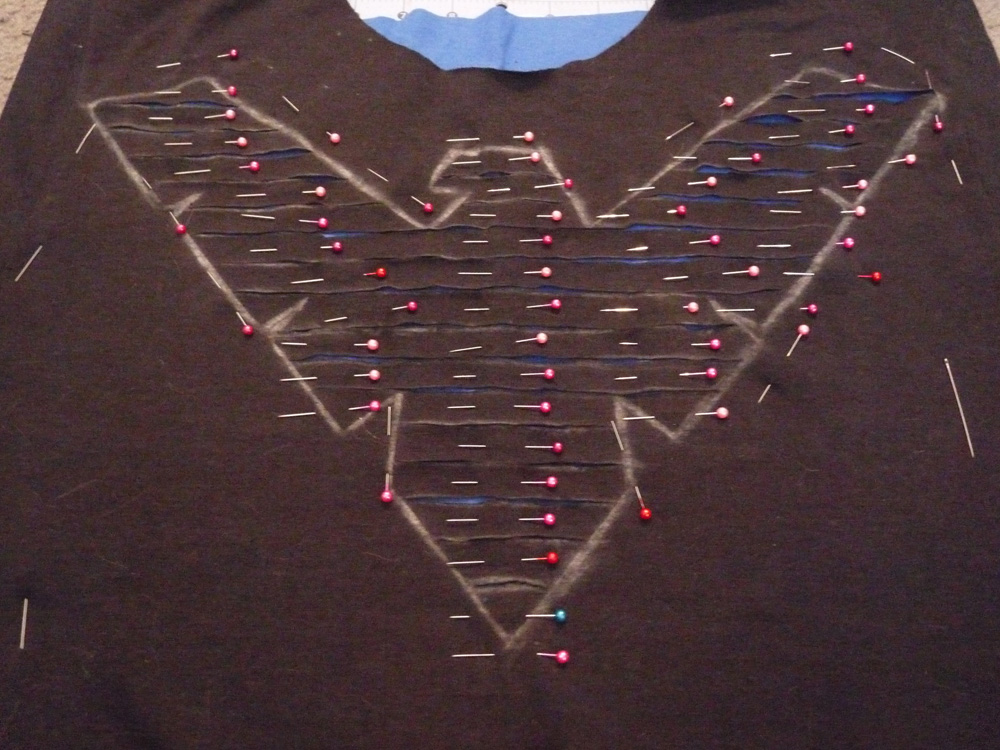 Once you’ve pinned down on the slashed strips, it’s time to sew them down! Remember to just sew them down within the outline you drew with chalk. Don’t forget to backstitch! This is the most tedious part of the DIY.


After all the stripes are sewn down, it’s time to stitch along the outline of the logo.
When you’ve finished stitching around the outline, turn the shirt inside out and trim away the excess accent fabric.
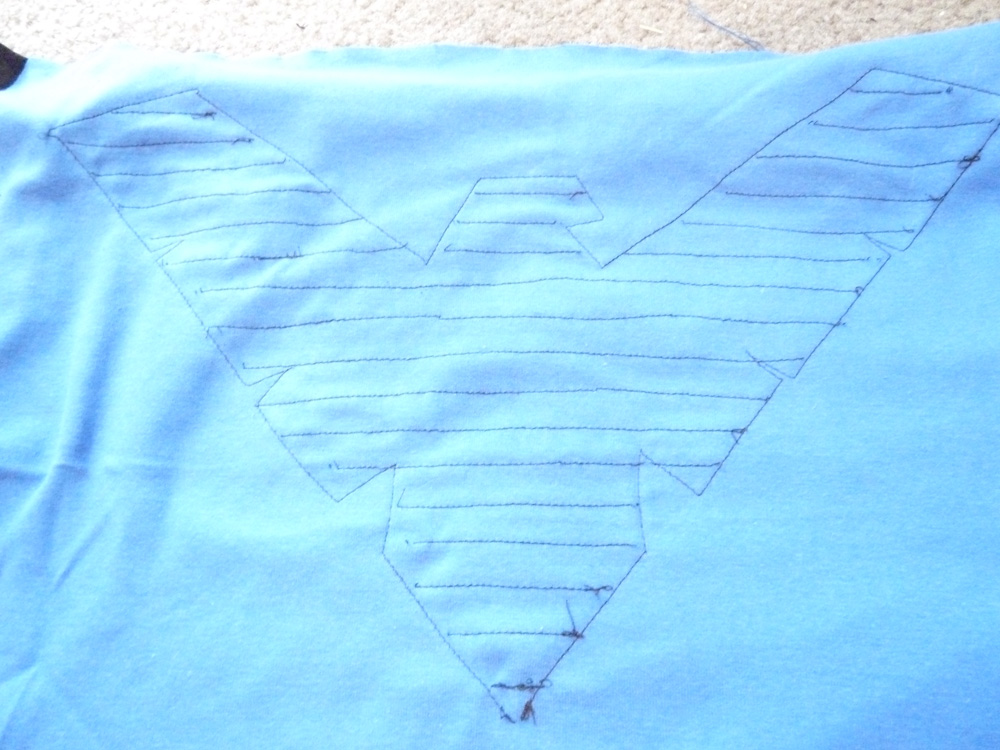
Flip the shirt right side out again, and it’s ready to wear! The original DIY rolled the sleeves, which is a cute way to style the shirt, but any tweaks or changes to the shirt beyond the main slashing and stitching of the logo area is entirely up to you!
 We’d love to see the results if any of you decide to try your hand at this DIY. If you have geeky DIYs to share, well, please do! Contact us here through our blog, or on our Facebook or Twitter.

Love this idea! Easy, quick and looks great!
This is a must do. I LOVE this.
[…] https://settostunning.com/2013/03/08/diy-friday-shredded-logo-shirt/ […]