Today’s DIY is both easy and complicated depending on how much detail you want to put into it. Checkout this fun dropped armhole tank that you can create from oversized shirts!


Supplies Needed
- Oversized shirt (I found that for this style, having something that will drape more is better)
- Scissors
- White marking pencil or colored pencil
- Lace (optional)

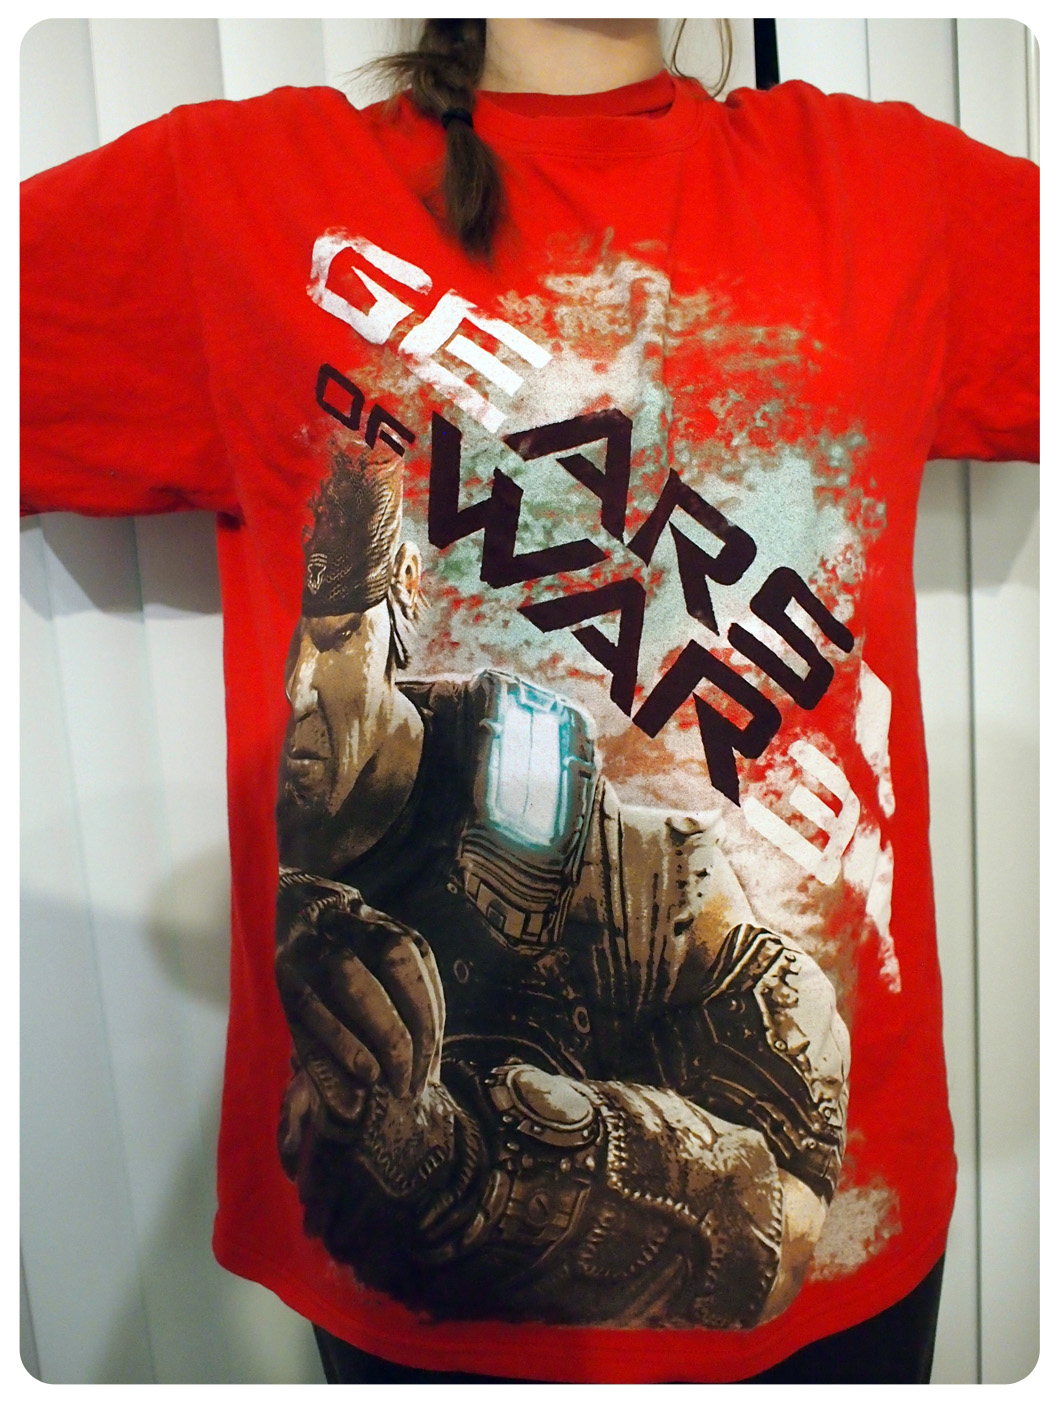
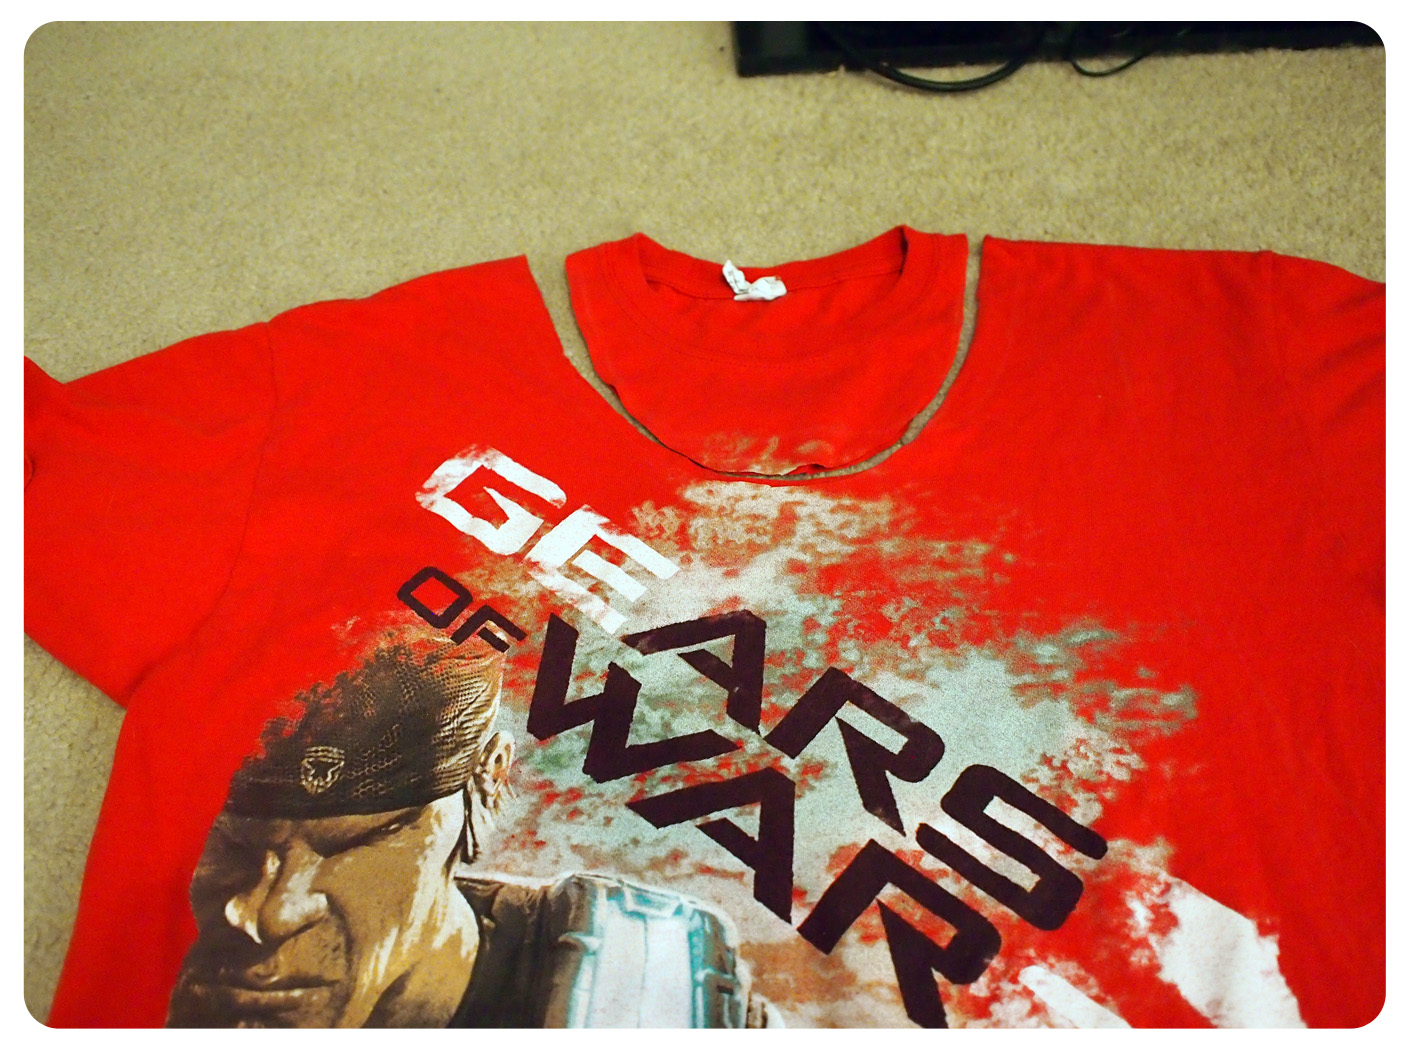
Sometimes I’ll pick up something, like a shirt, without a clear idea in mind of what I’m going to do with it. That definitely happened when I went thrifting and found this extra large Gears of War shirt (one of my favorite games!). However, once I went to my place of inspiration, Pinterest, I knew I had to turn the shirt into a fun tank.
This would also work great with those free shirts that you often end up with at cons. I find that I usually have enough shirts “to sleep in” so it’s nice to switch things up a bit.
You can be as precise as you want for this. Since t-shirts don’t tend to fray when you cut them, feel free to experiment a little. What I did was draw the collar and arm holes, and then try on the shirt to see how it would look. Since the pencil is light colored and will wash out, don’t worry about drawing too many lines.

Once I knew where I wanted to cut, I cut stuff out! It’s a little nerve wracking at first, but since this was a cheap shirt, I wasn’t too worried about making mistakes.


You can easily stop here and have your tank ready to wear. However, I was inspired by these cool cut out designs and wanted to do something similar. I didn’t want to just leave the holes cut out, so I decided to add some black lace to add a little visual interest (and because I really like lace right now).
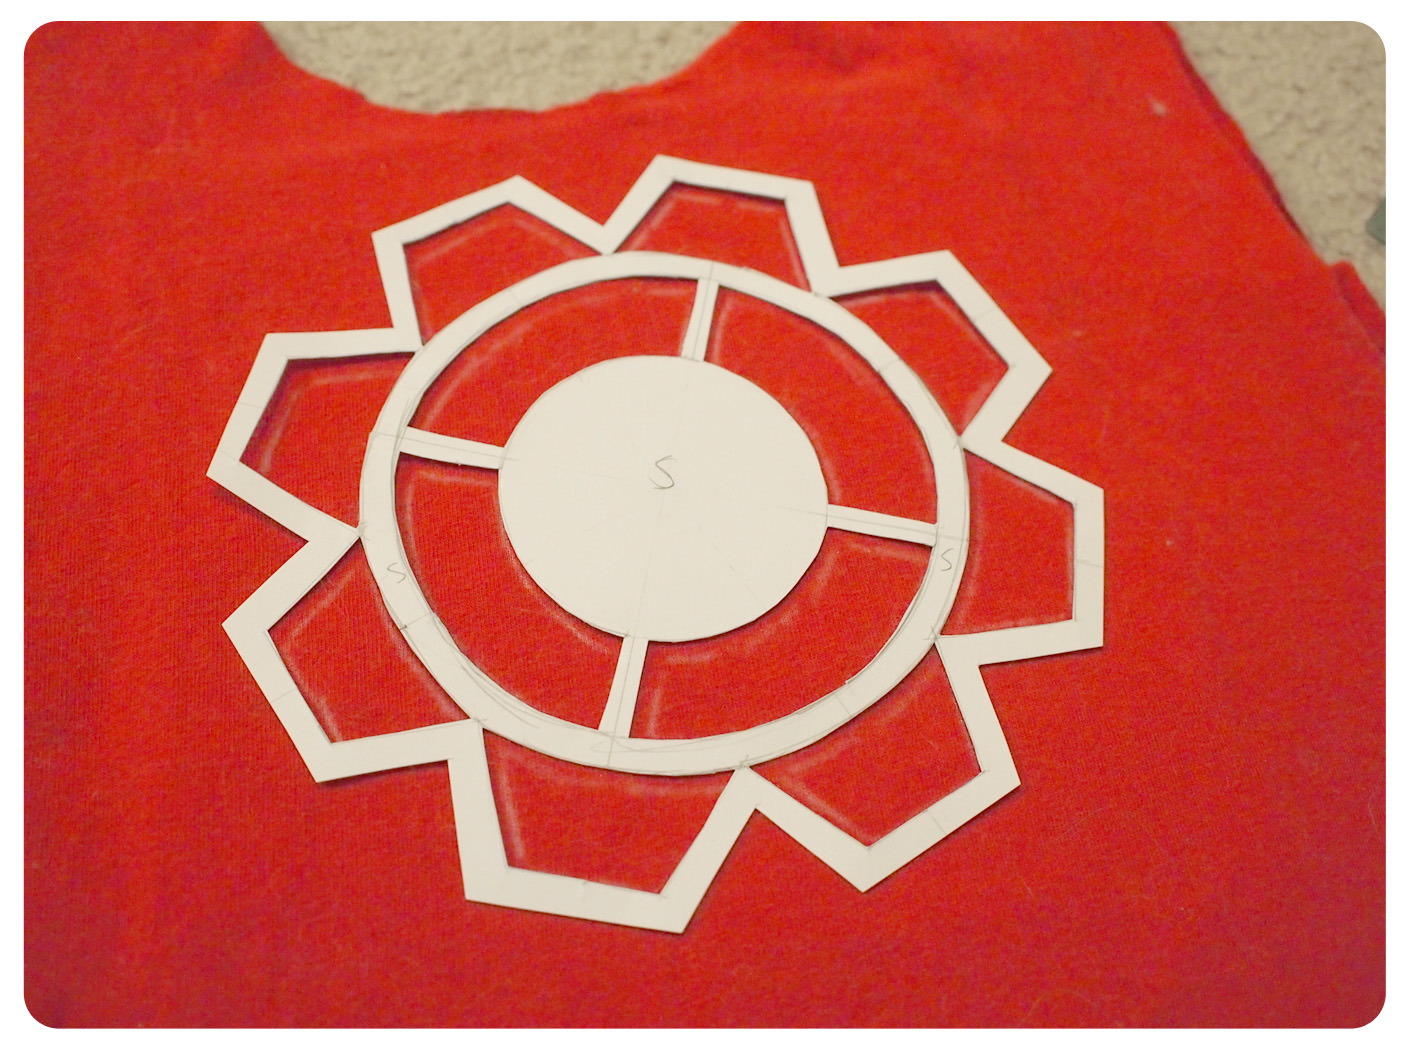
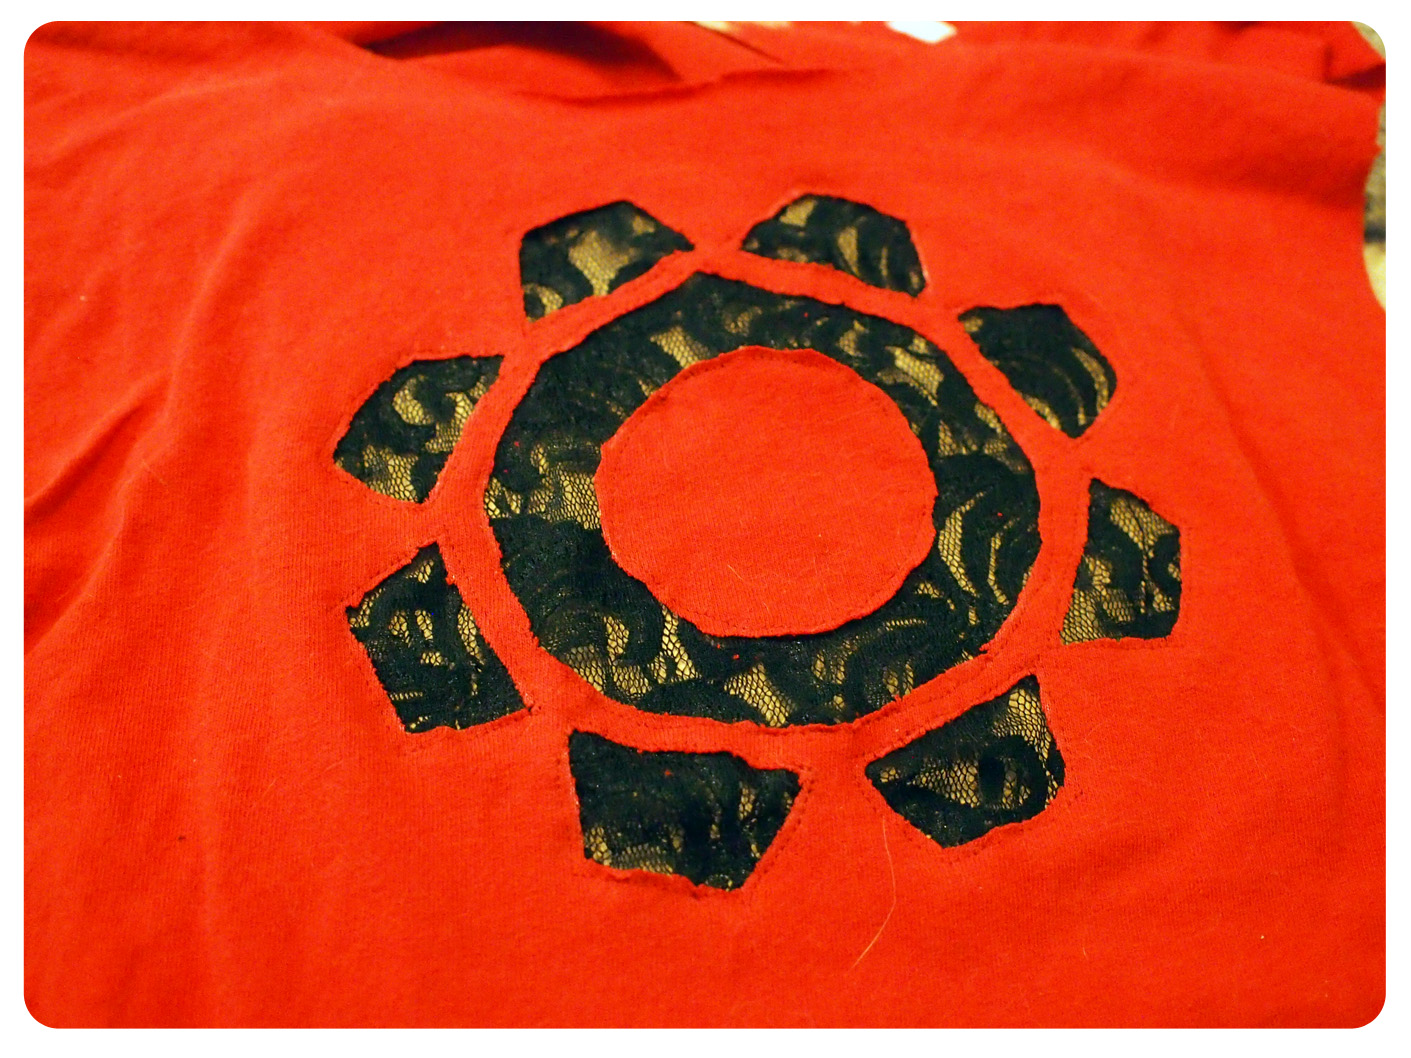
I first drew out my design and then labeled what would be the shirt and what would be the lace. Obviously, I went with a gear for the design.

I then cut out the stencil and then traced it onto the back of my shirt. I suggest putting a book or hard surface under the shirt so it’s easier to draw on.

Next, I cut out the design and pinned the lace to the shirt. I then sewed around all the holes so the lace would stay put.
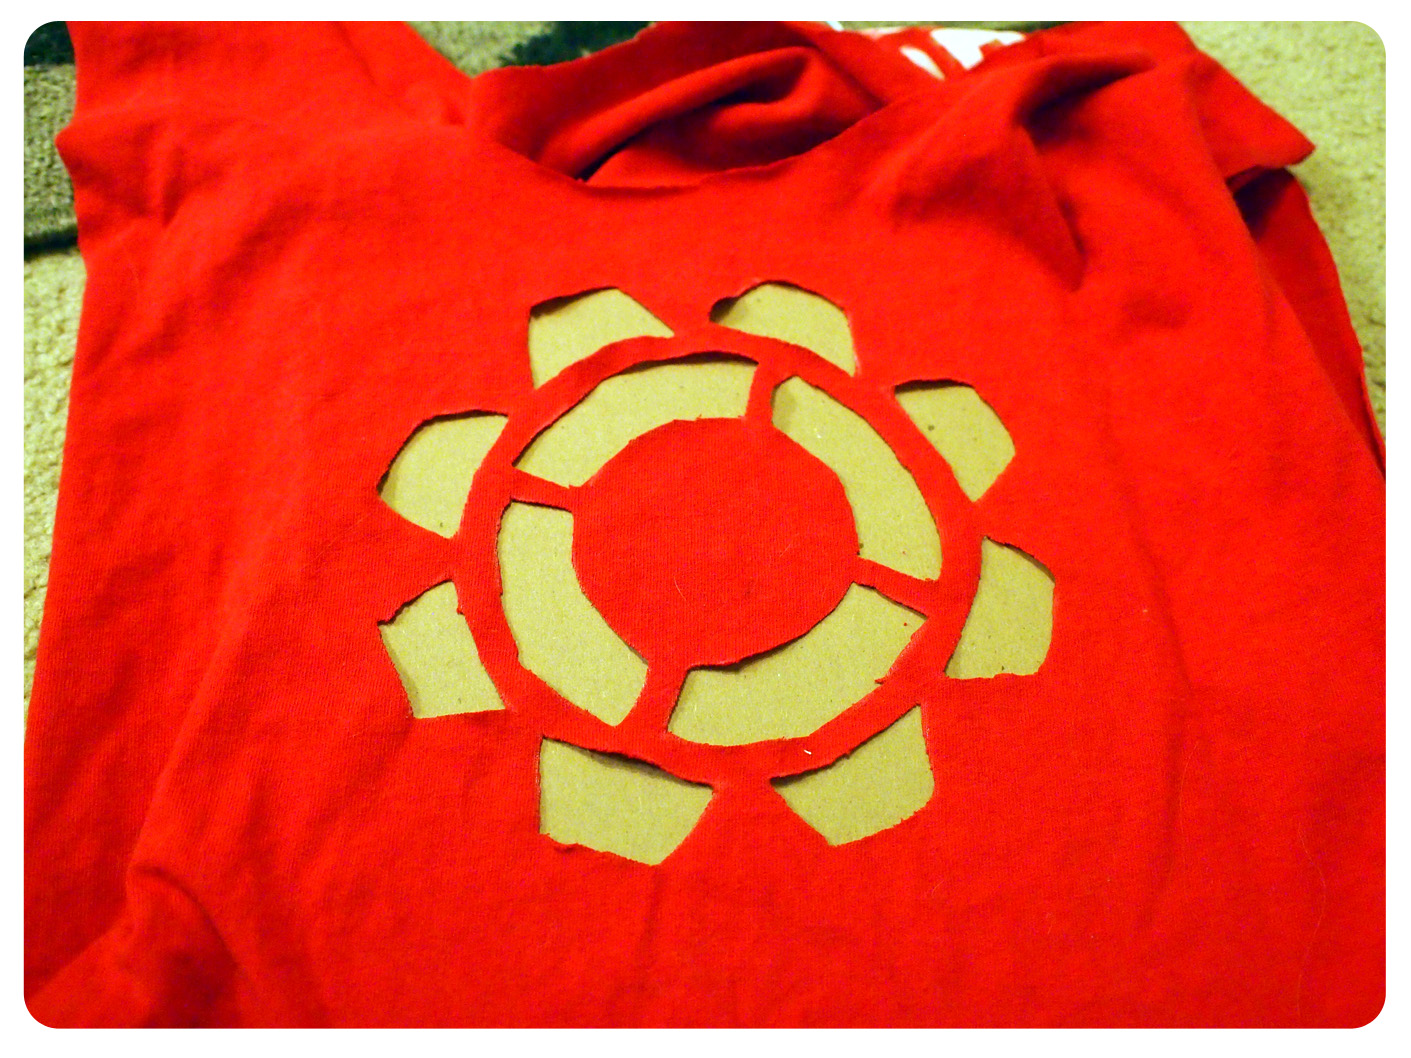
I don’t have photos of the sewing, but you should be able to see the stitches in the photos below. Lastly, I cut out those small red pieces so that the inner circle would be one big piece.

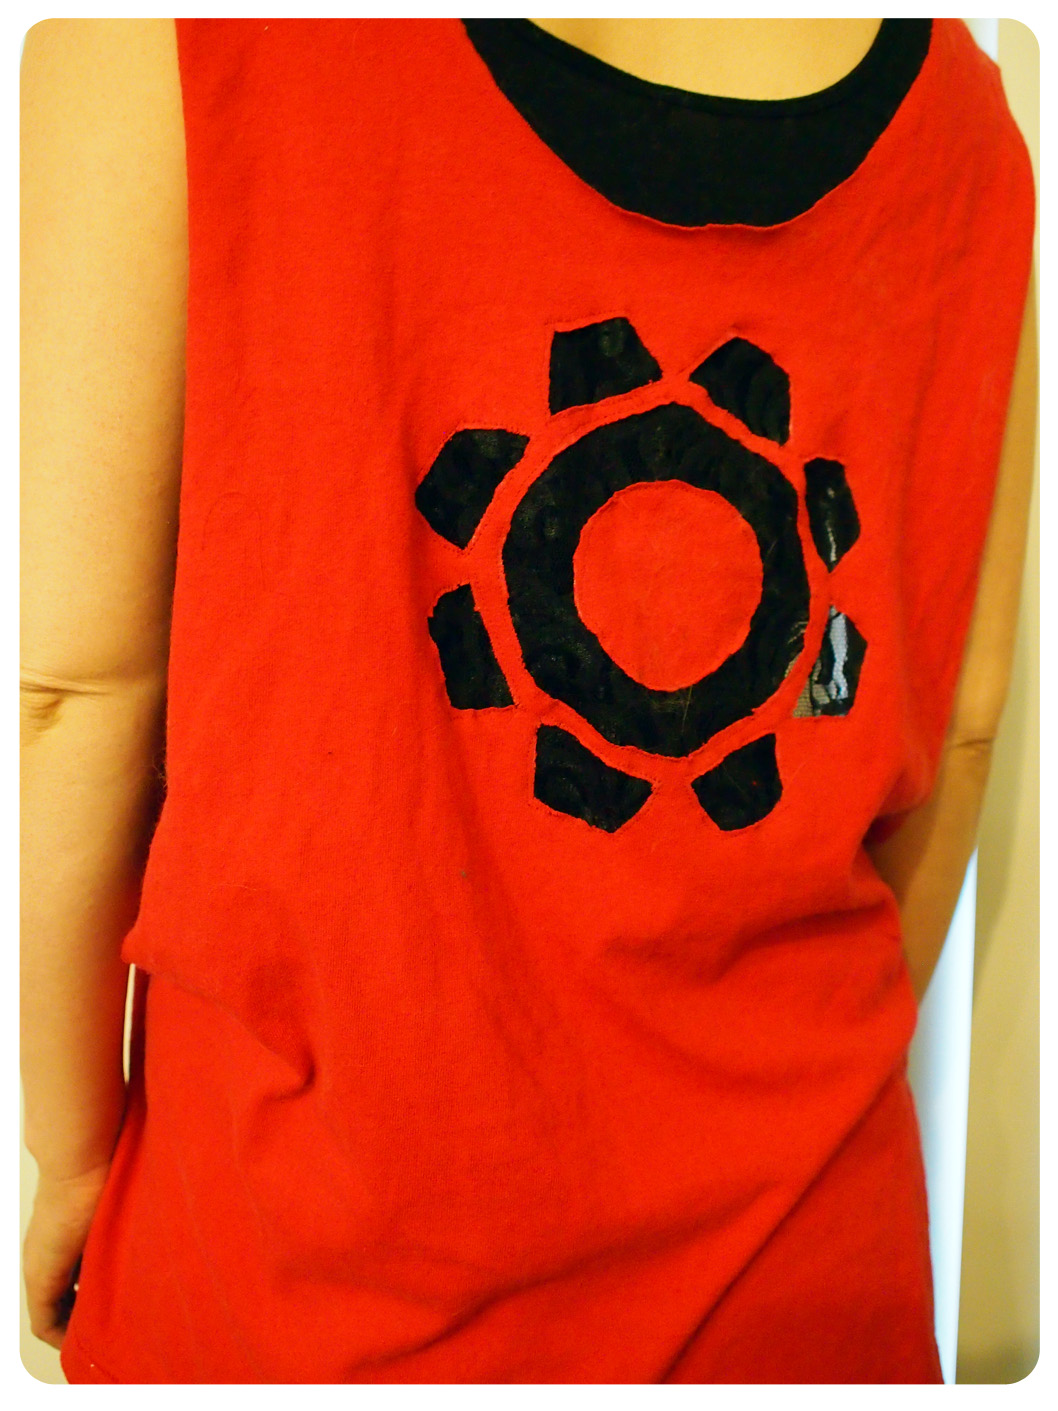
That’s it! Unfortunately, I have to wait for some warmer weather to wear it, but I can’t wait to do so. This style also looks great with just a bandeau top or even as a cover-up for a swim suit. I kind of have the itch to do more t-shirt conversions, so I’m sure there will be more DIY versions in the future. If you end up doing something similar, we love to see them!


[…] you want to make something similar, check out this DIY on how to make a dropped armhole […]
[…] The shirt was totally a great thrift shop find. I decided that I would transform it from an over-sized shirt into something that was a little more my style. You can check it out in this post. […]
Reblogged this on Healthy in High School and commented:
I have been looking for a tutorial like this for a long time!! I’m going to try it.