This is a great quick project if you want to add a little touch of geek to your Christmas stockings. You can choose to create stockings from scratch, or update one that you already have. This is a great project for any skill level!
Supplies Needed
- Felt or fabric of choice
- Blank stocking (if you don’t want to make your own)
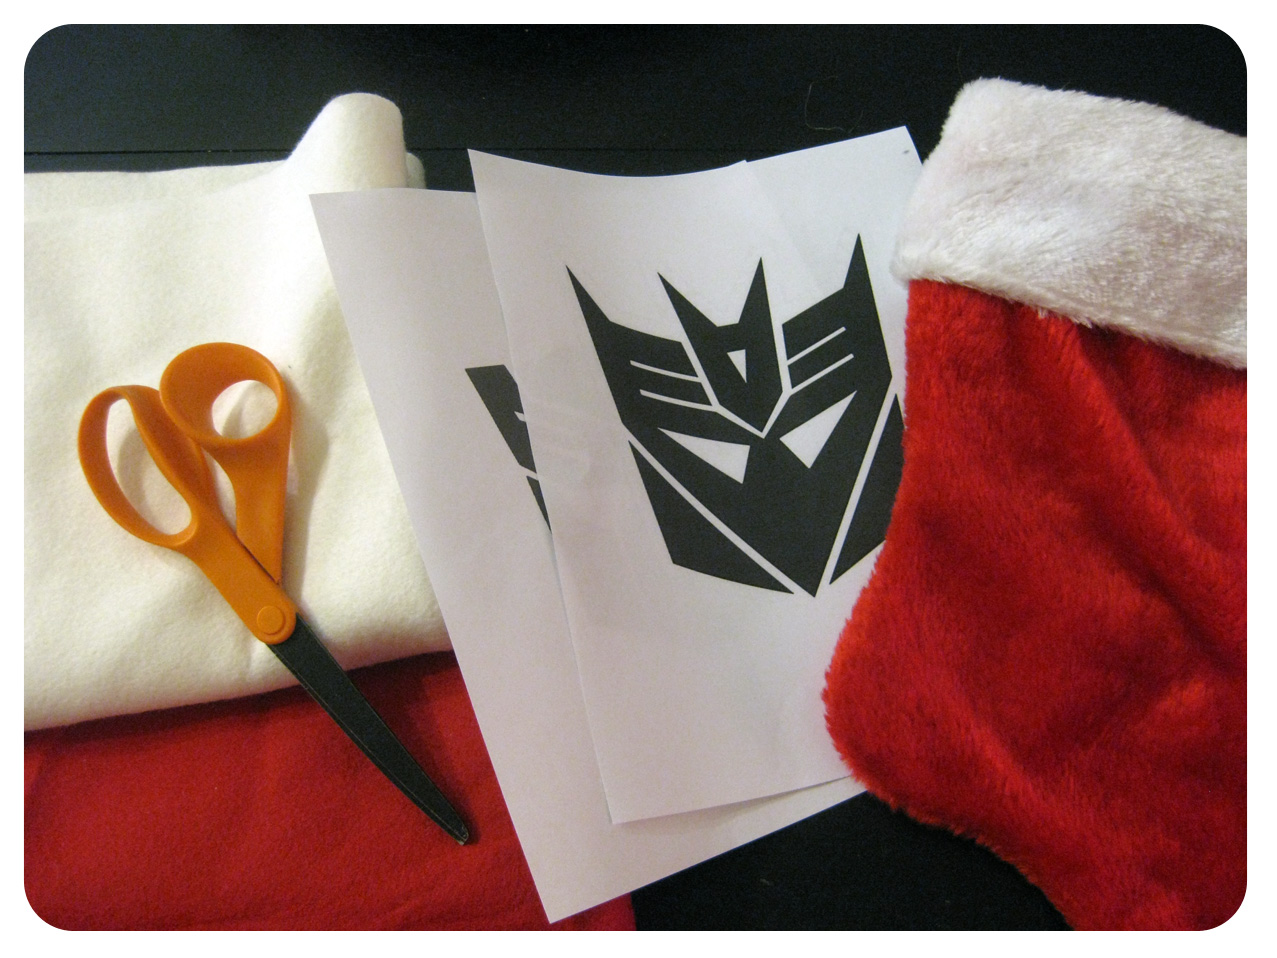
- Scissors
- Printed design
- Fabric glue
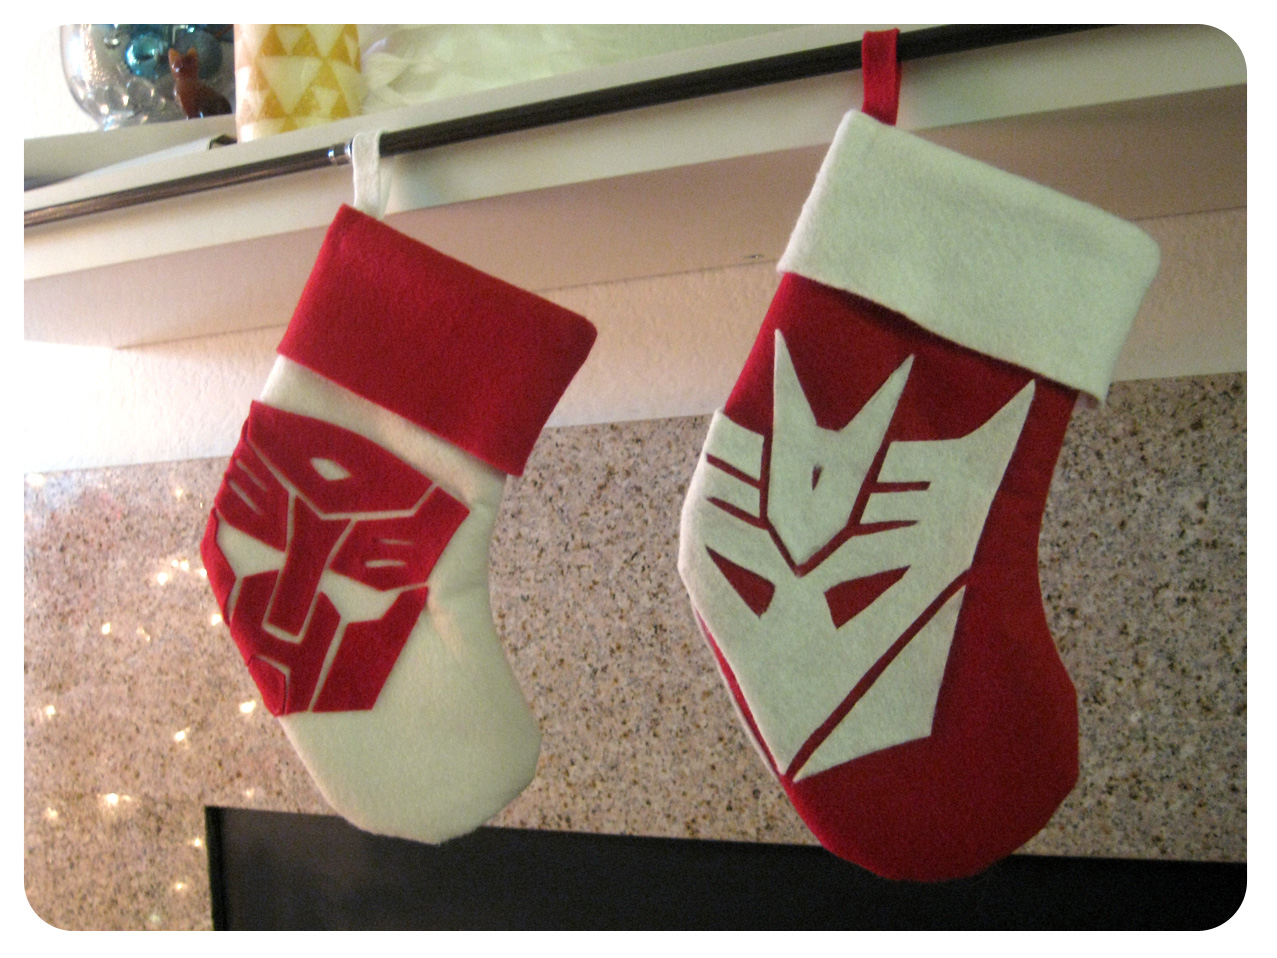
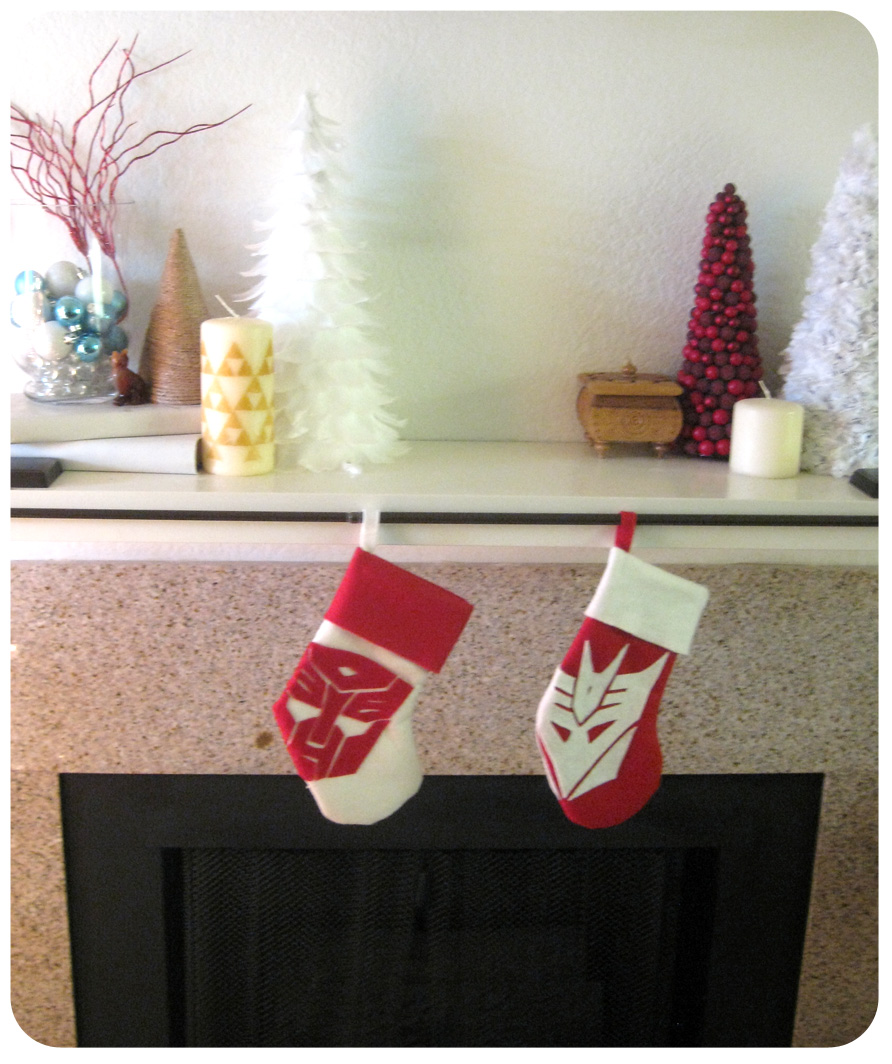
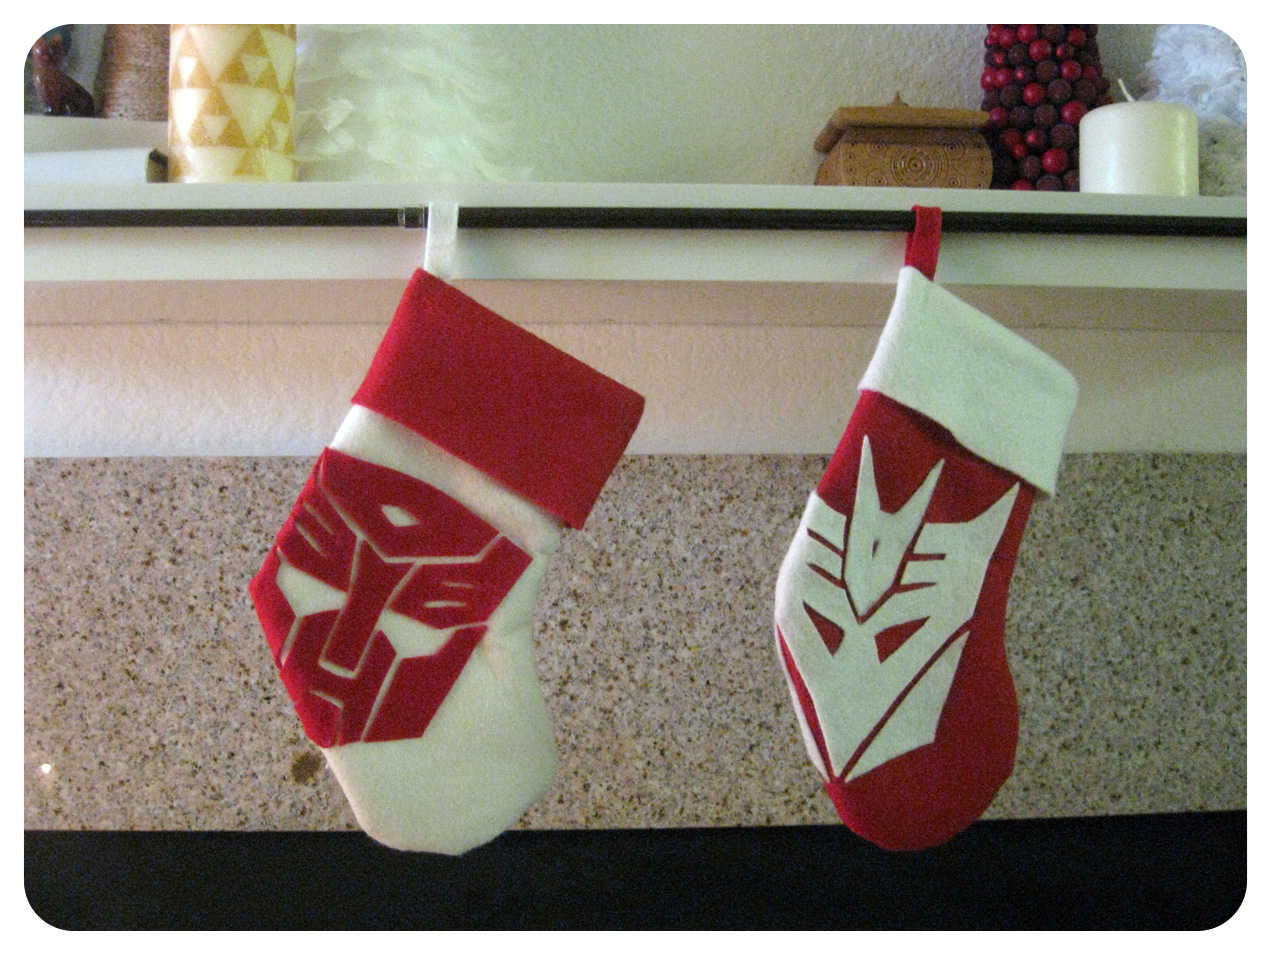
I decided to make stockings that were opposite each other in both color and design. In my case I picked the Transformers Autobot and Decepticon symbols due in part to my cats, aptly named Starscream and Grimlock. However, anything could work for this, superhero symbols, the Star Wars rebel alliance symbol versus the empire cog, the Star Trek insignia, etc.
If you don’t plan on making your own stockings, feel free to skip ahead, otherwise here are the steps.
First determine what fabric you’re going to use and what colors. I decided to go with wool felt since the fabric is pretty sturdy and has the added benefit of not fraying. I also chose to go with more traditional Christmas colors since I wanted them to blend in a little more.
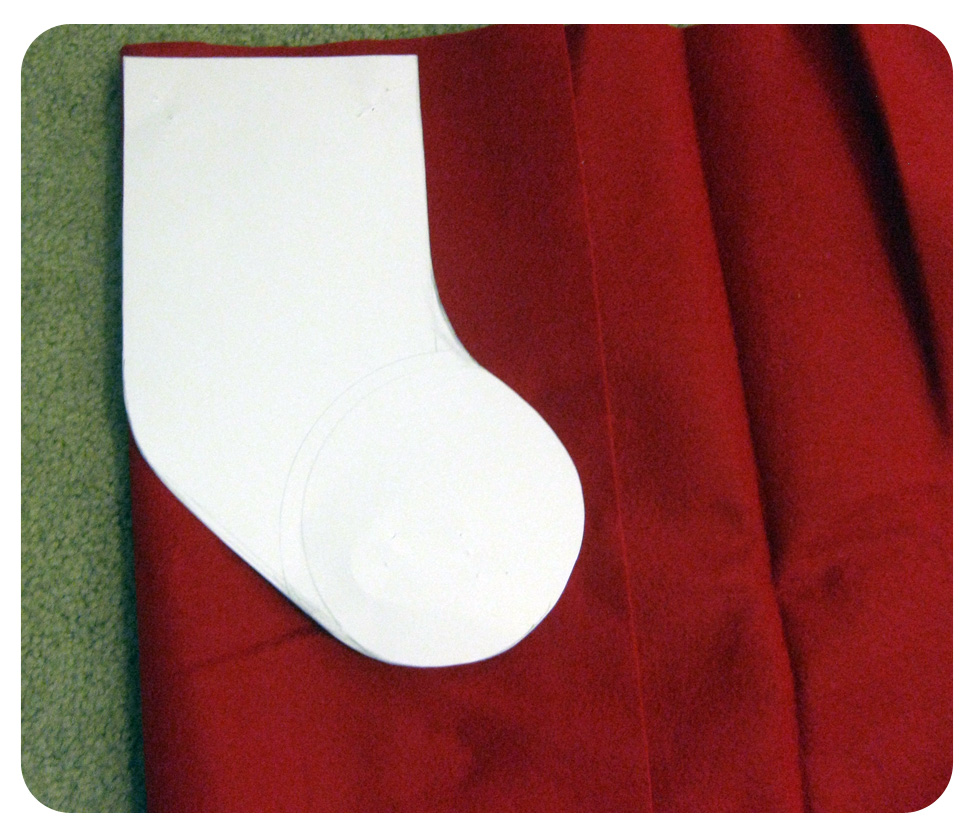
I then cut out a stocking shape approximately the size I wanted. You could also use a preexisting stocking to trace around. Because I wanted to limit the amount of sewing, and make it easier to add the contrasting folded over fabric, I placed my pattern on a fold.
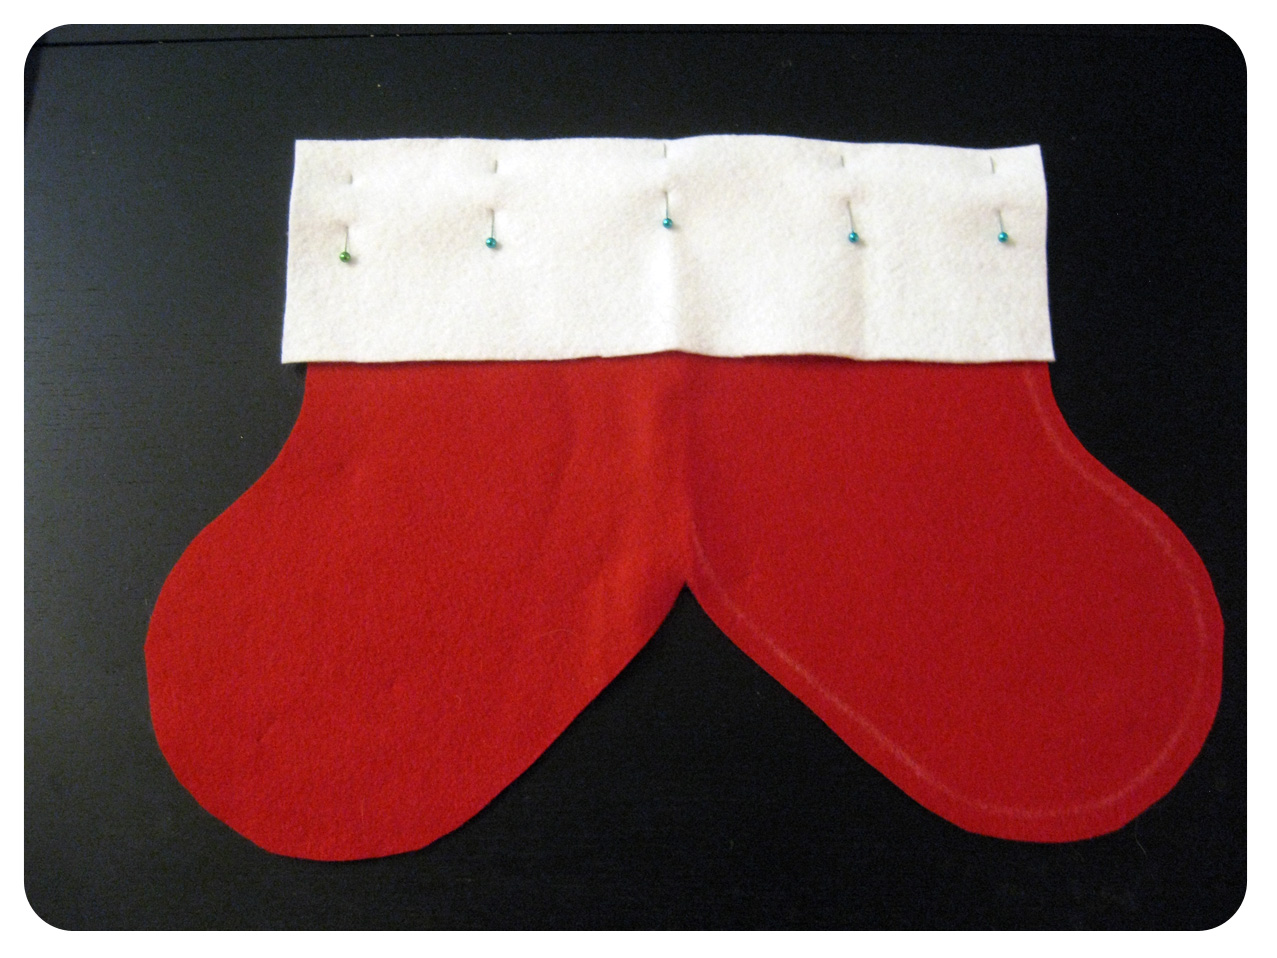
I cut out the stockings and then cut out the contrasting fabric for the tops.

Next, I attached the top part to the top of the stocking. Although, you’ll want to sew it so that the seam will be on the outside of the stocking. That way, when you fold it over, it’s smooth on the inside.
Next, sew the stocking together but not the top part. Turn it inside out and then sew the top sides together. Once you fold it down, you shouldn’t be able to see any of the seams.

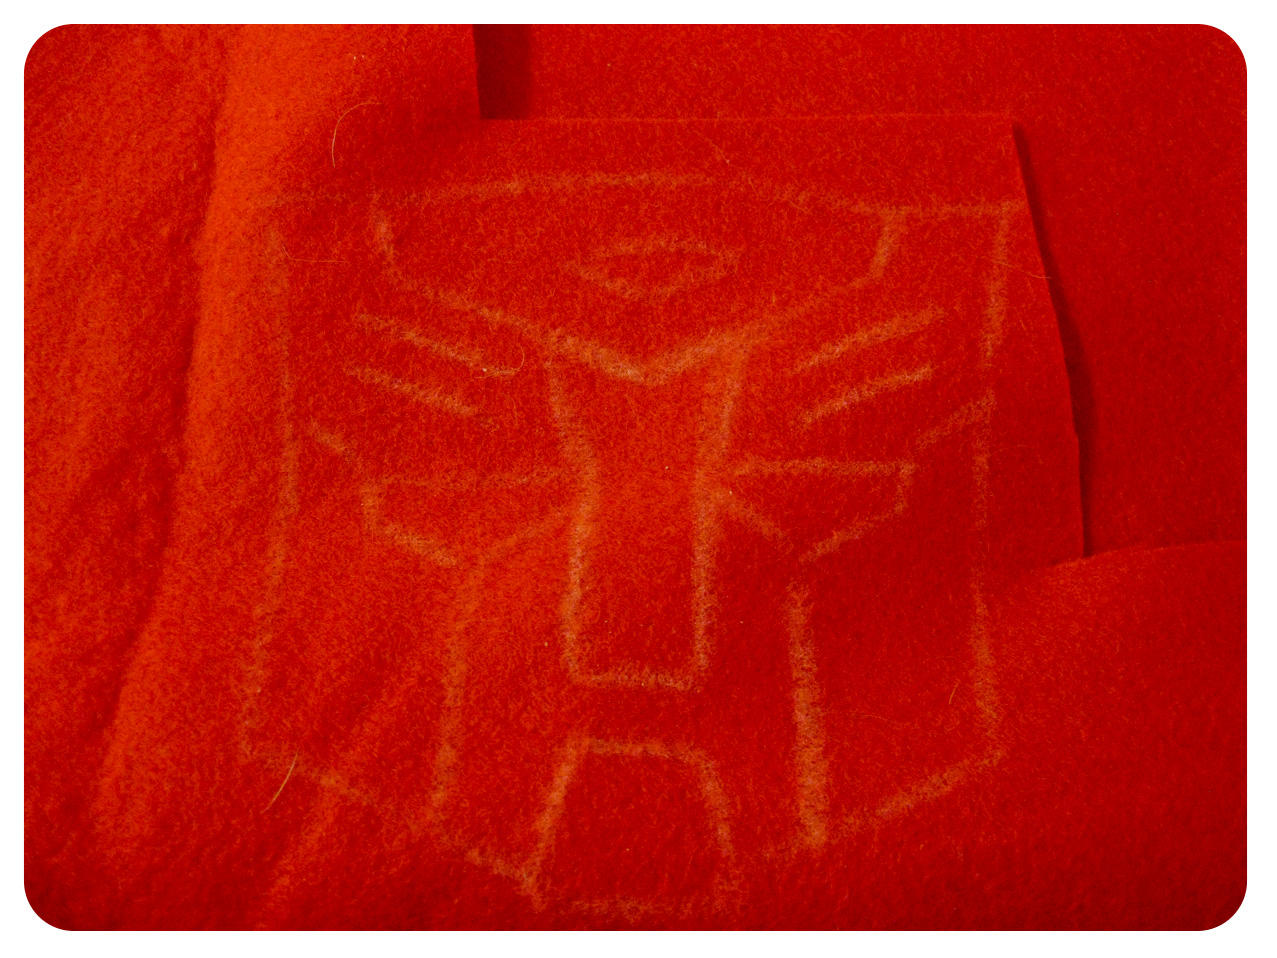
Now, you’re ready to add your design. This is the step you’ll start with if you already have a stocking. I cut out my design, found through google images, and traced it onto my felt. I wanted to make sure they were contrasting colors so the designs popped more.
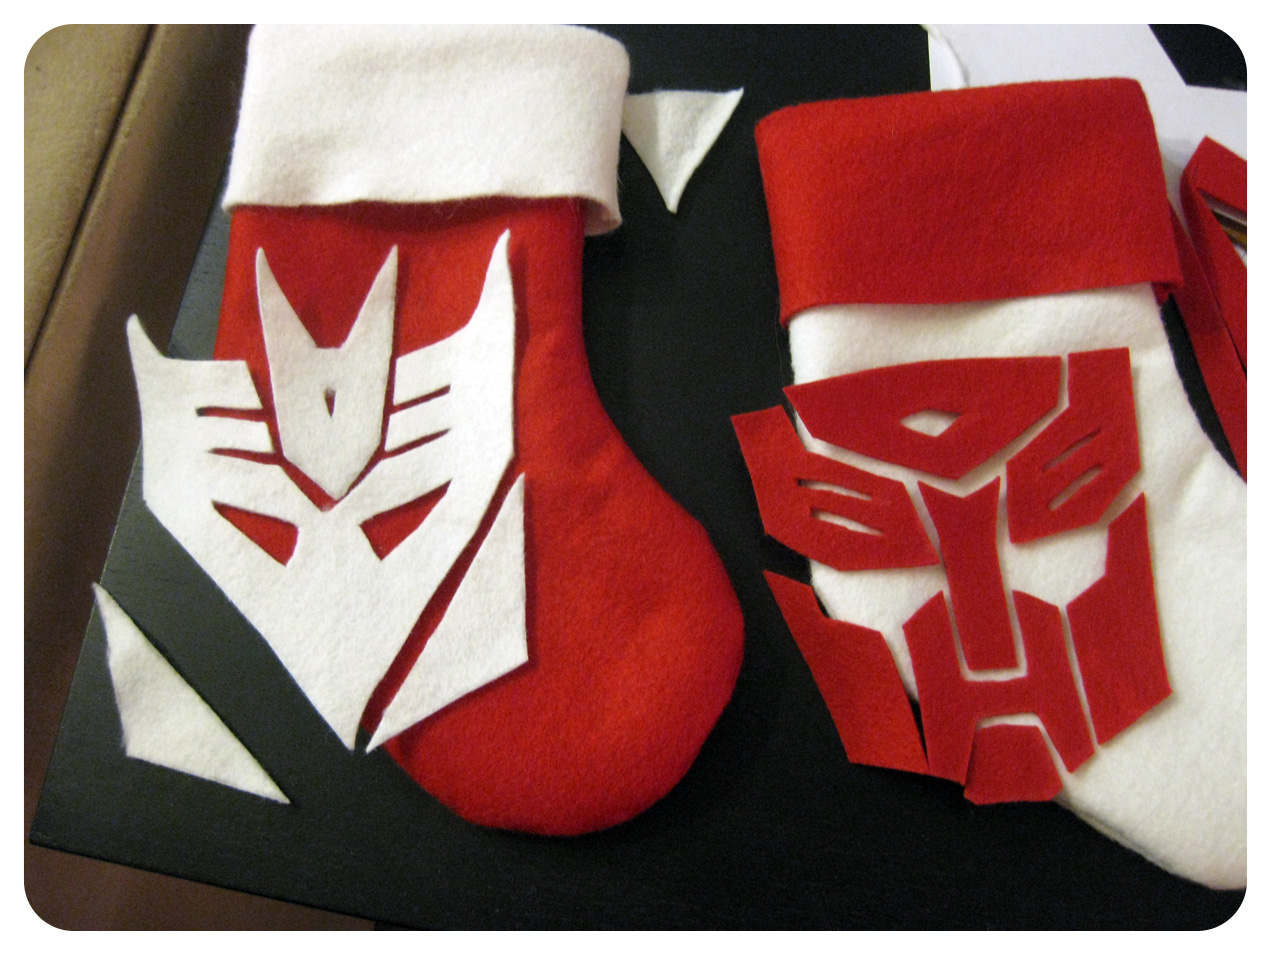
I cut out my designs and placed them on my stockings.
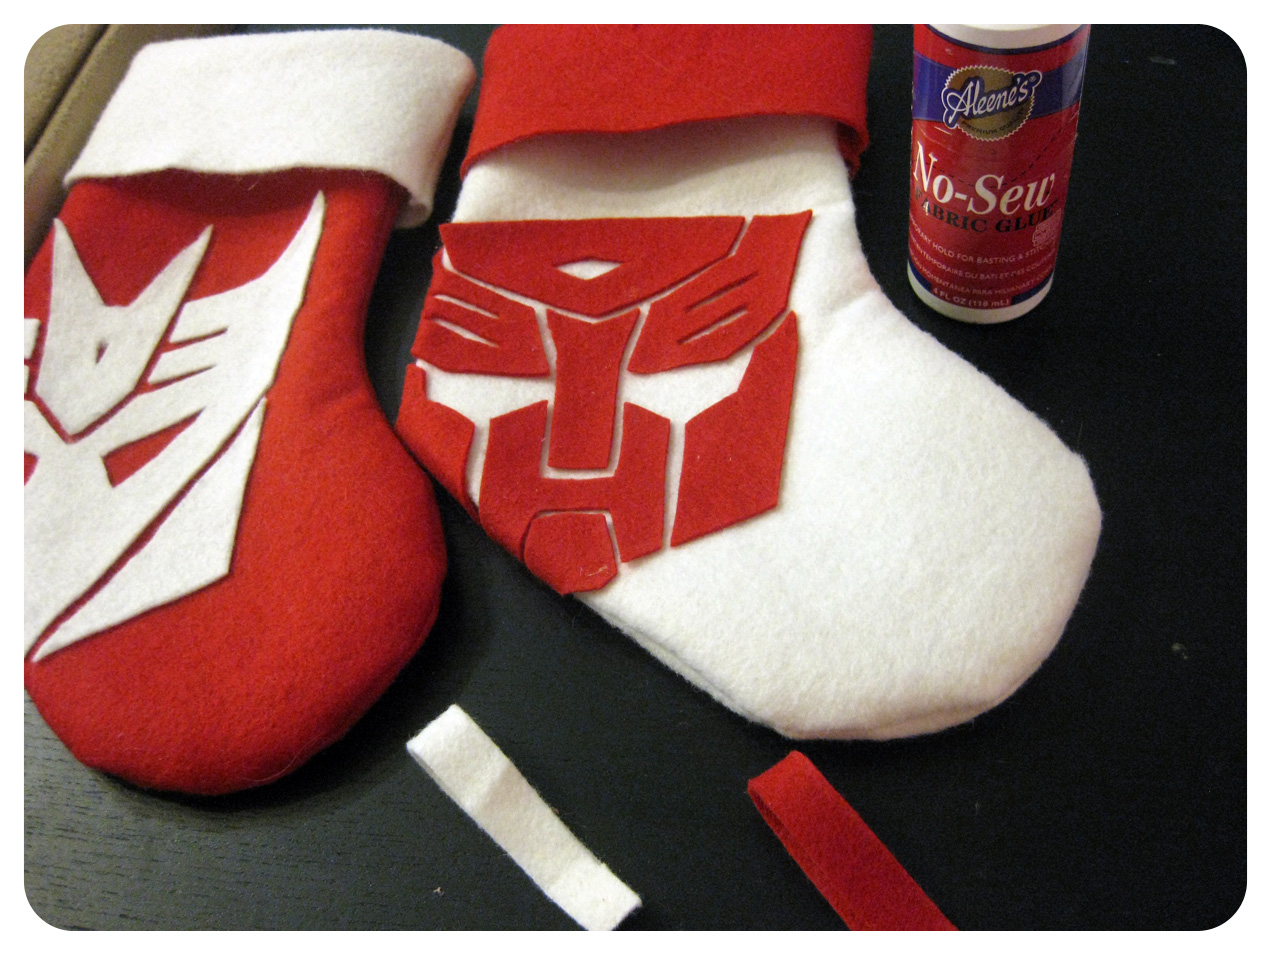
Once I had the placement down, I added fabric glue to the back of each piece and placed them down. Super easy!
The last step it to cut out strips of fabric for your stockings, if making your own, and then use the fabric glue to attach them on the inside. Make sure you let the glue dry for 24 hours to ensure maximum strength. Then you’re done!
I hope you liked this DIY, and please share your version with us if you end up making your own! Also, if you have any great geeky holiday decor, we’d love to see them too. Feel free to post in our comments or on our Facebook page.


[…] are endless! I was delighted to come across this Geeky Christmas Stocking tutorial from Set to Stunning. If you think those felt forms evoke Autobots and Decepticons from the popular toy line […]
[…] you can also check out some of our DIYs from last year to add a little geek charm to your holidays: Stockings, Decorative Candles, Tree Skirt, Decorative Plates, and Gift […]
[…] Transformers […]
[…] Trek Stockings Tutorial, Cyber Seams Doctor Who Stockings Tutorial, Doodle Craft Transformer Stockings Tutorial, Set to […]
[…] fáceis de fazer, basta seguir esse tutorial aqui (em inglês). Essas foram feitas com modelo dos Autobot e Decepticon, mas você também pode […]