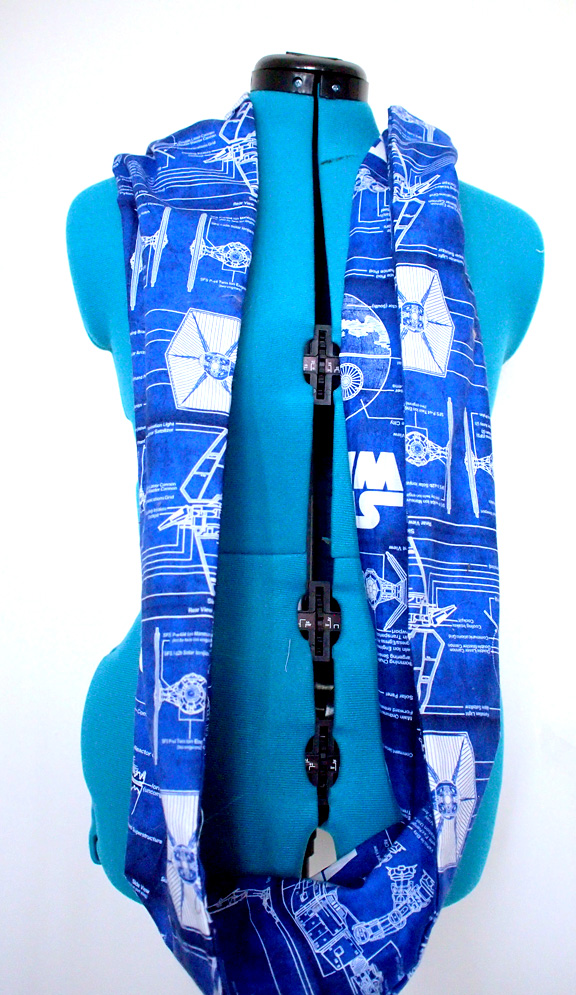
Infinity scarves are probably one of my favorite trends right now. I love how versatile they are, and not only that, they’re easy to make too! Today’s DIY is a sewing project that even a beginner can tackle.
Supplies Needed
- Fabric of choice (2 yards)
- Scissors/Rotary Cutter
- Ruler
- Sewing Machine
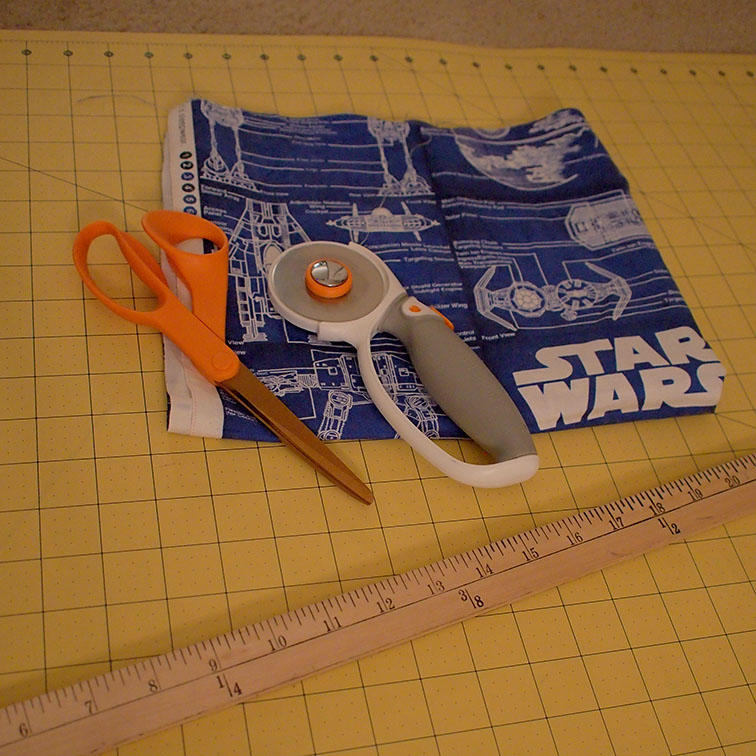
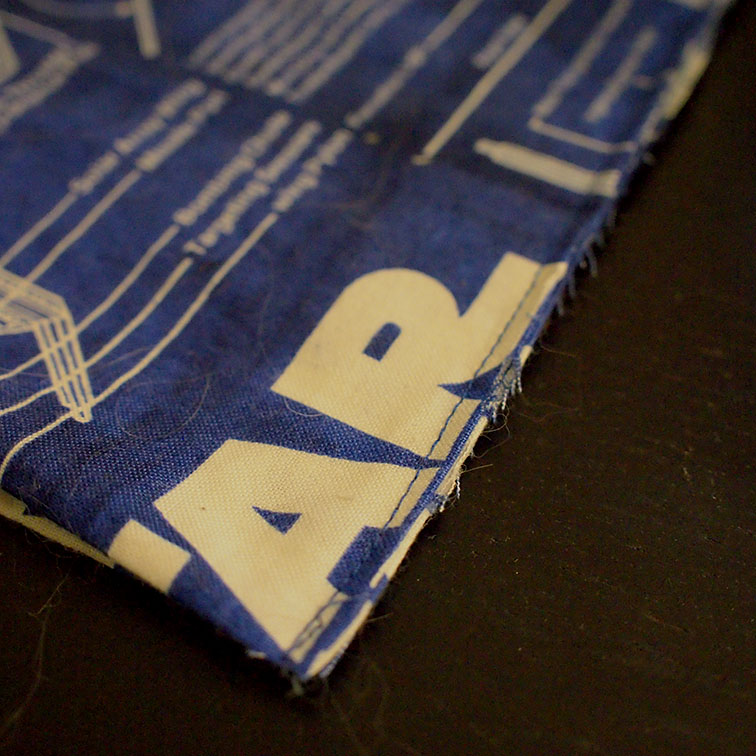
For my scarf, I wanted a fabric that had a more subtle pattern so I could match it easily. This Star Wars blueprint fabric was a perfect fit.
First I measured how wide I wanted the scarf to be. After holding it up to my neck at various widths, I found that 8 inches seemed like it would work well. Because of the edge of the fabric, I added half an inch for seam allowance.
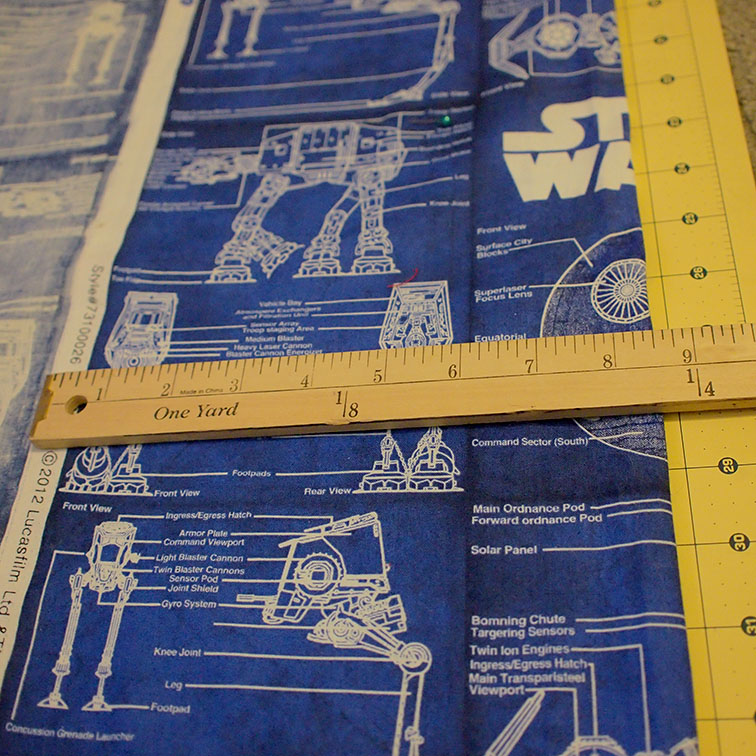
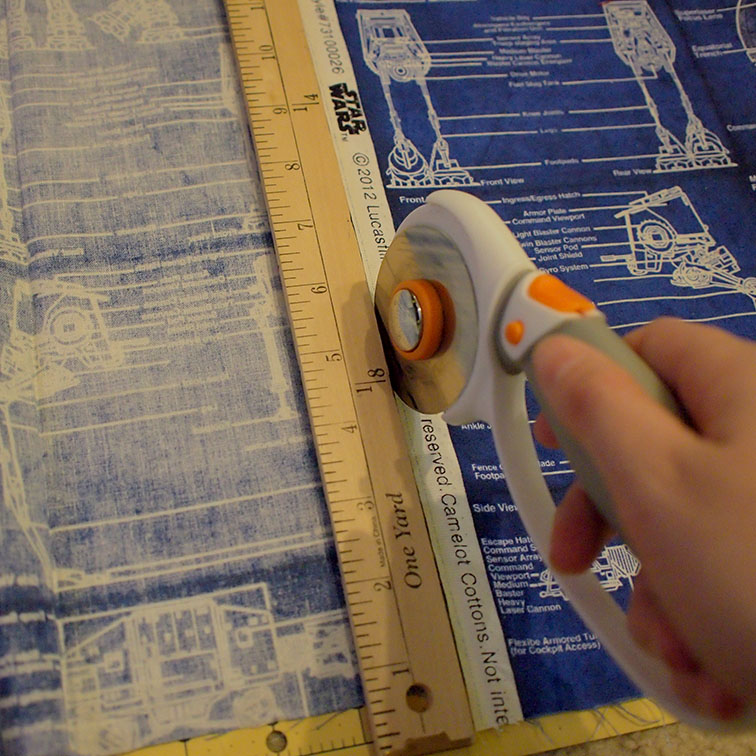
Because I wanted to be able to double up the scarf, I used roughly 2 yards, or 72 inches for the entire strip. In reality, I had a bit of extra fabric, but 2 yards is plenty. I then cut out the fabric using my rotary cutter. Scissors work fine for this as well.
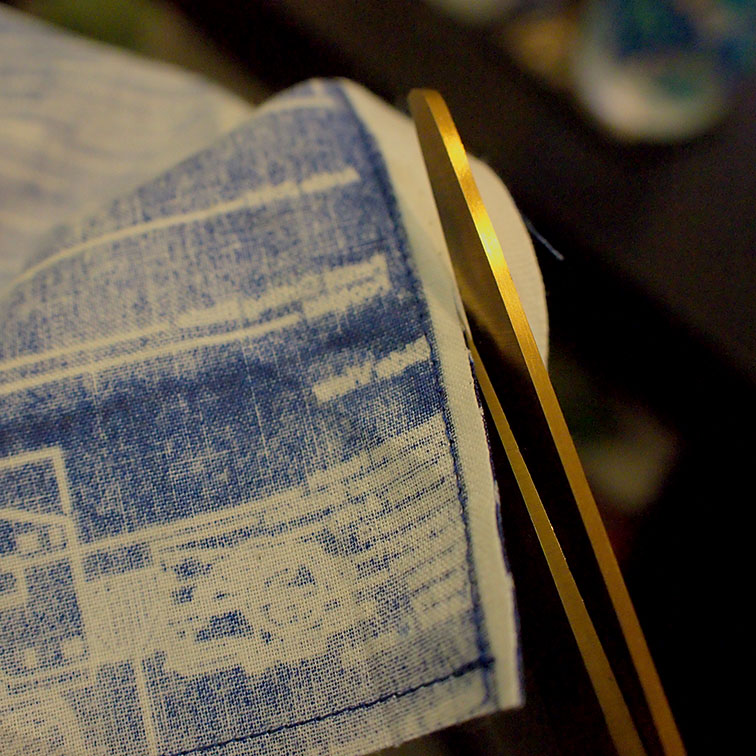
After it was cut, I sewed along one edge and along the top.

Before I flipped the scarf inside out, I cut down the extra fabric on the seams, and cut the corners so I would have a nice pointed corners.
Now, for my scarf, 72 inches was a great length for the scarf, giving me about 36 inches when folded in half. Since my fabric was longer than that, I cut off the excess.

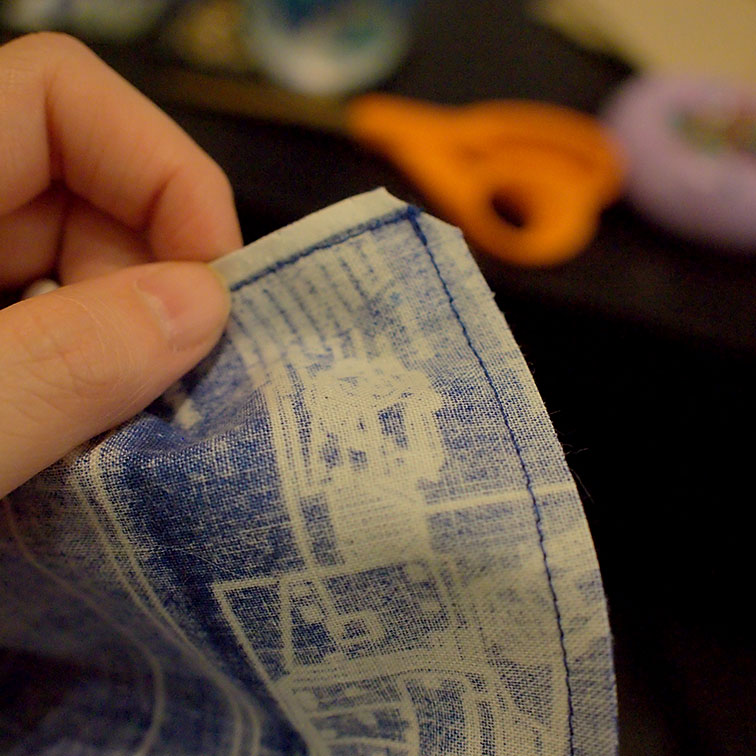
All that was left was sewing up the two ends. Since I wanted a clean look, I decided to use a french seam. To sew a french seam, take your two ends, and sew them together. Then, once they’re sewn, flip them on the other side, and sew the ends together again. That should give you a nice finished seam.

That’s all there really is to it! What’s great is this is a really quick project too. All-in-all it took me about an hour to sew together. For those of you in colder climates, you could also use some of the licensed flannel fabrics they have to make a nice cozy scarf.