While shoes, wallets, jewelry, etc. are the most common types of items to decoupage, you can pretty much decoupage anything you set your mind to. For this DIY I set my sights on decoupaging a home decor item, a decorative plate charger.
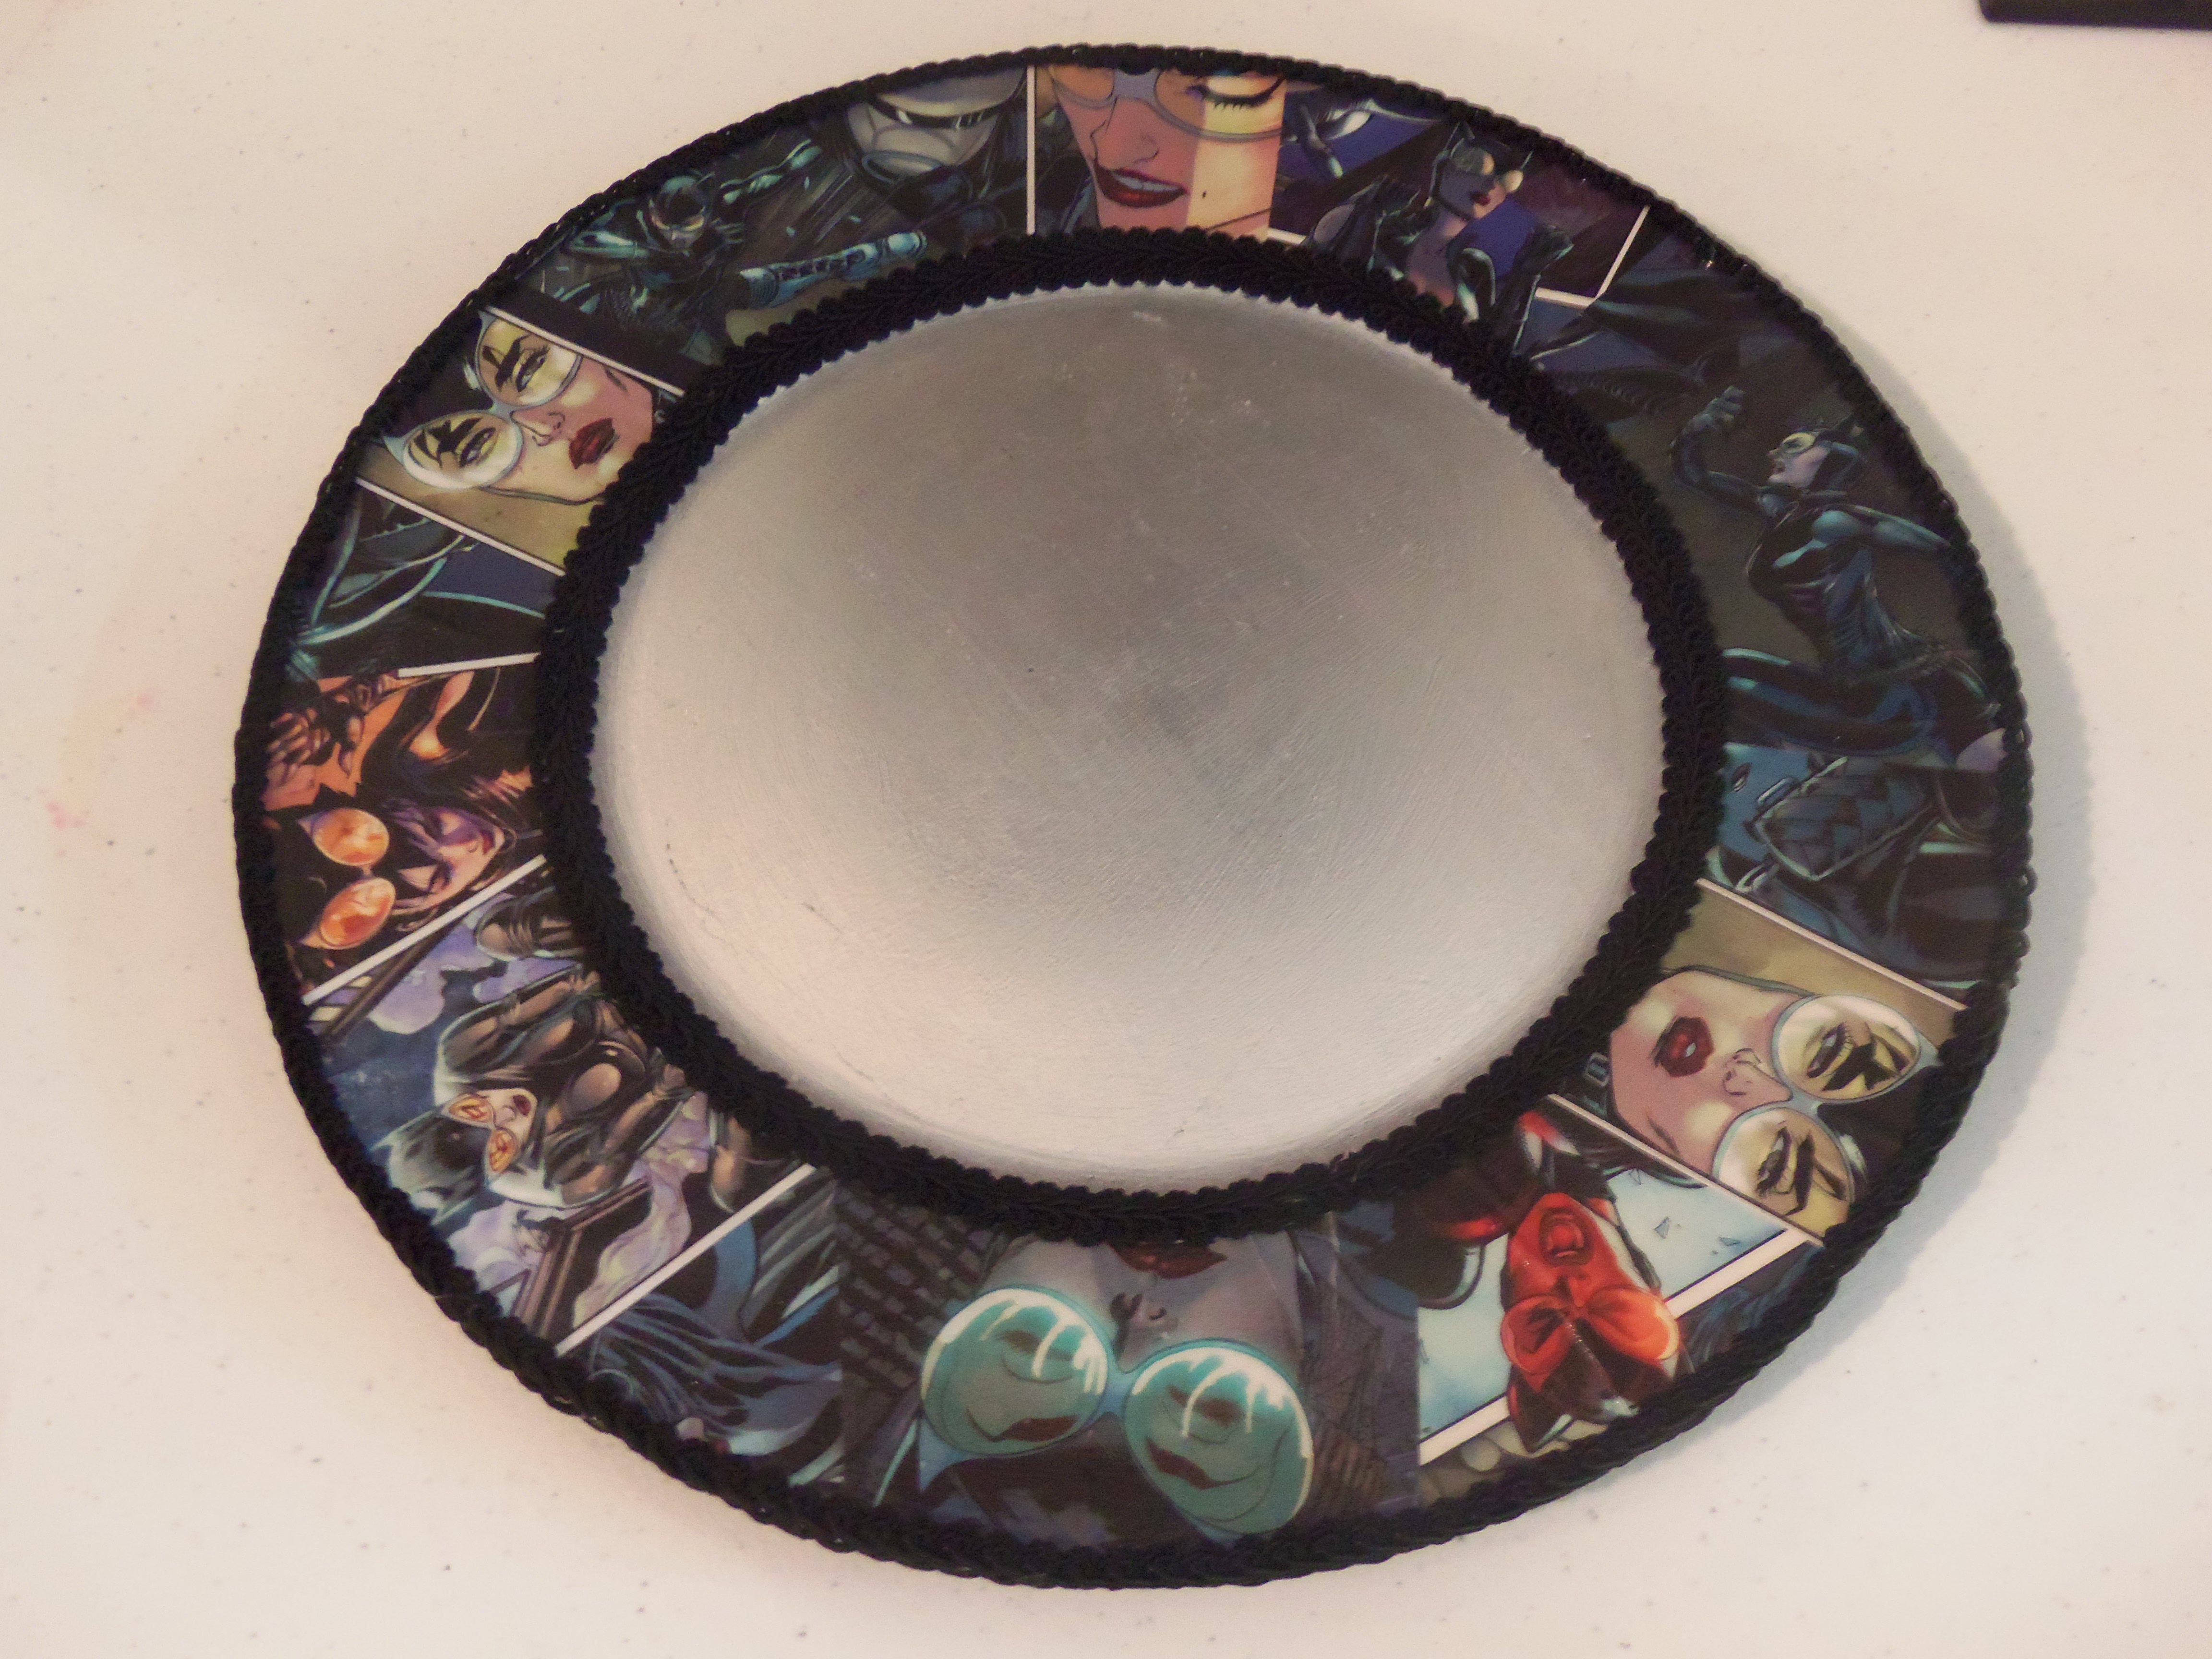
You’ve probably seen them on dinner tables before, but might not have known what they were called. They’re large, purely decorative, plates used to dress up a table for special events, parties, holidays, etc. And they are a perfect way to geek up the dinner table in a subtle but fun way.
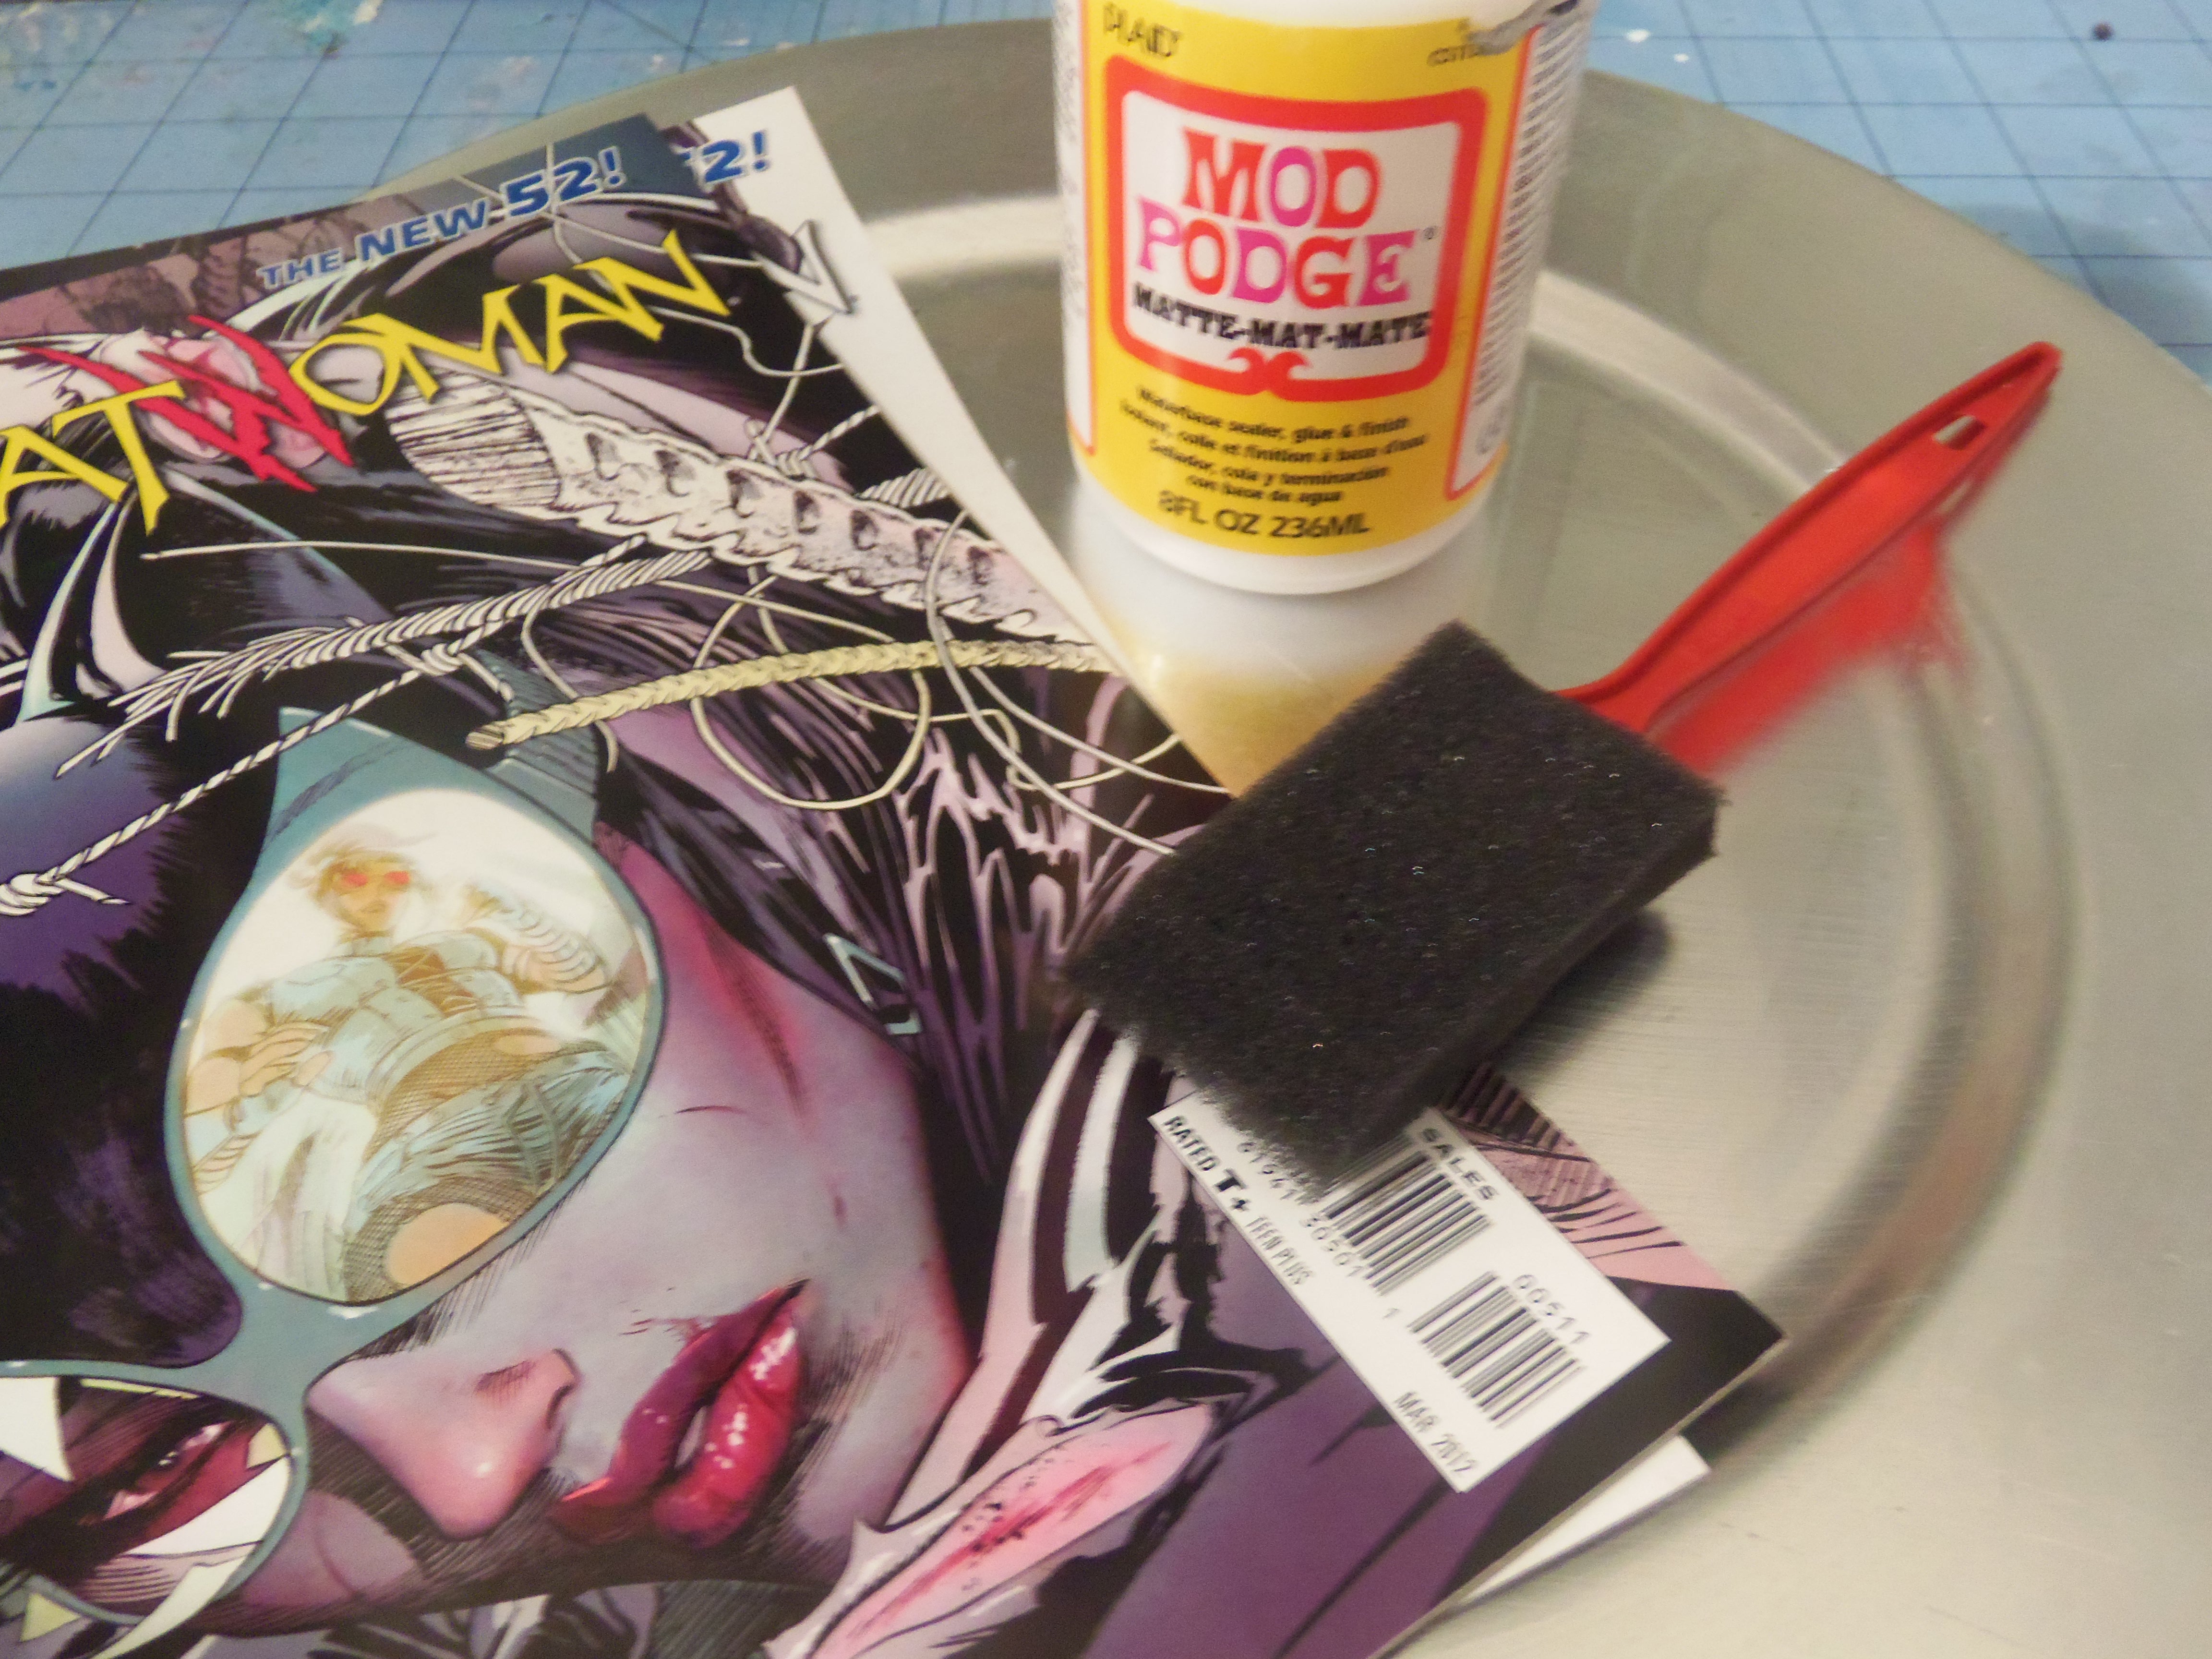
Supplies Needed
- Decorative Charger Plate (I got mine at Michael’s, on sale for 99 cents)
- Comic or Decorative Paper
- Mod Podge
- Foam Brush
- Trim, Crystals, Ribbon (optional)

While you could decoupage the entire plate, I kept things simple and decided to just decorate the rim of the plate. That’s the only part you really see anyway when they’re on display on a table. You can just go right at it and start Mod Podging on scraps from comic book pages, but I decided to take the extra step and cut out a pattern for myself so that the pieces of comics I cut out would all have the correct curves cut into them.
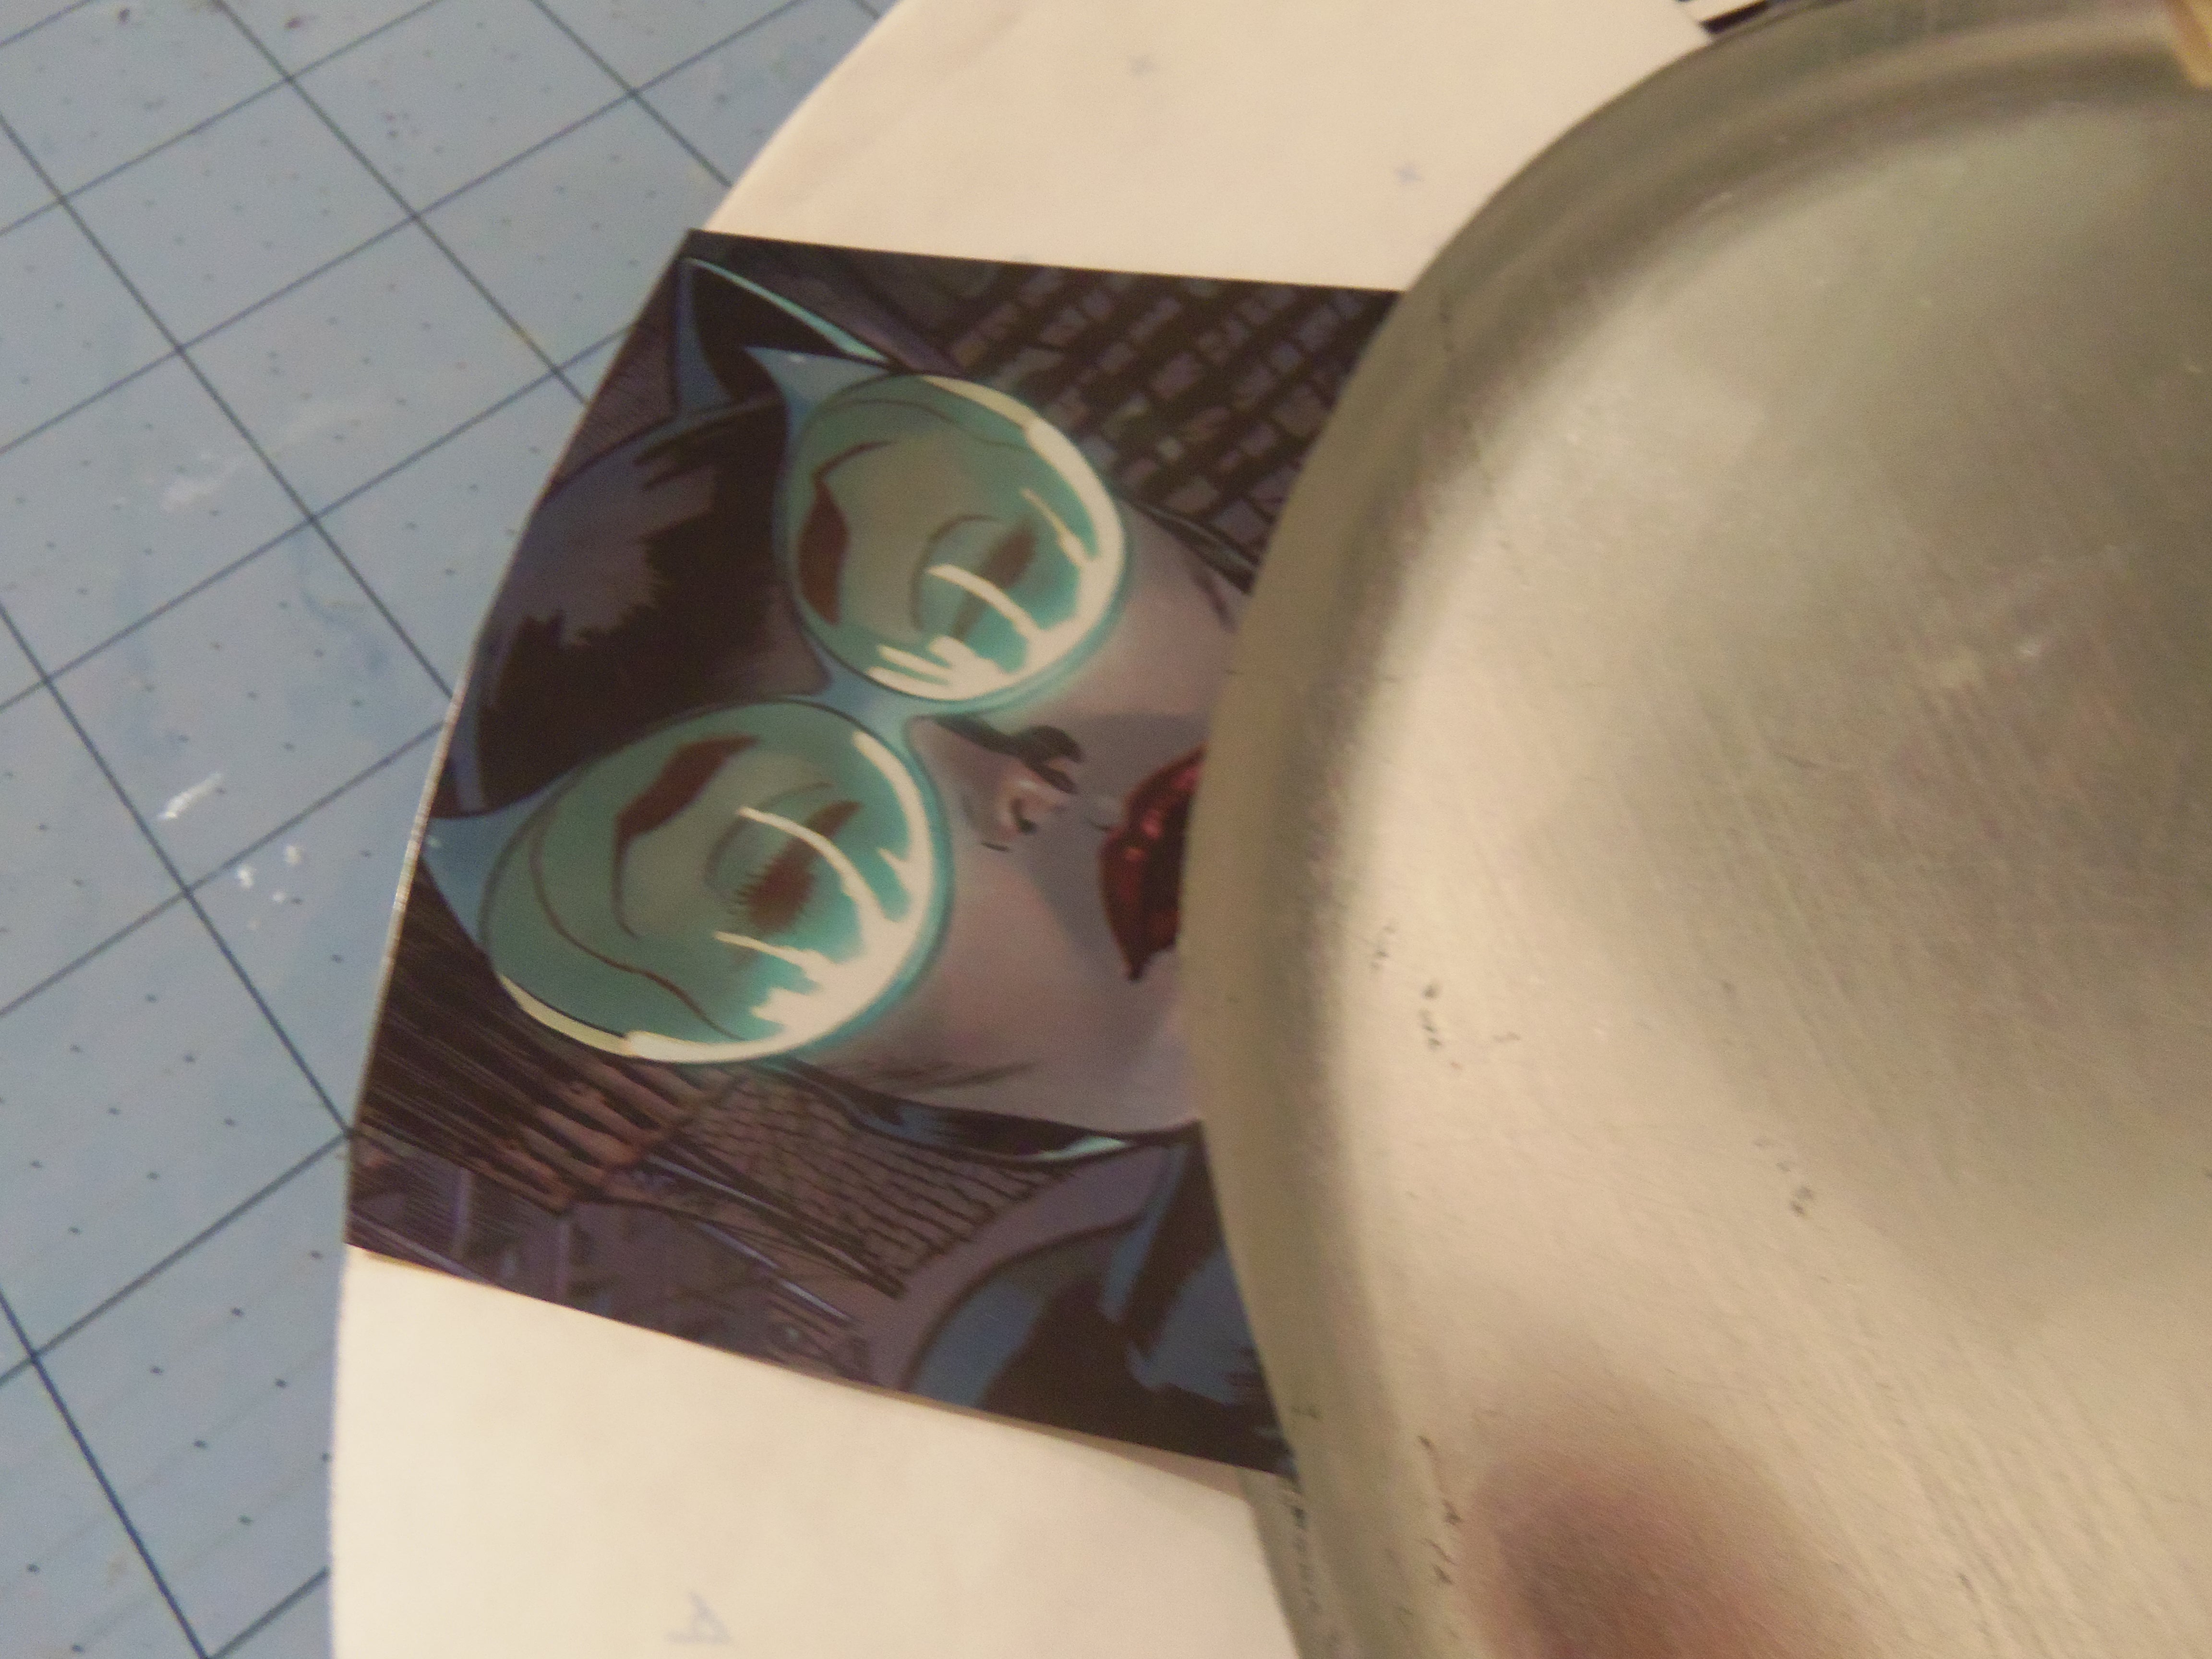

I used some Catwoman comics I had leftover from a previous project, and luckily there were enough images left over so that I had various depictions of her face to use for the rim. With the rim pattern, I could have cut out each piece so that they would all connect perfectly to one another around the rim…but I didn’t. Oops.

I had a few gaps left in between the images I wanted to use, so I threw in a couple scraps of comic book to fill in the spaces. Luckily they blend in with the overall look and help to break up the Catwoman faces so they don’t blend in together.

Once you’ve applied a couple layers of Mod Podge, your charger plate is done and ready to use. I wanted decorate mine a bit further, so I kept going. A quick note, I originally used masking tape to shield the parts of the plate I wasn’t putting Mod Podge on, but then ended up just putting a few coats of Mod Podge over the entire plate to completely seal everything properly.

Next was trim. Crystals would be an ideal choice to finish off a Catwoman themed decorate plate, but I didn’t have enough crystals on hand and instead went with this fancy black trim I had lying around. I used hot glue to attach the trim to the edge and inner curve of the plate.

Ideally you’d want to decoupage anywhere from 2 to 8 of these charger plates, depending on how many table settings you usually have. You could even play up the use of a charger plates by placing friends or family at the table setting of their favorite character and see if they notice!
Have you decorated your tables in geeky ways for parties/special occasions? We’d love to hear about it. And we’ve love to know if any of you end up using this DIY to geek up a dinner table in the future. Drop us a line on our Facebook or Twitter.


[…] And this one which isn’t really my taste (a charger edged in comic strip images) but I like the process and how she just put paper around the edges. This would probably work very well with a variety of papers. This is from Set To Stunning. […]
[…] last year to add a little geek charm to your holidays: Stockings, Decorative Candles, Tree Skirt, Decorative Plates, and Gift […]