Following up last week’s DIY on how to make a geeky Christmas stocking, here’s our DIY on how to make a geeky Christmas tree skirt!

Tree skirts are a wonderful piece of holiday decor you might overlook when considering decorations to geek up.
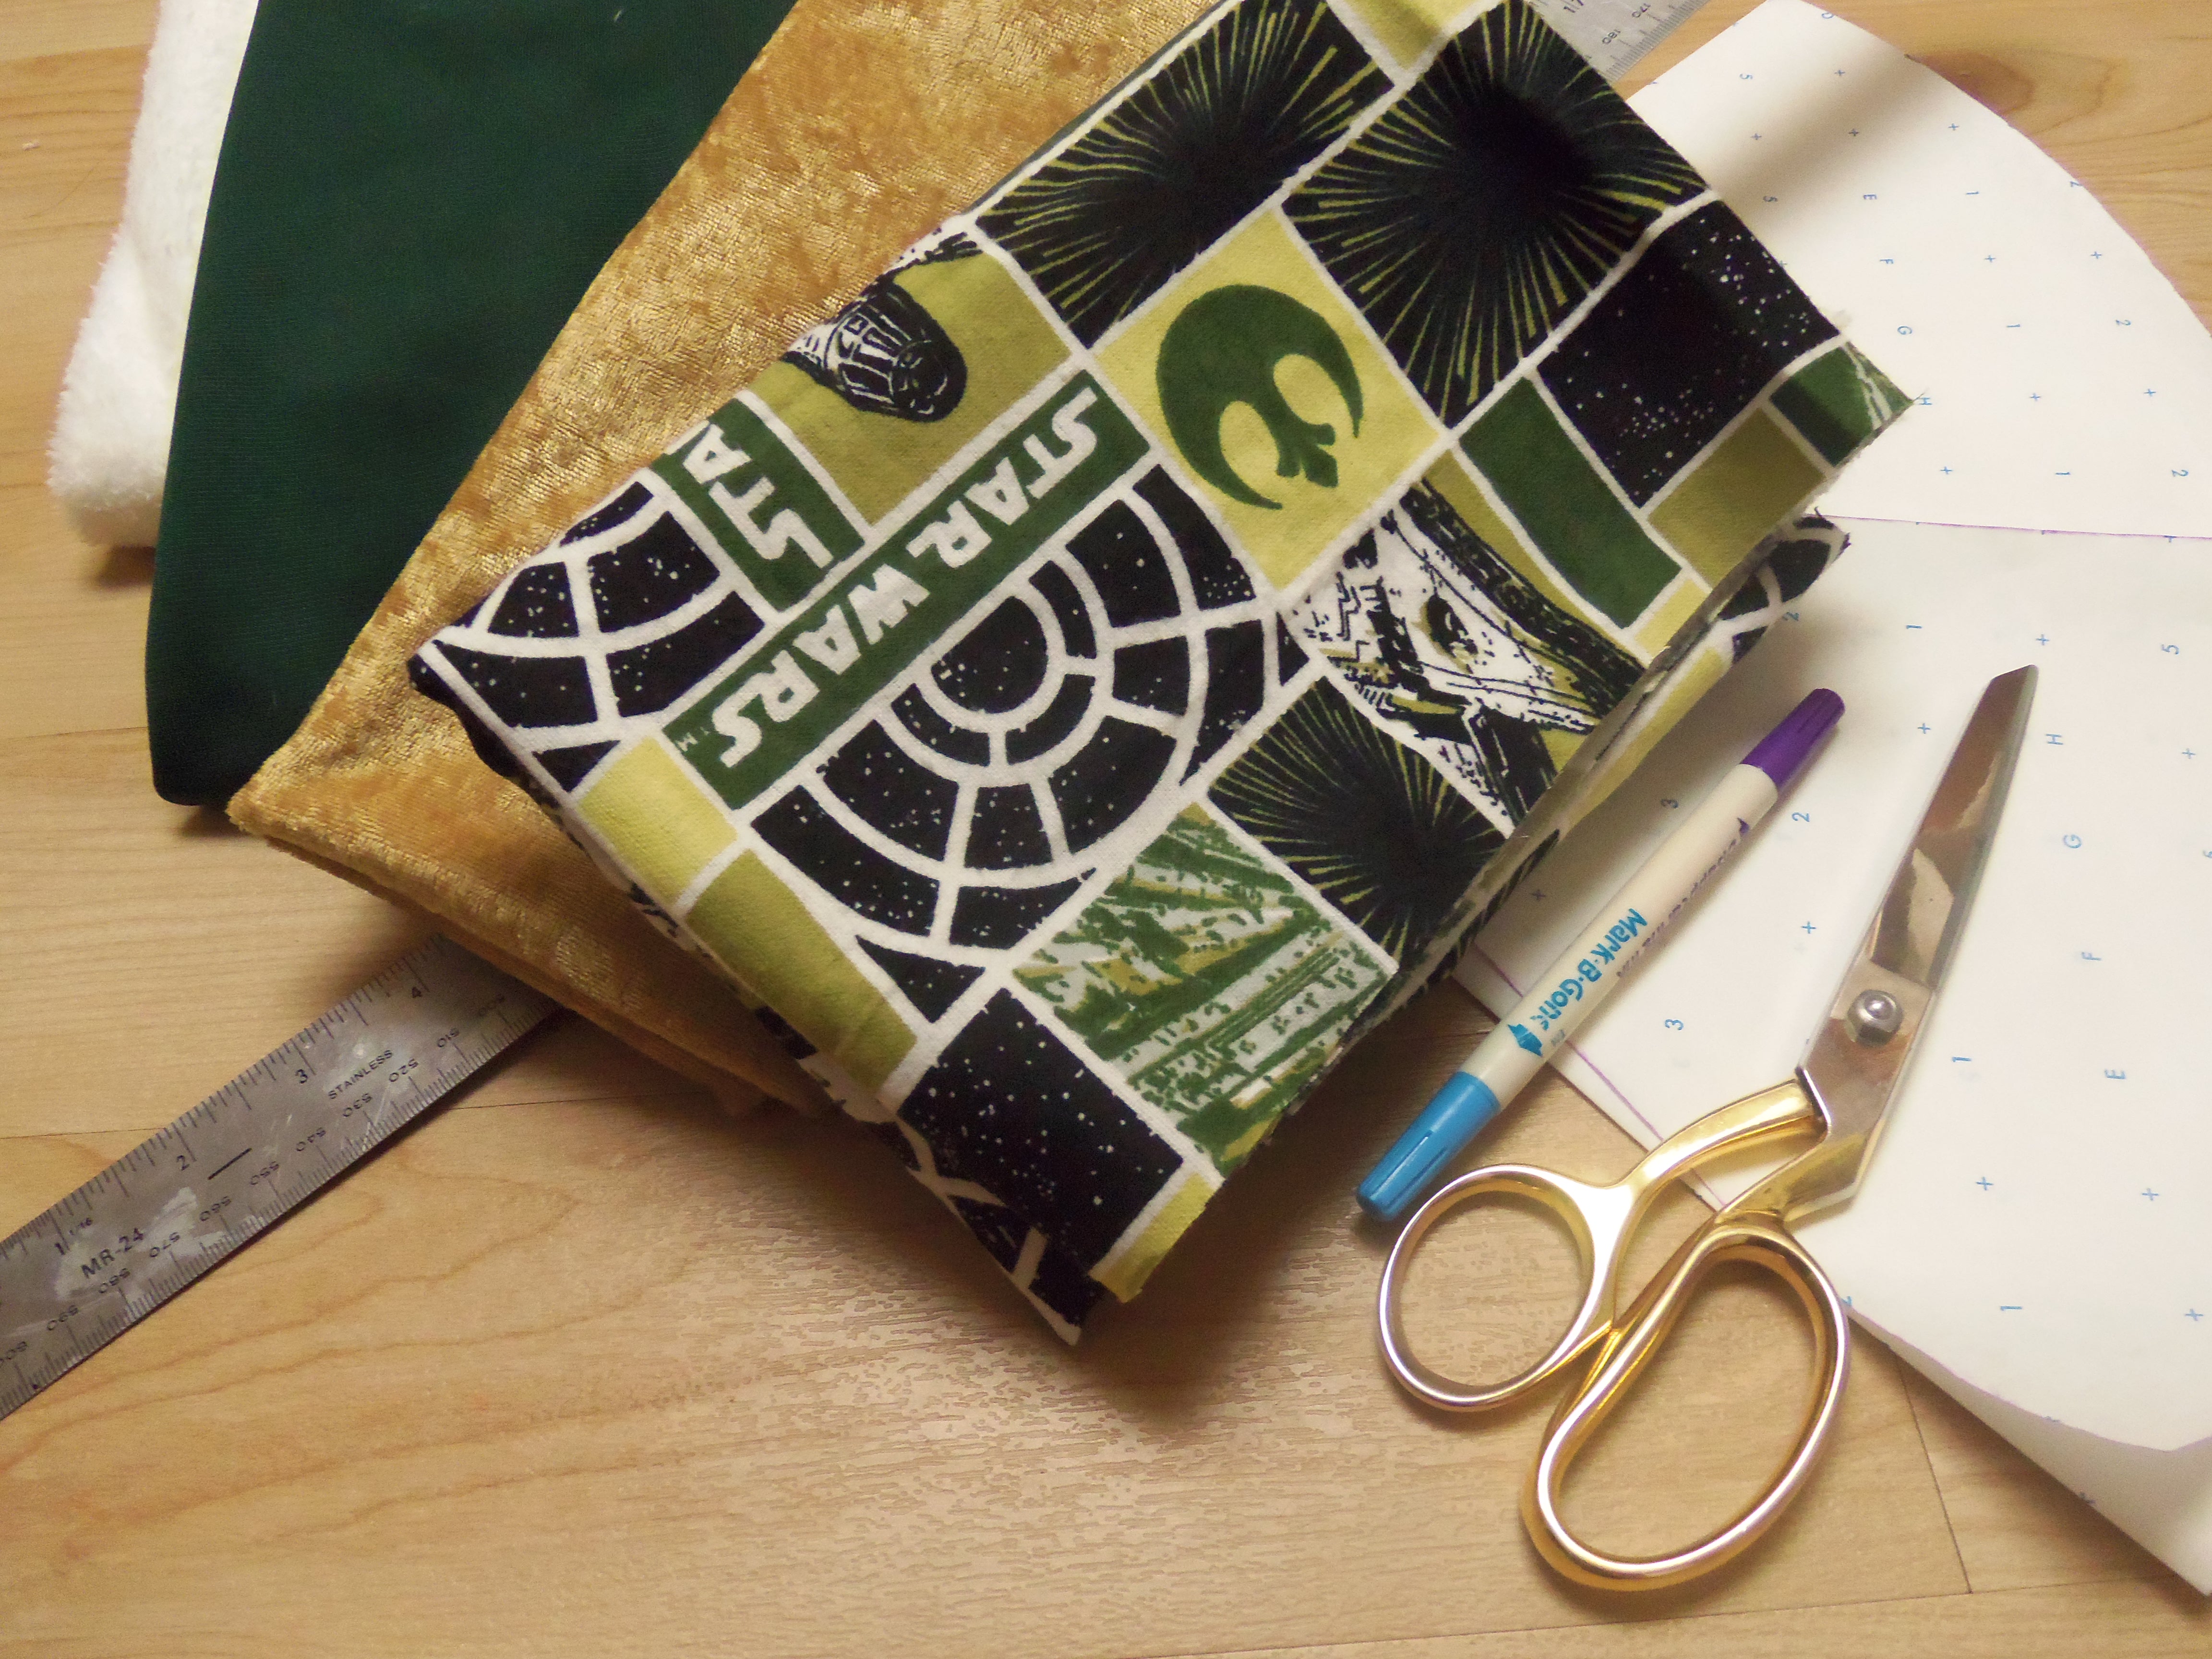
Supplies Needed
- Fabric
- Trim (optional)
- Pattern Paper, Pattern or Mock-Up Fabric
- Scissors
- Ruler
- Marking Tools (pencil, dissolvable fabric pen, etc.)
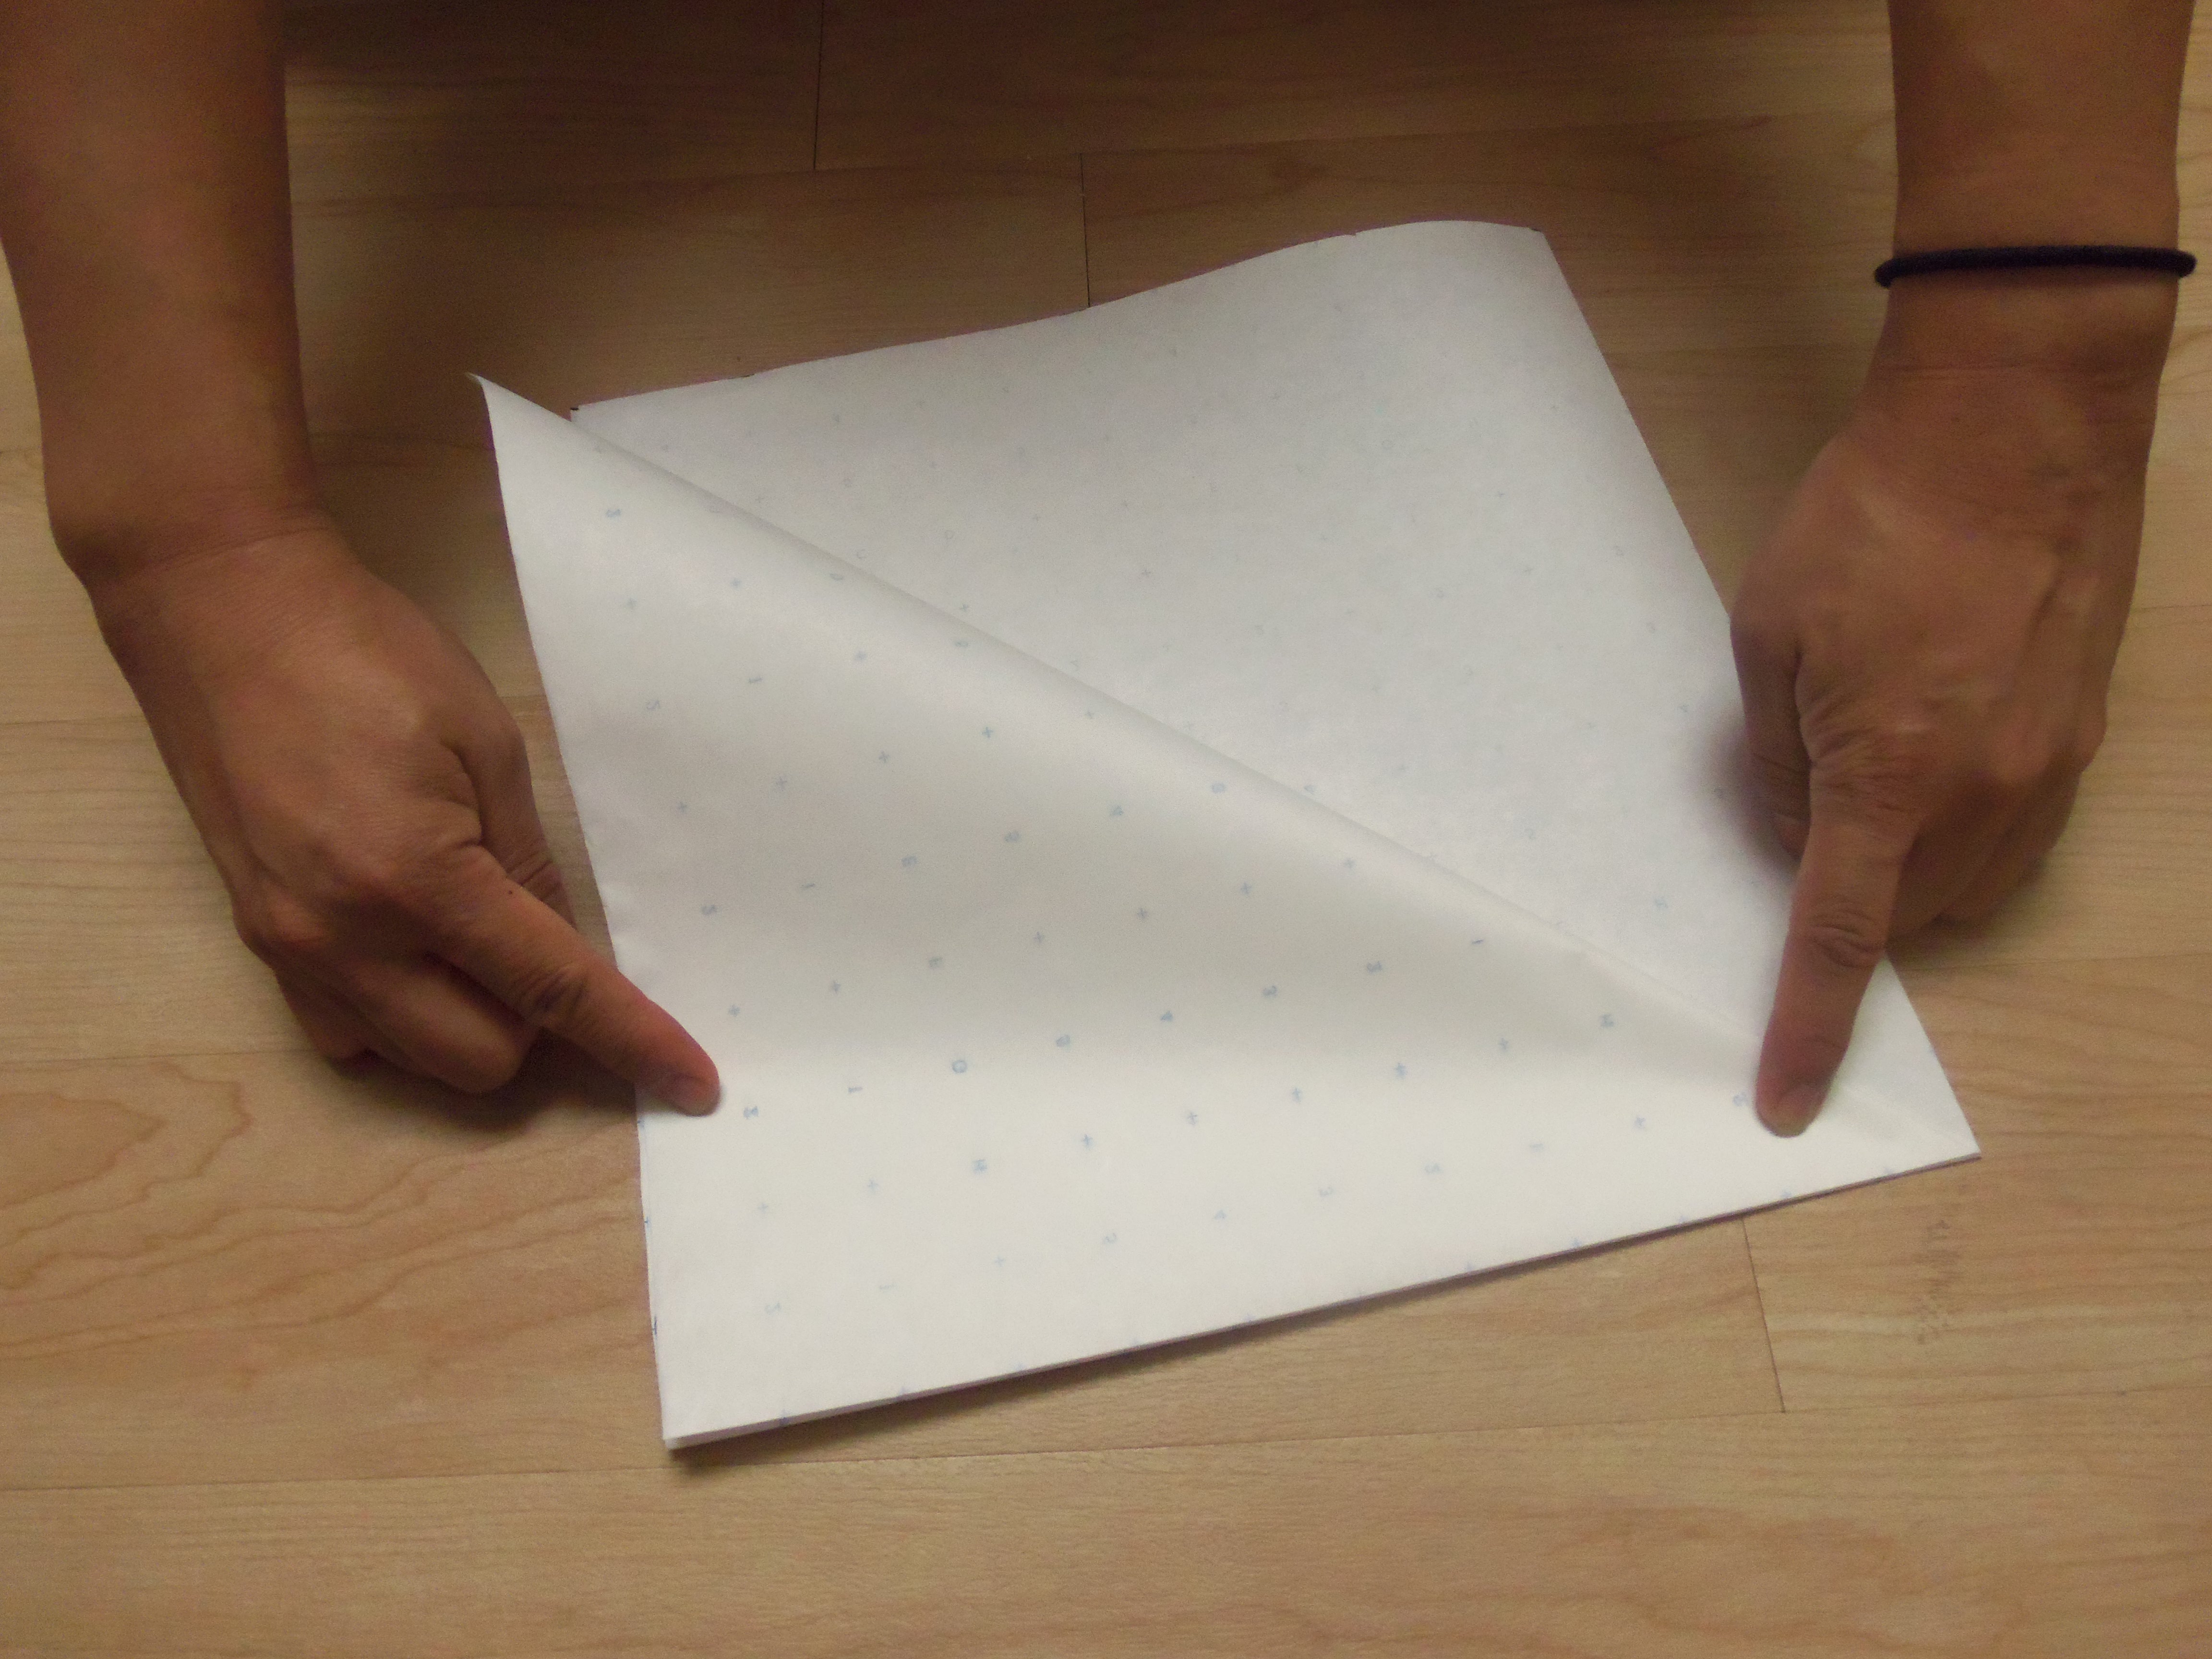
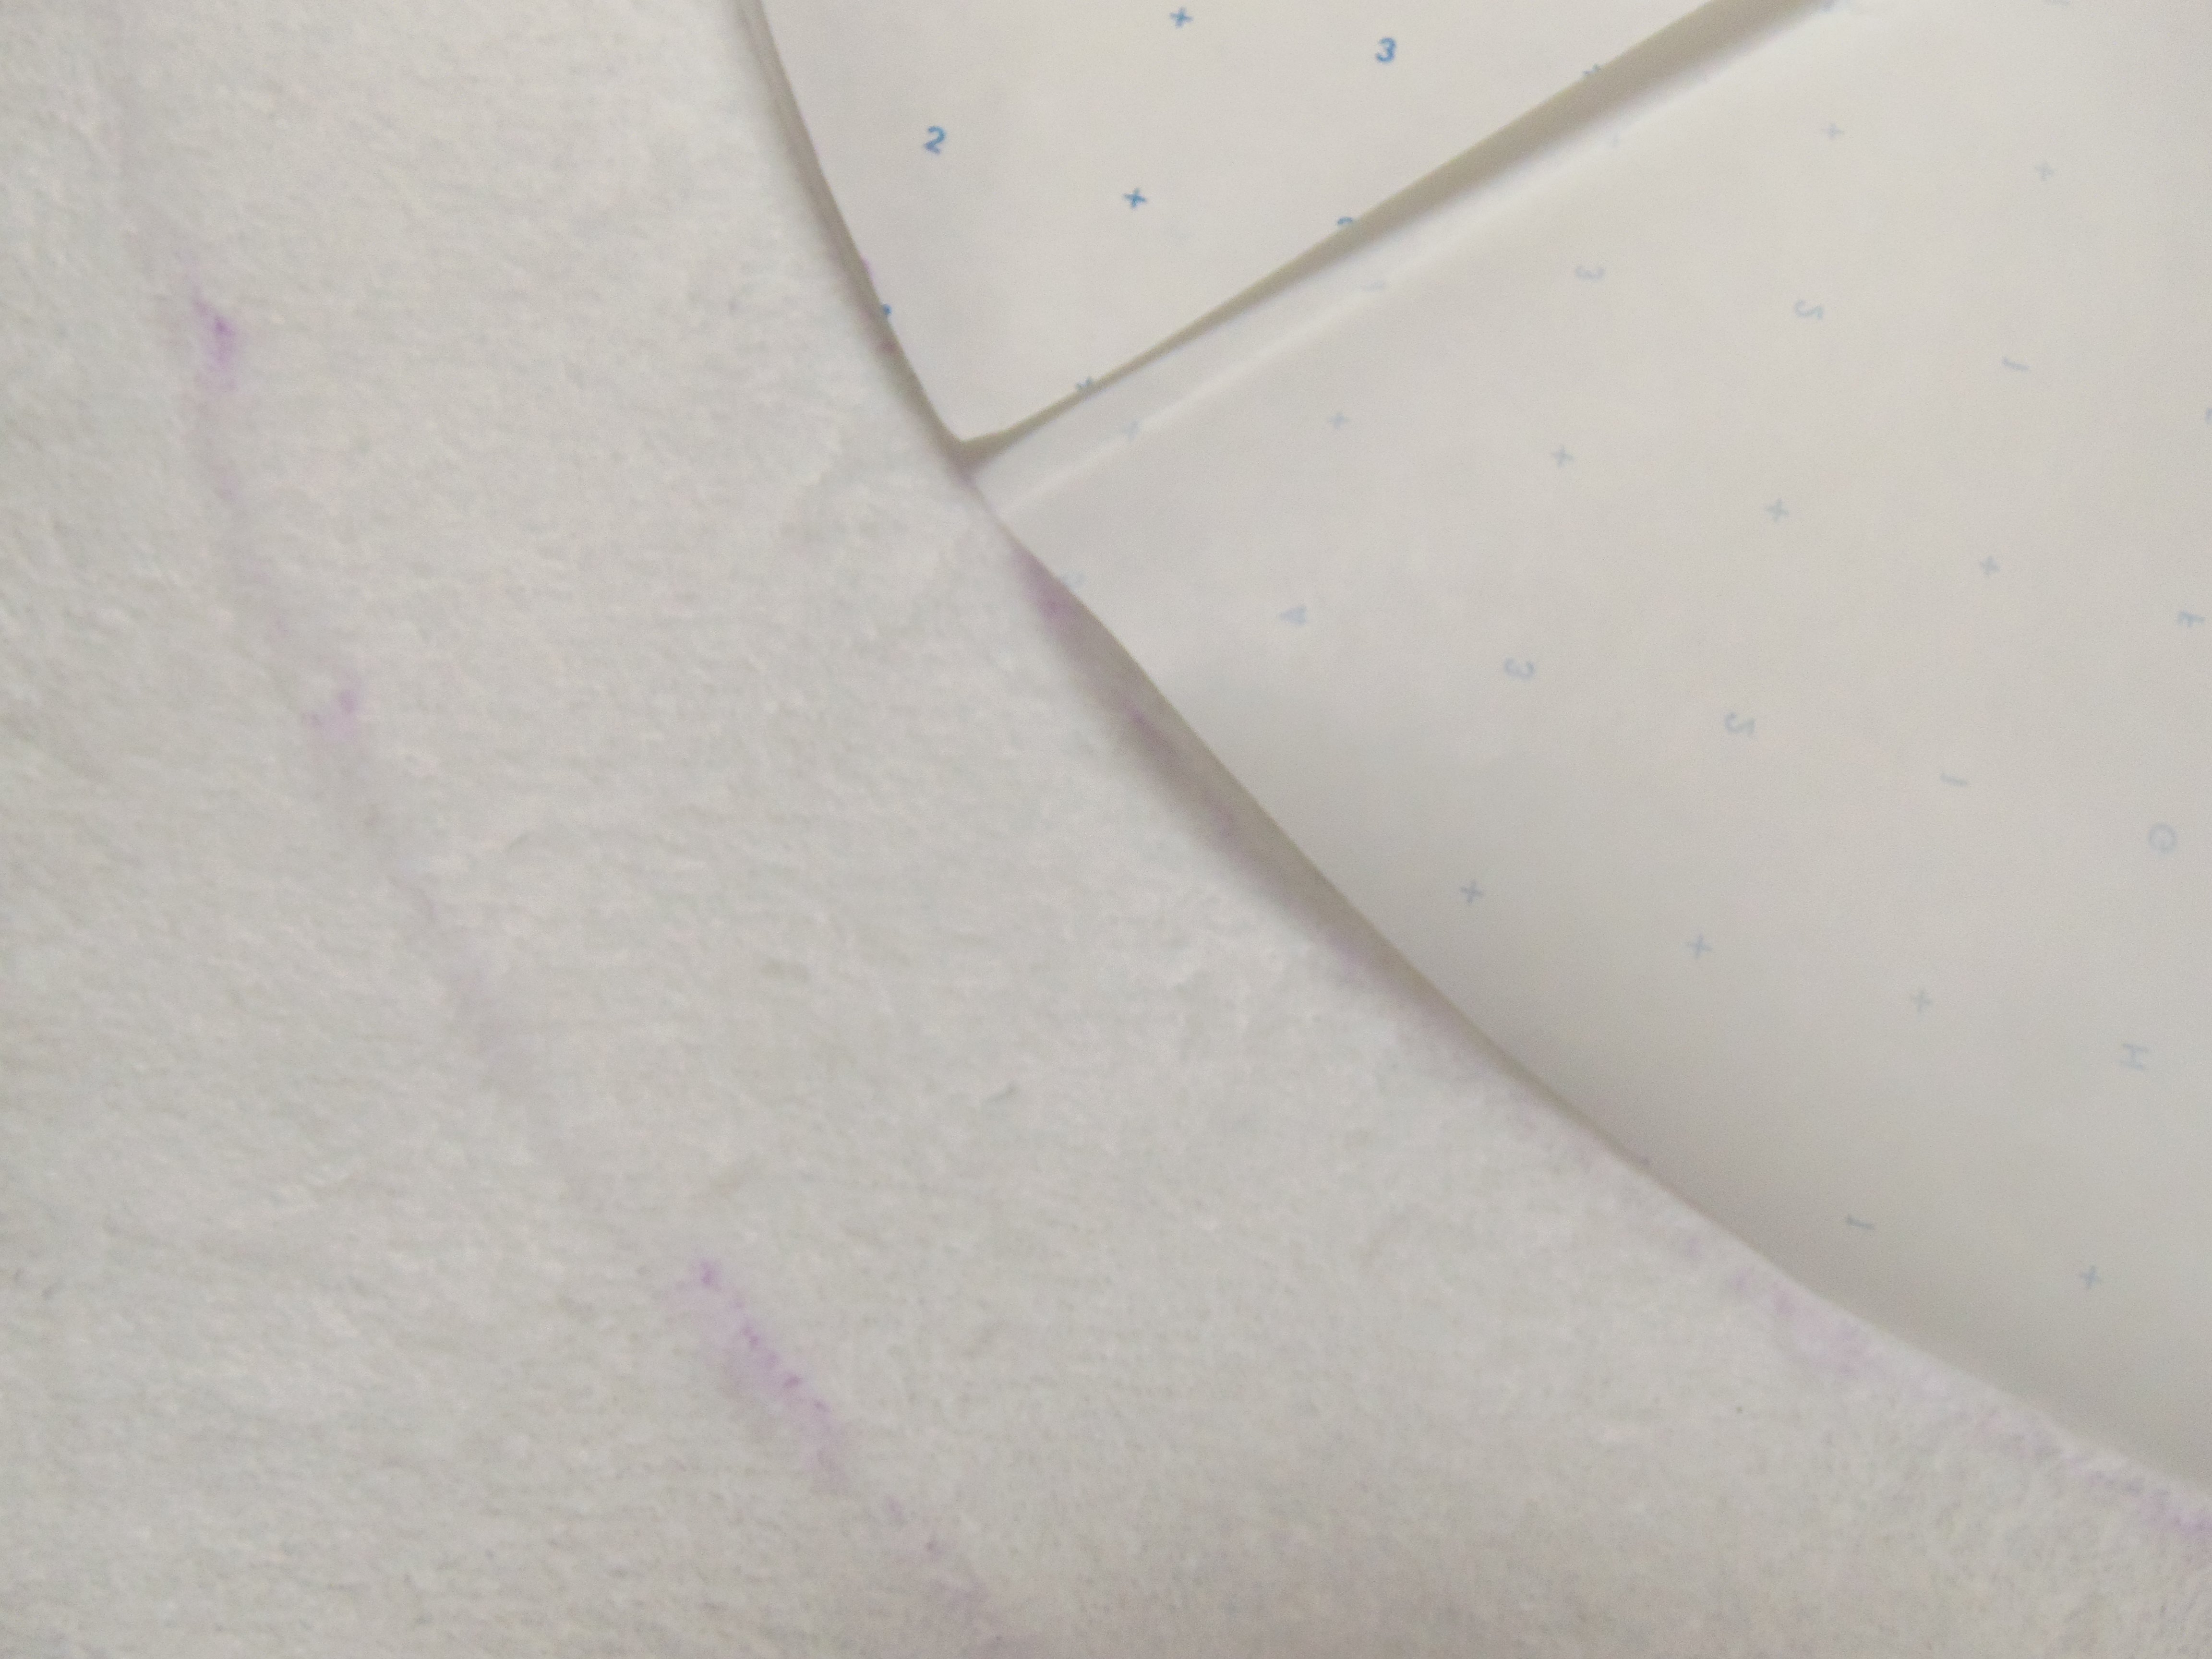
If you’re unfamiliar with how to make a tree skirt, here’s an easy way to get started. I used pattern paper to help me make my tree skirt pattern – i.e. a circle. I wanted my circle to be 24 inches across, so I cut a square out of the pattern paper that was 24 x 24 inches.

I folded the square in half width wise, then once more length wise. Then I folded back half a layer on either side so that it was now a triangle.


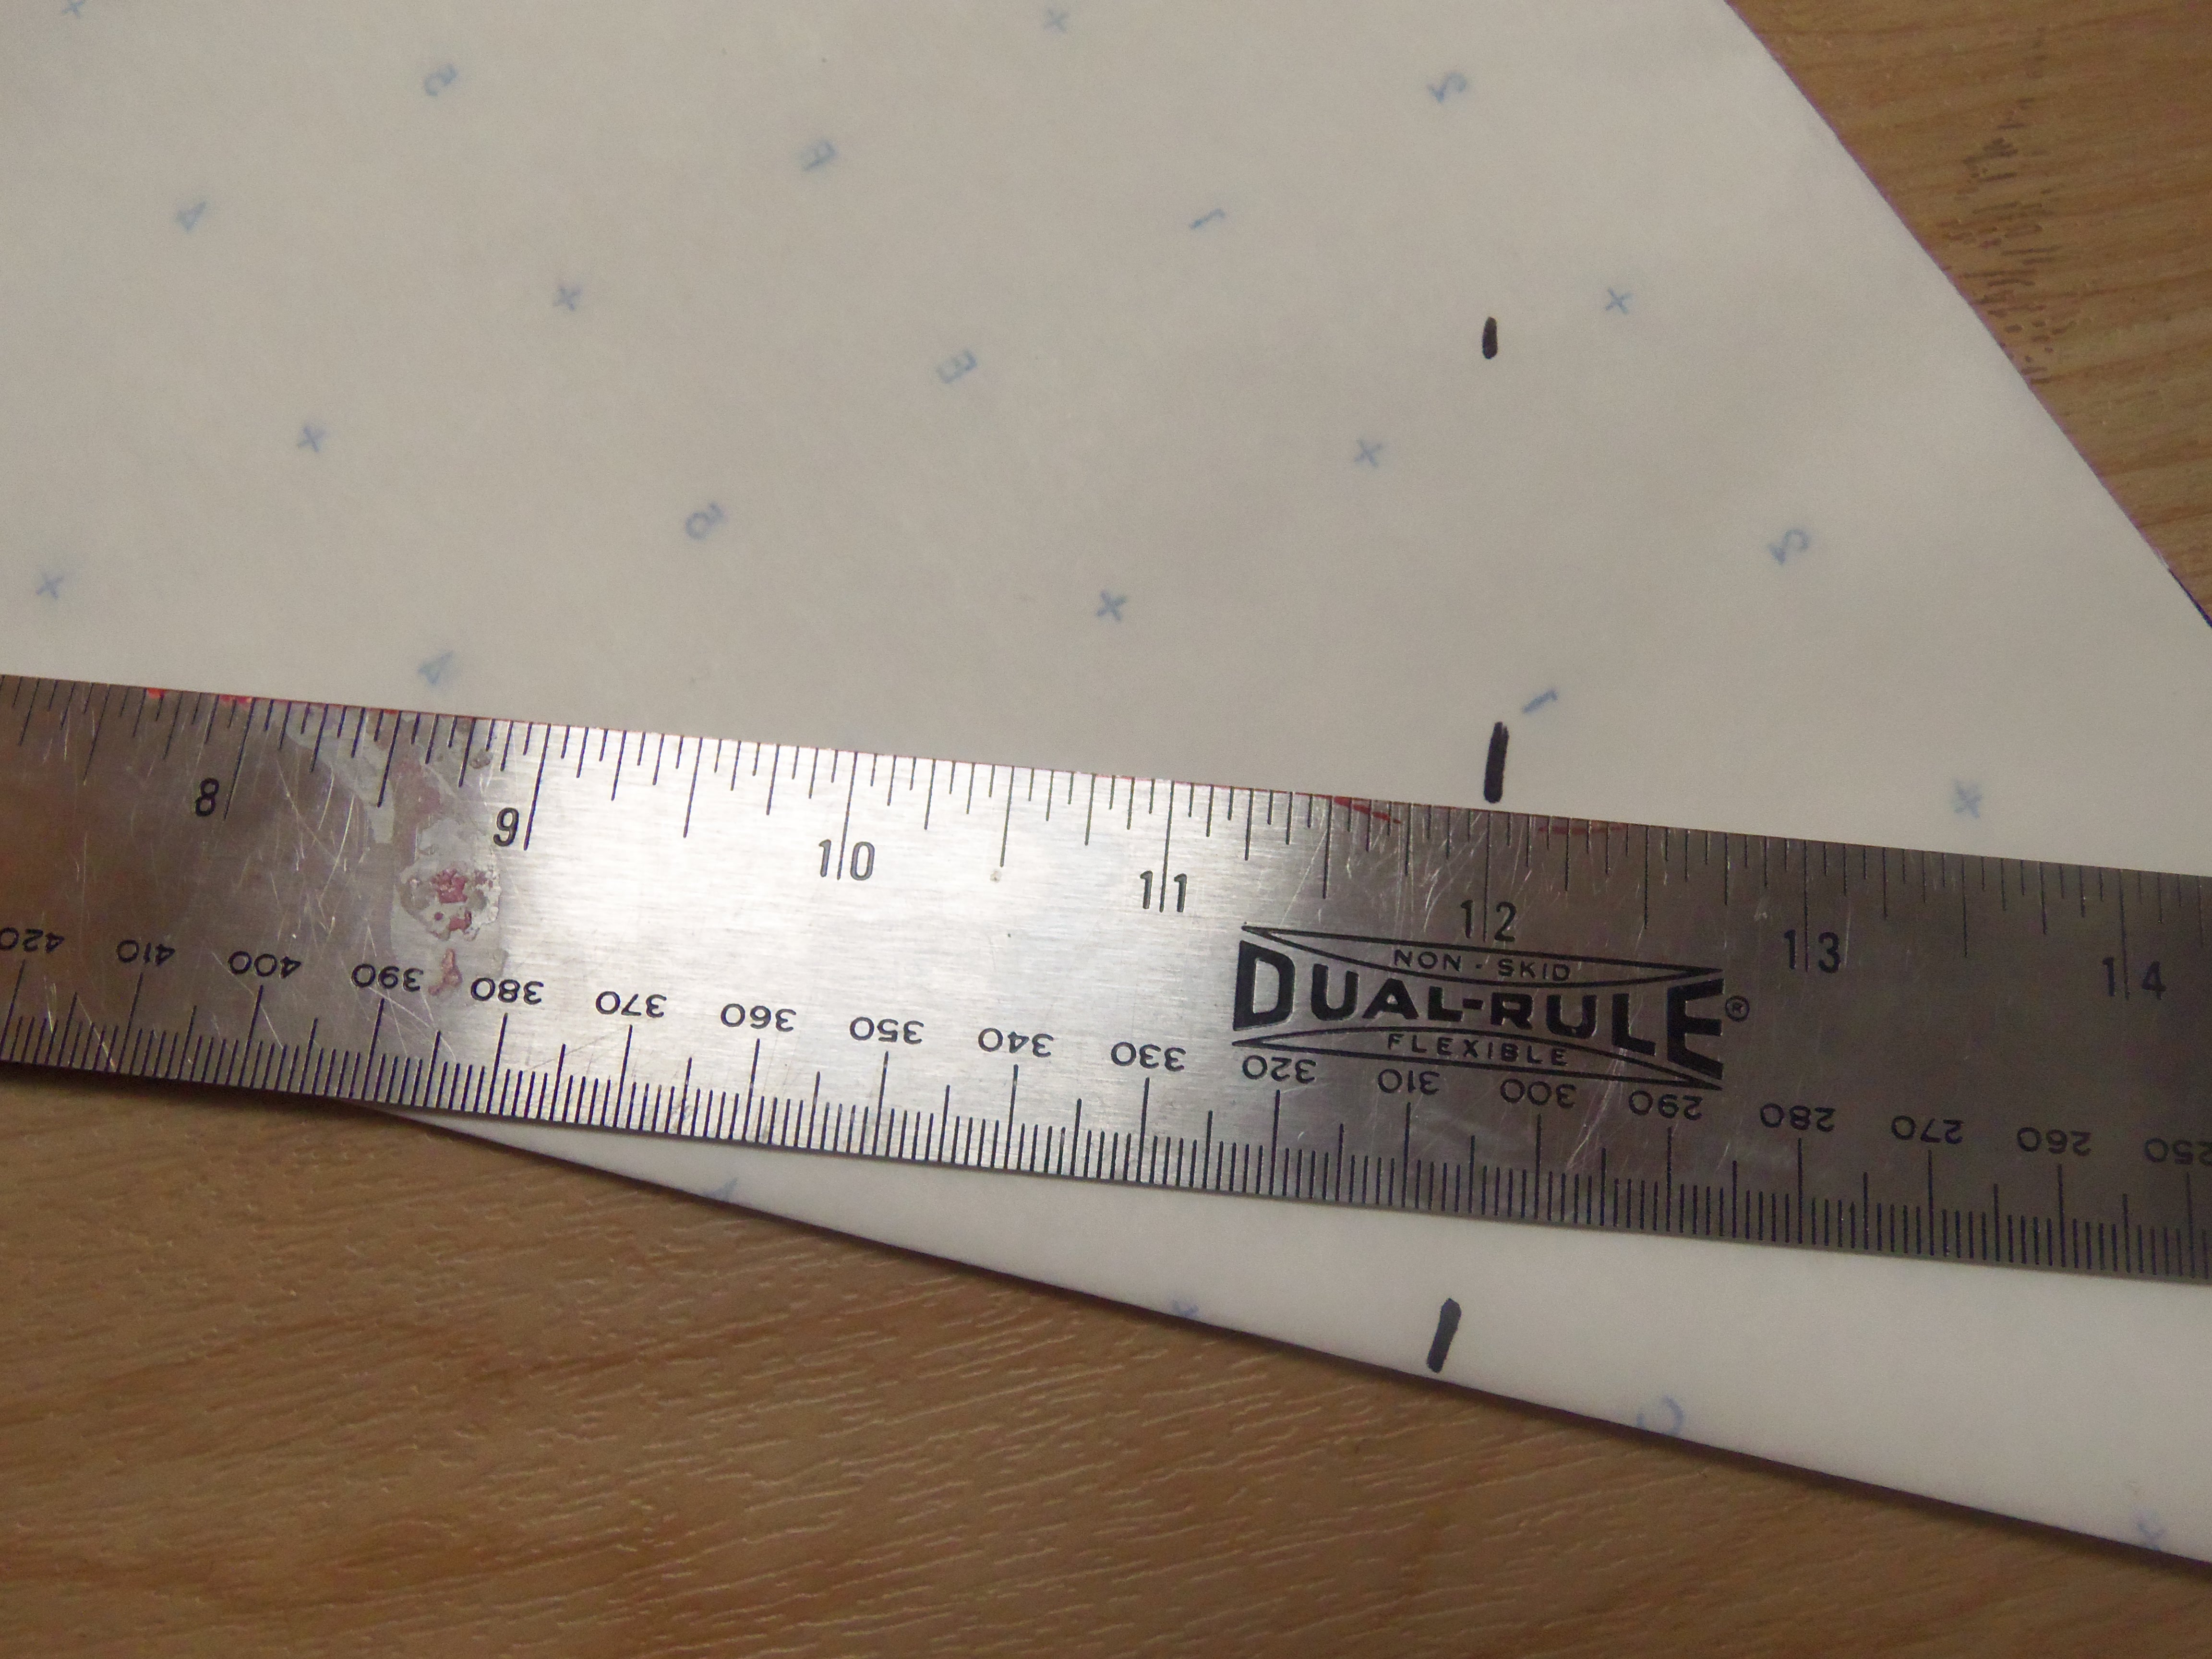
I measured 12 inches from the point of triangle, and marked 12 inches at intervals on the wide end of the triangle. This will give you your curve that will turn your square pattern into a circle pattern! You’ll also want to cut out a circle in the middle so your tree skirt can actually wrap around the base of your tree.
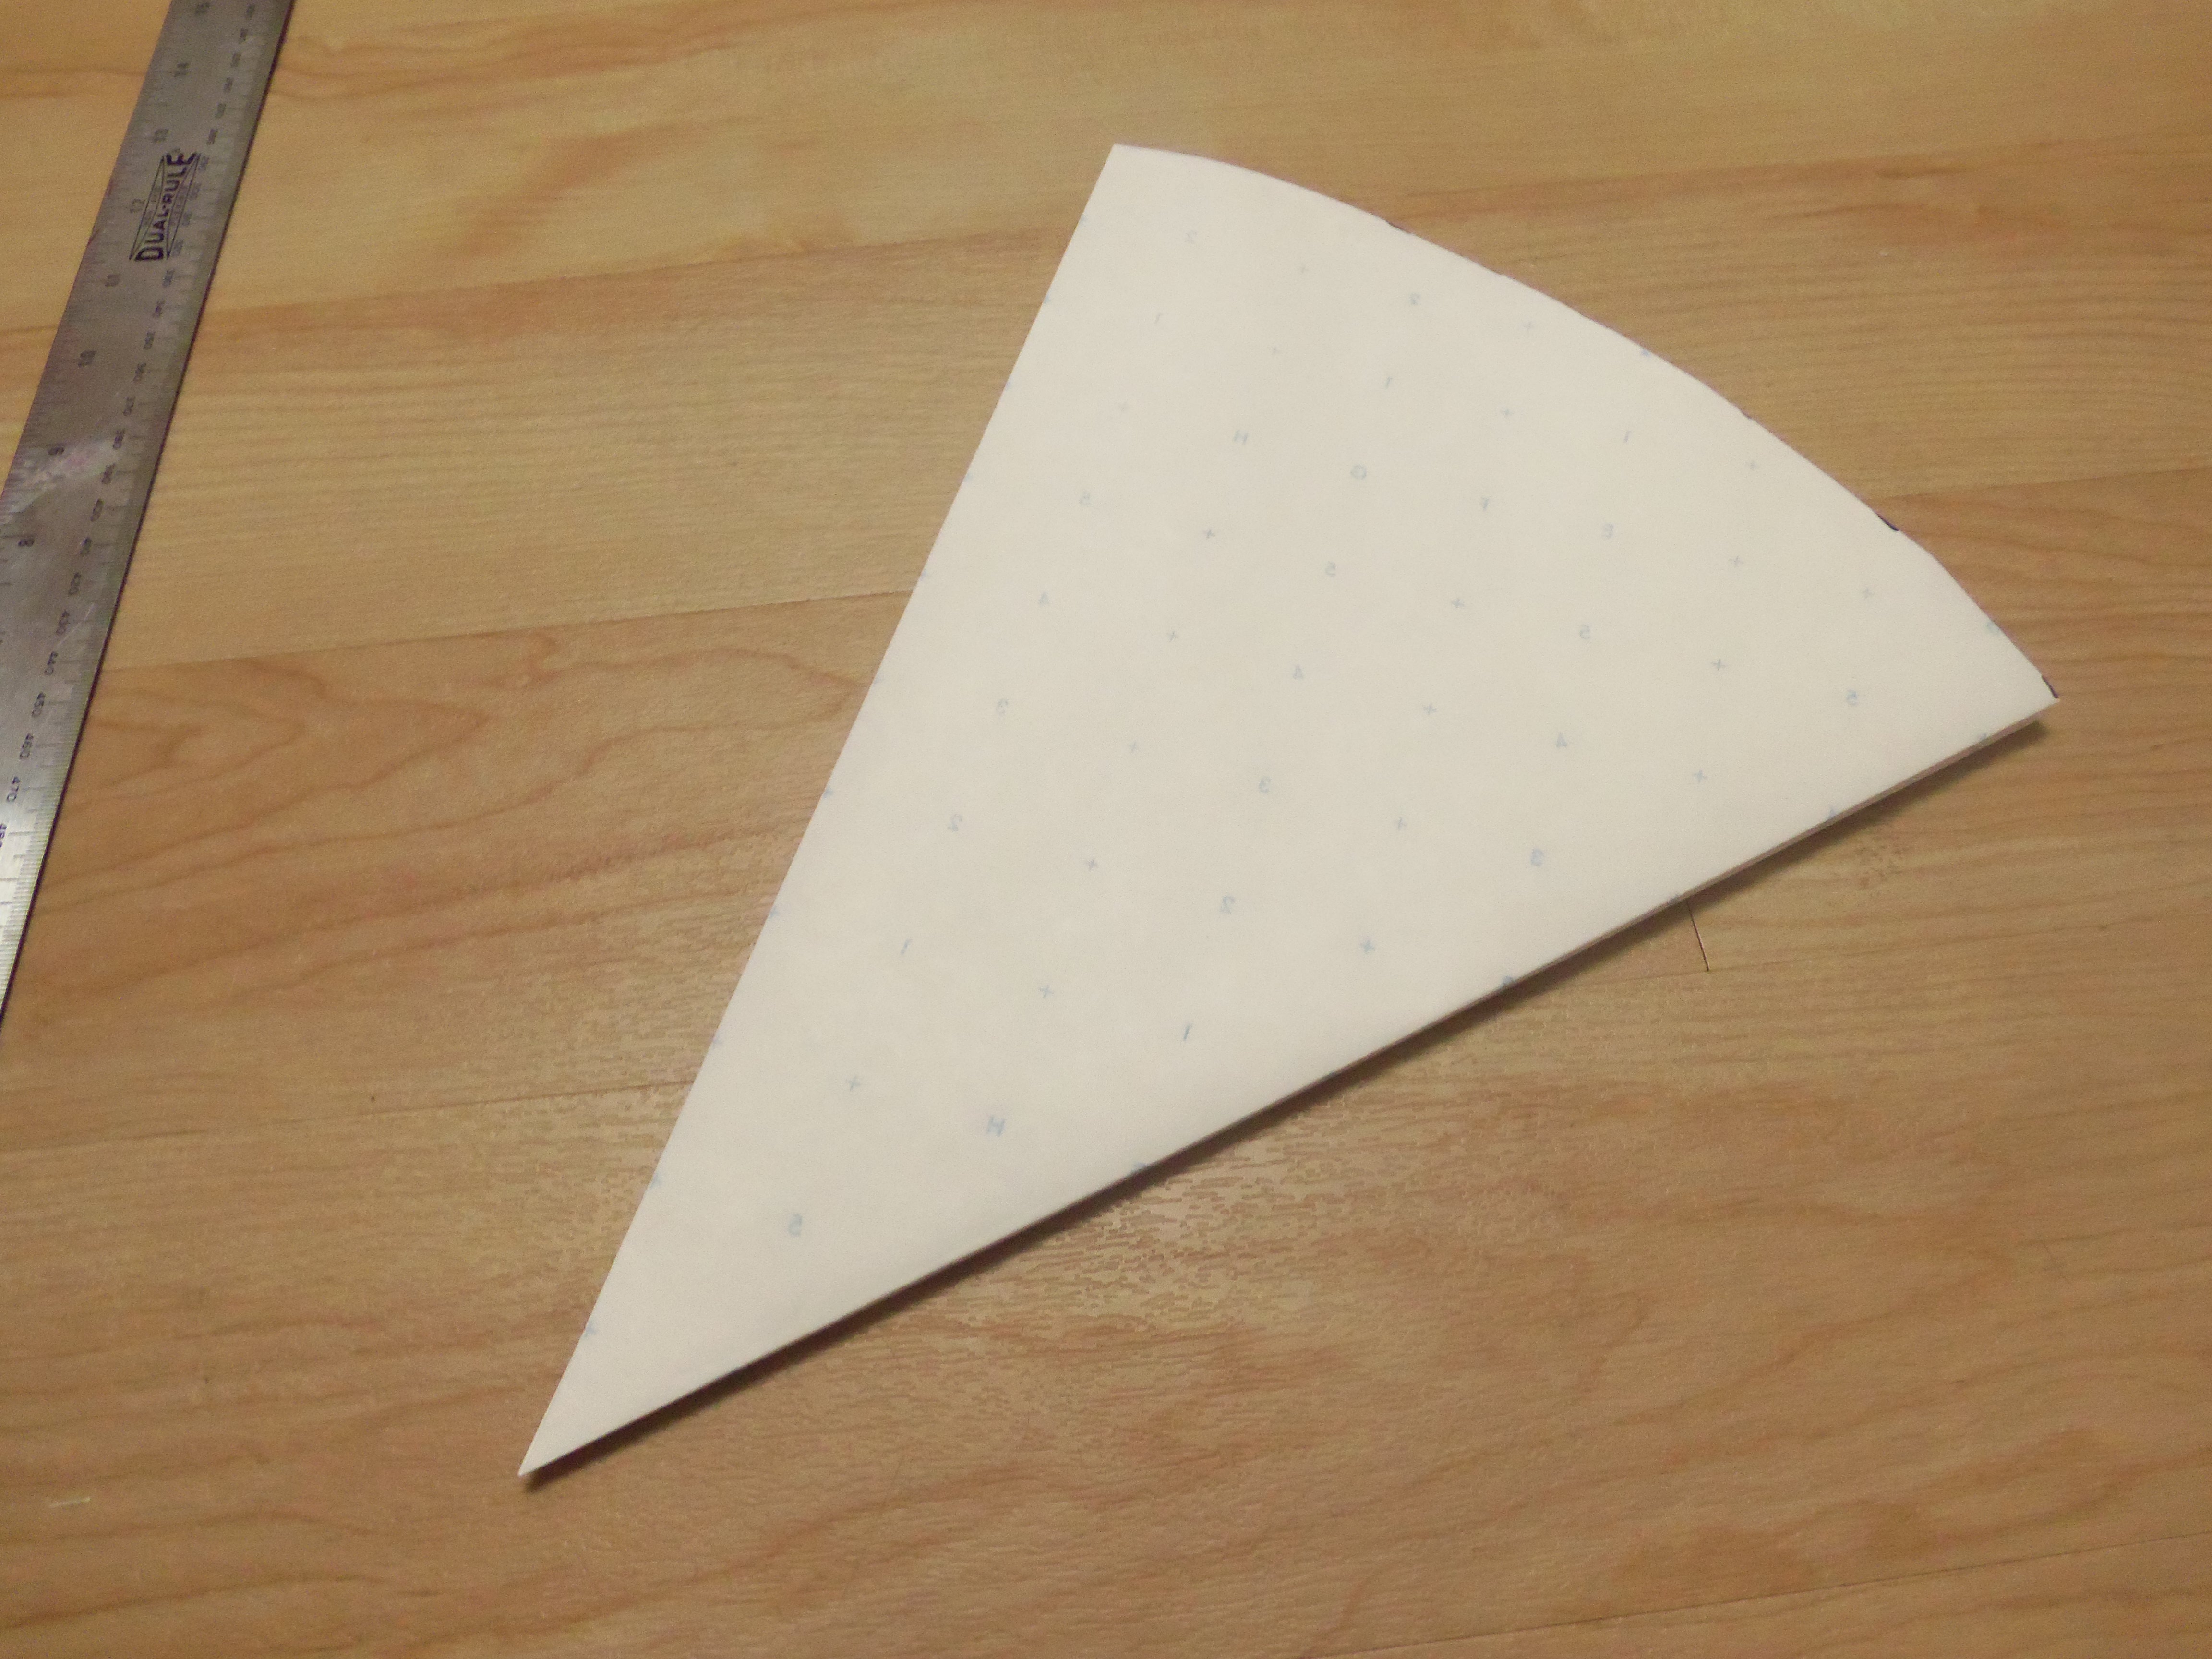
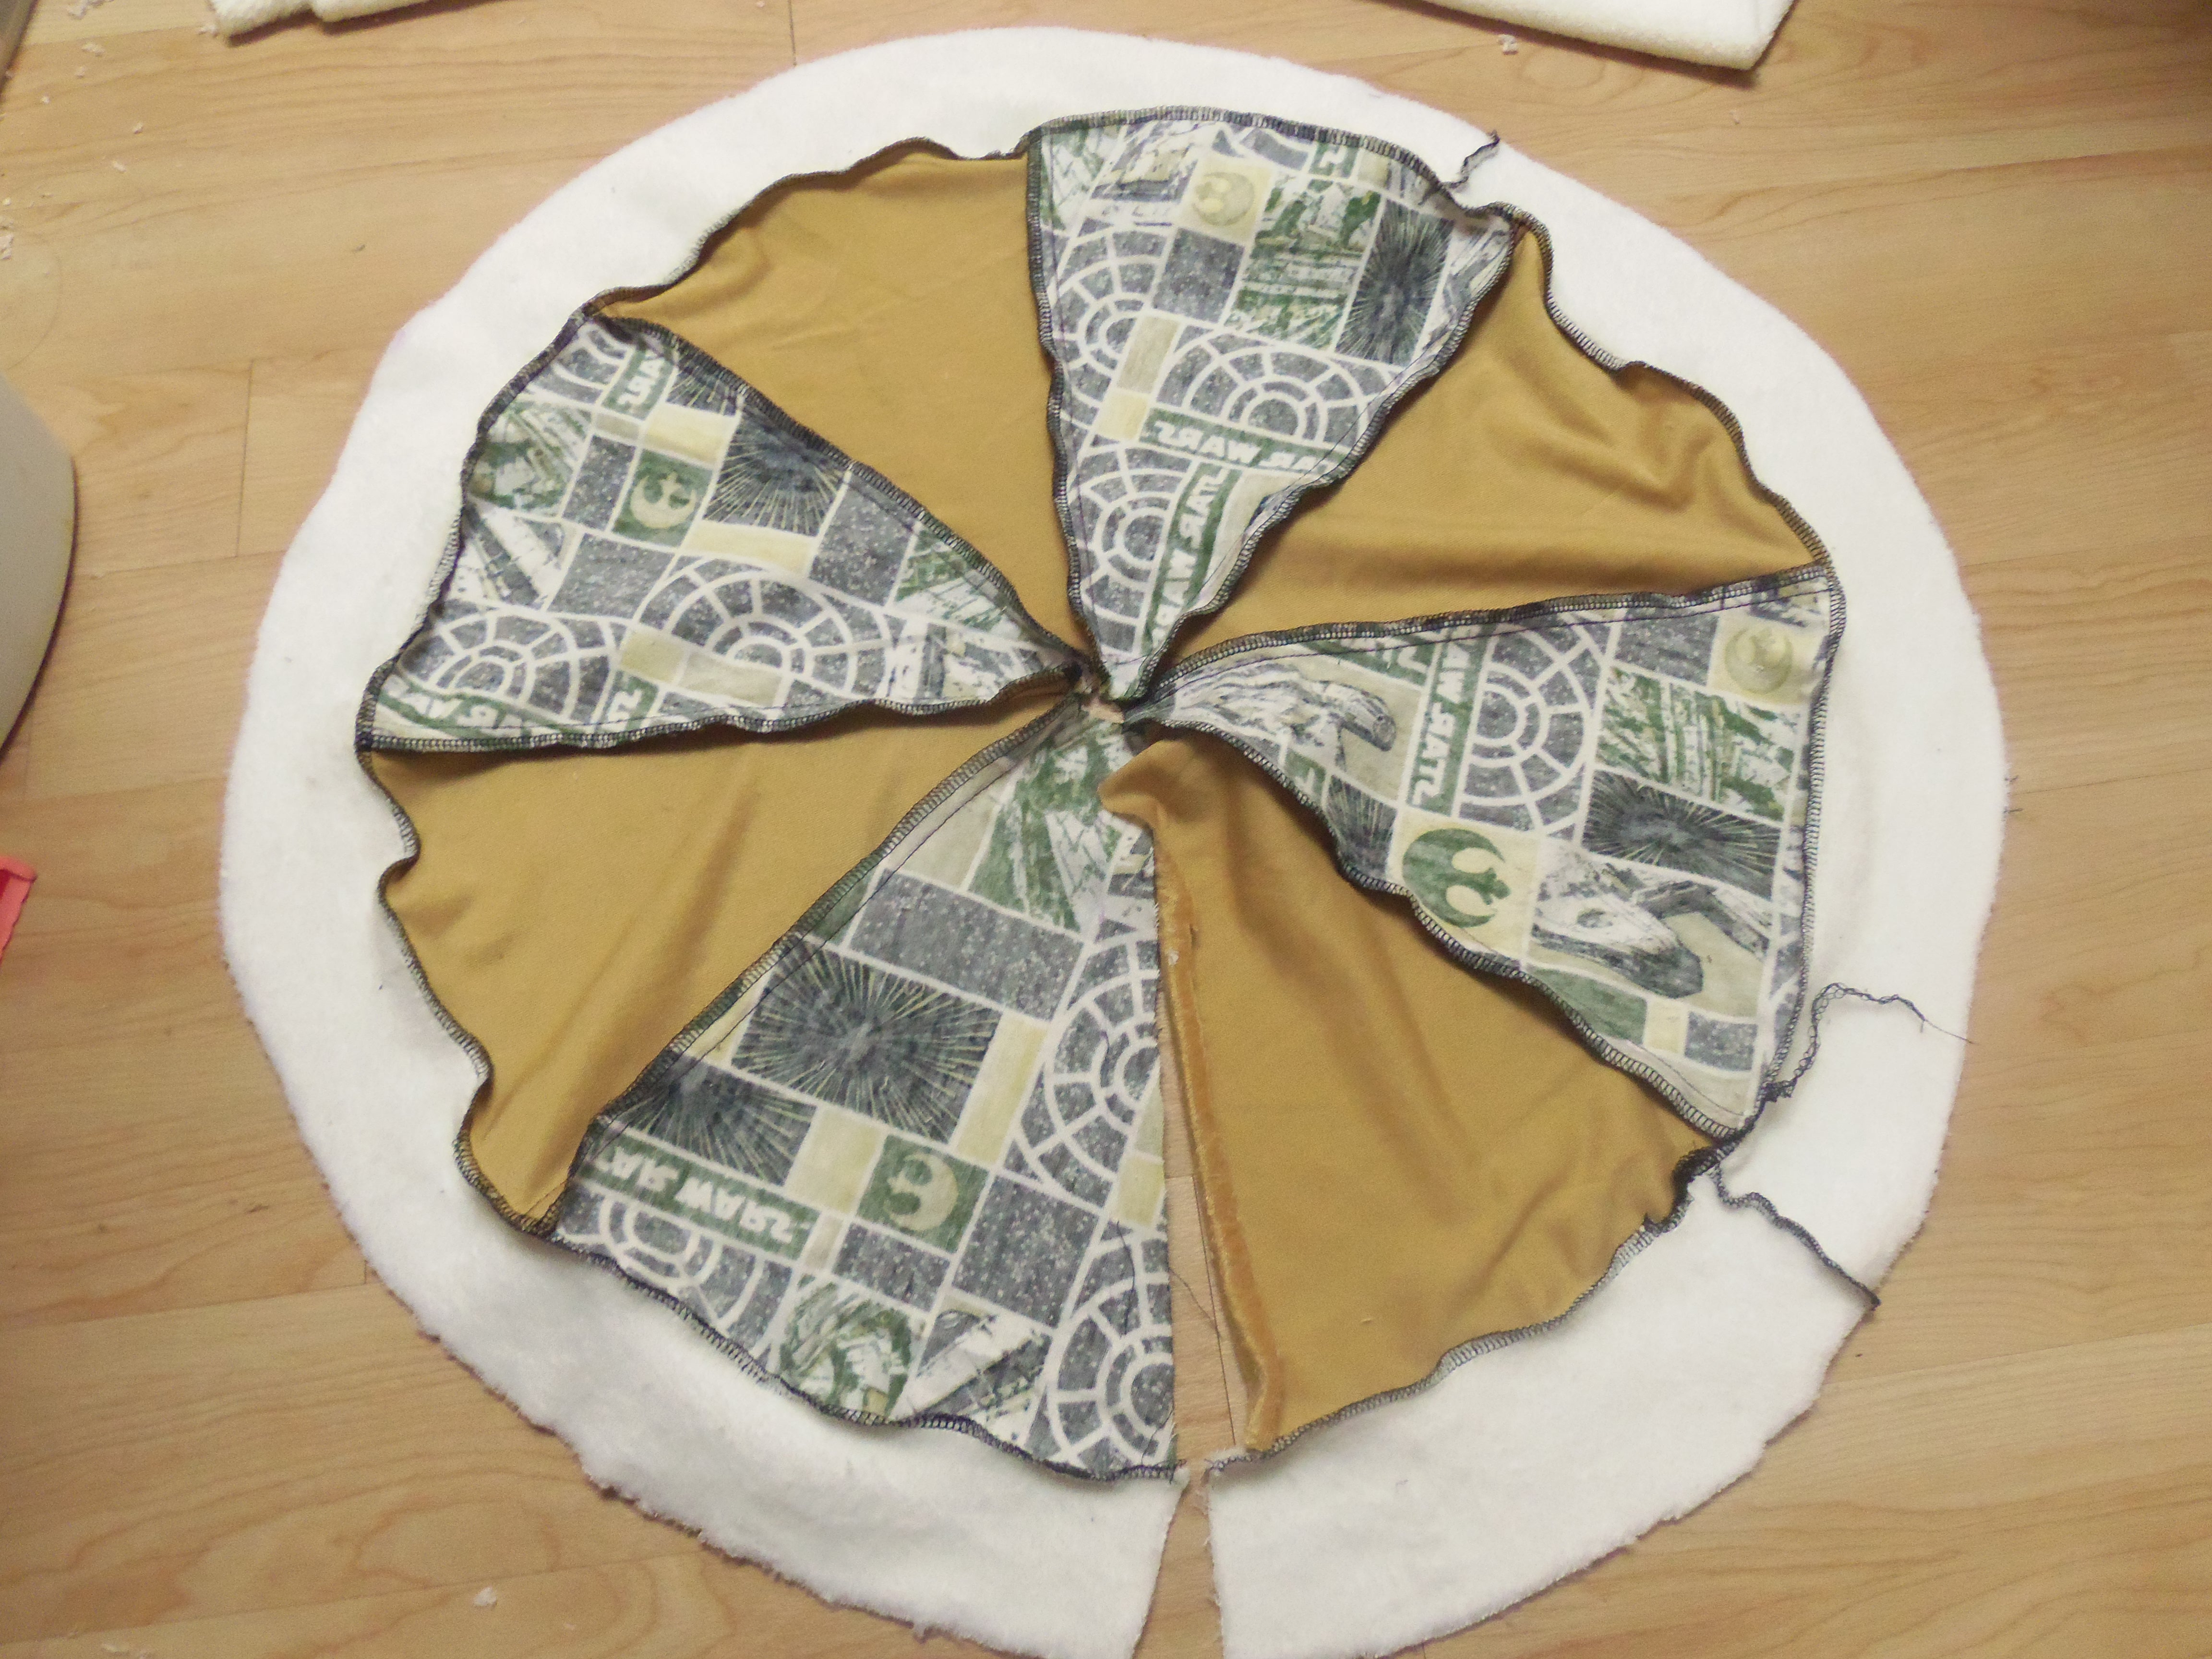
I cut out one pie shape from the circle pattern I’d made. This would be my pattern template to cut out my alternating gold and Star Wars fabric pieces.

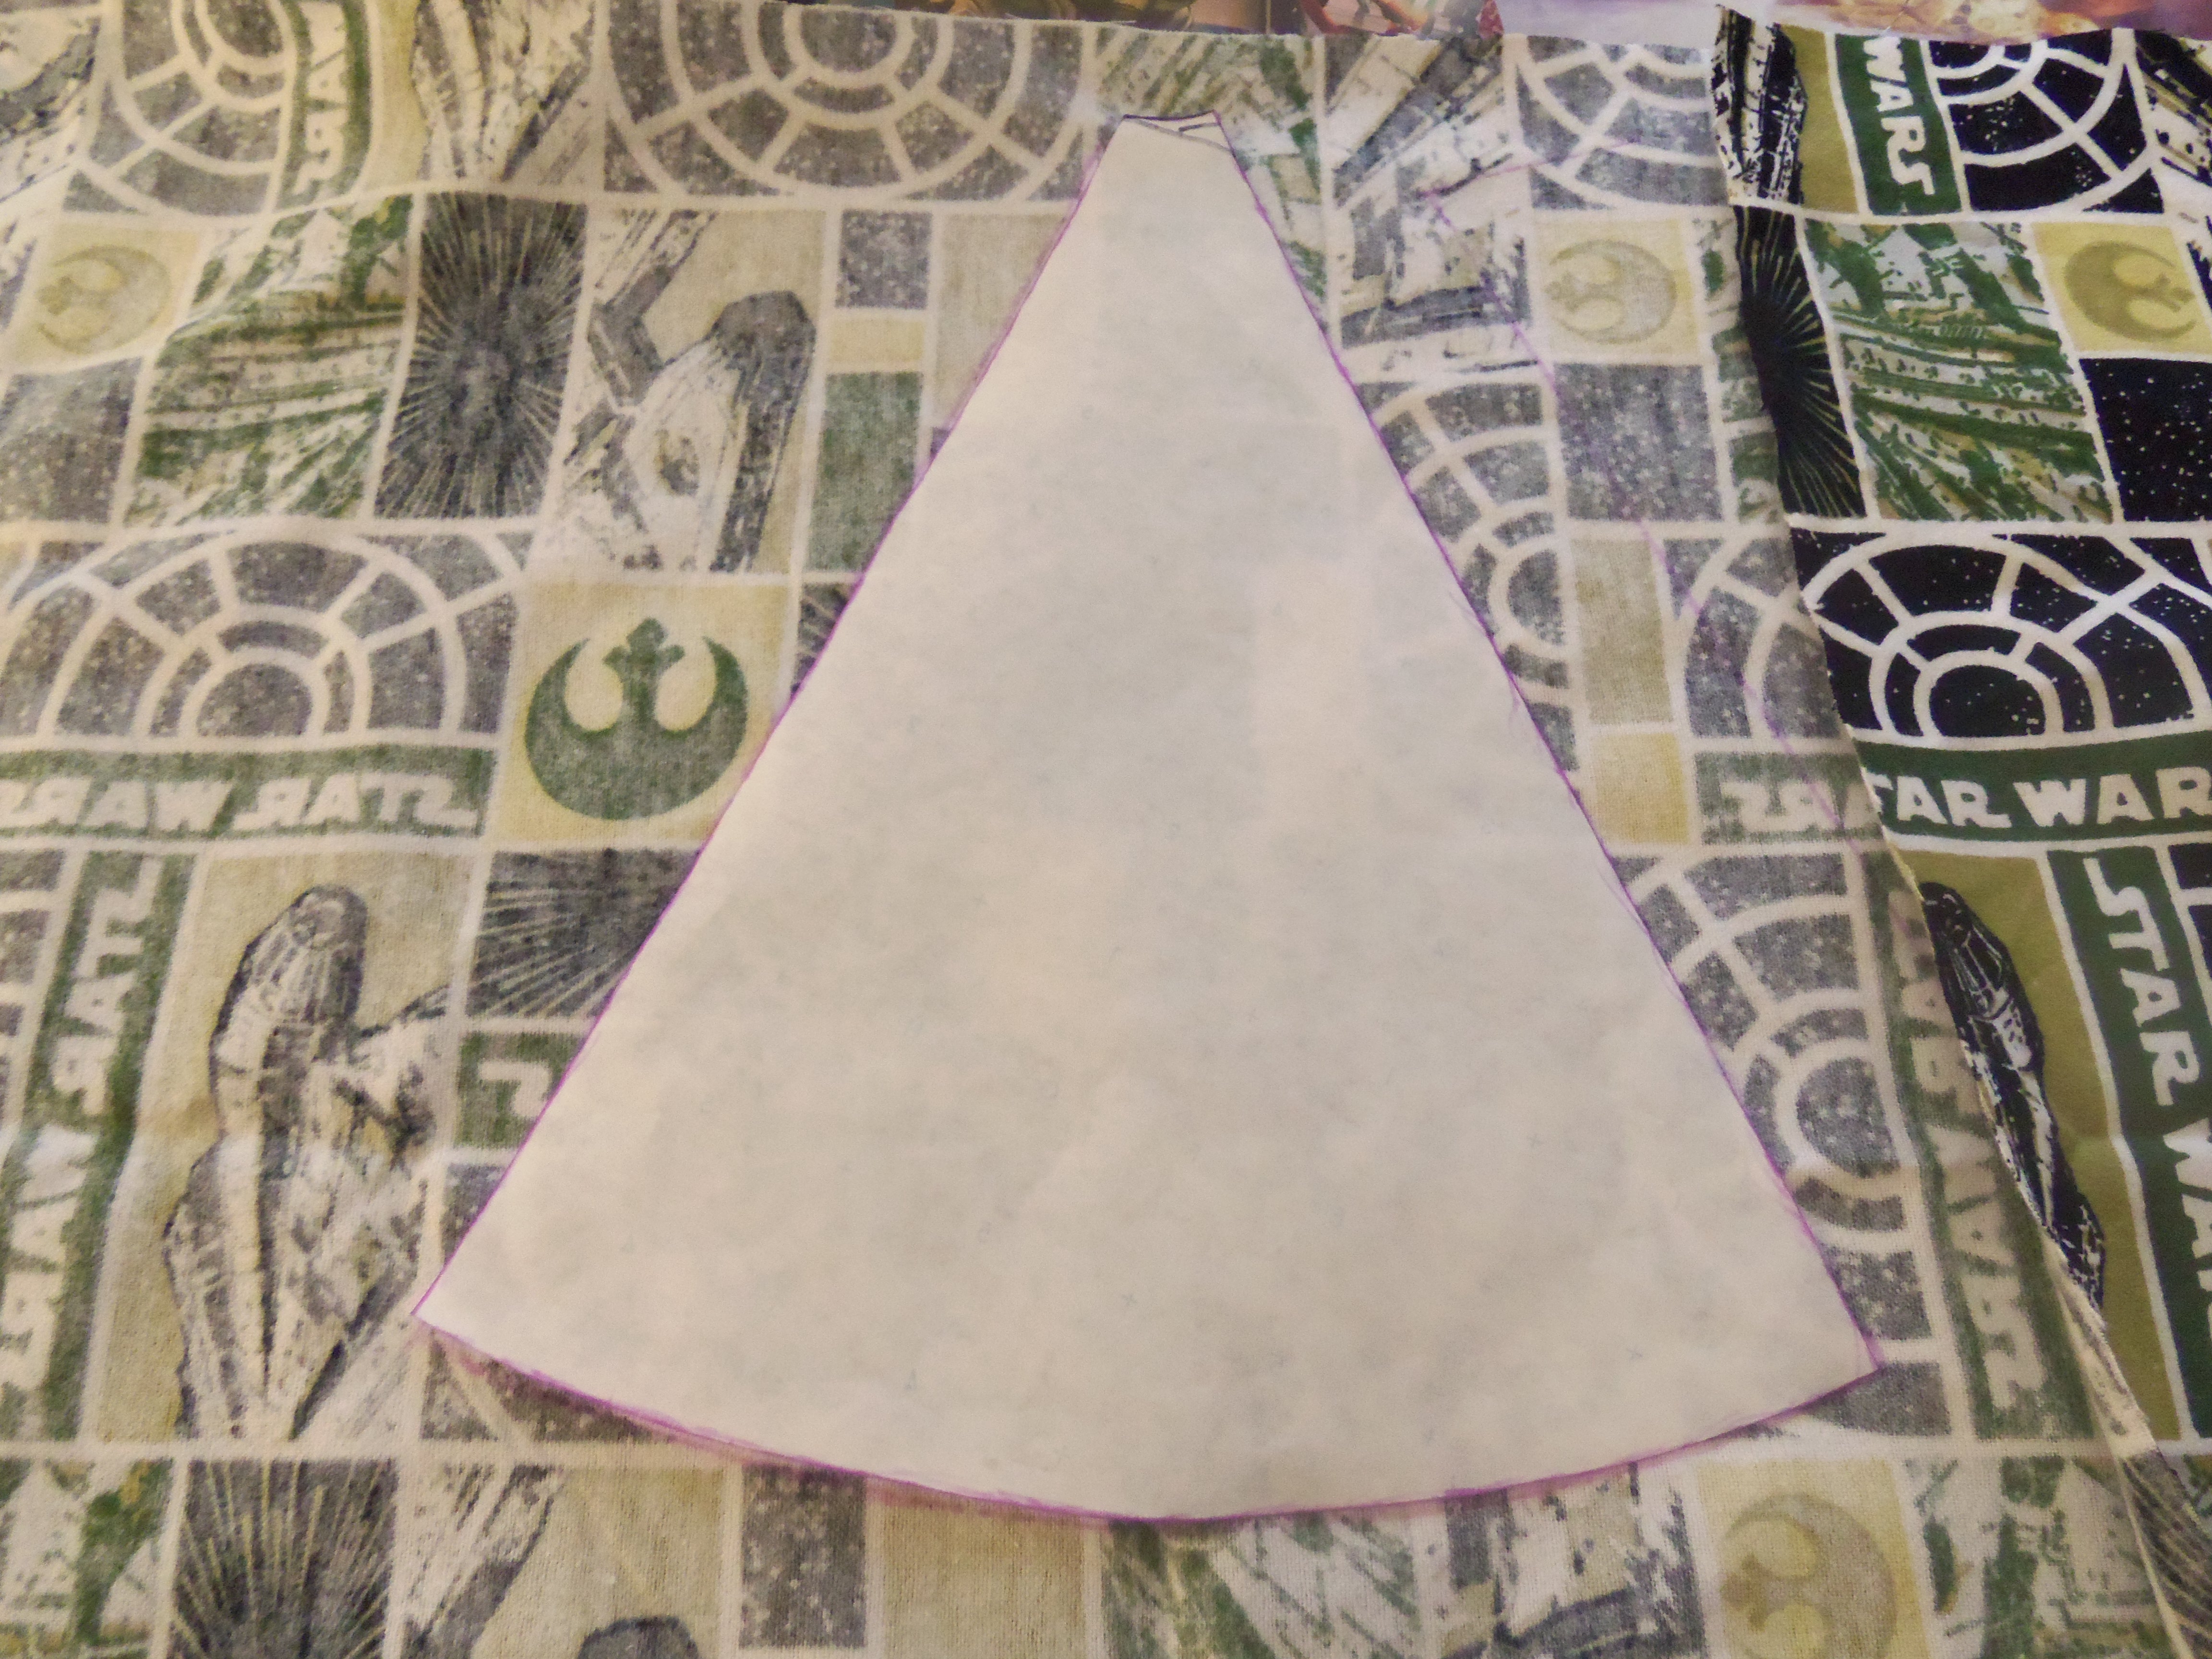
Once I had my 4 gold pieces and 4 Star Wars pieces cut out, I stitched them together. Make sure you don’t stitch your circle pieces completely together. You need to leave it open so that it can wrap around the tree trunk.


The pictures don’t show it, but I went back and cut out a solid circle of green fabric to act as the bottom layer of my tree skirt so that it was double-sided.
The next step was to add some trim. I picked up this plush white fabric to give more of a Christmas feel to my skirt. Be careful when using any fur or furry like fabric – it will shed like nobody’s business!!! Once again I used the circle skirt pattern I’d made to help me with this part of project. I folded the circle pattern in half and traced the outer edge onto the trim fabric. Then I measured 3 inches from those markings to create the trim piece I would cut out. Since these were half-circles, I stitched two of them together so I’d have a complete circle of trim. Because I was working with a two-layered tree skirt, I did this step twice.

Then it’s time to stitch the trim to the fabric circles. At this point, if you don’t want to make a double-sided tree skirt, you can just fold over and top stitch the open edges of your circle to have a finished tree skirt. If you want it to be double-sided, then it’s time to connect the two circles together. I placed my two circles pieces with right-sides facing one another and stitched them together everywhere except for a few inches open on one side of the circles so that I had an opening to pull everything right-side out. You can ladder-stitch or top-stitch this opening closed.

Christmas is almost here, but there’s still plenty of time to try your hand at our holiday DIYs and have yourself a geeky little Christmas! We’d love to see what holiday DIYs you’ve done, and if you try your hand at this one! Share your holiday DIYs and/or geeky holiday decor with us on our Facebook and Twitter!


Reblogged this on Jaclyn's Misadventures in Costuming and commented:
Totally need to do this for next christmas. My tree is already filled with spaceships, now I need a little extra sci fi tree skirt to go with it. Eventually my hubby is going to kill me, or find a way for us to have a “traditional” tree and a smaller geeky tree.
[…] our DIYs from last year to add a little geek charm to your holidays: Stockings, Decorative Candles, Tree Skirt, Decorative Plates, and Gift […]