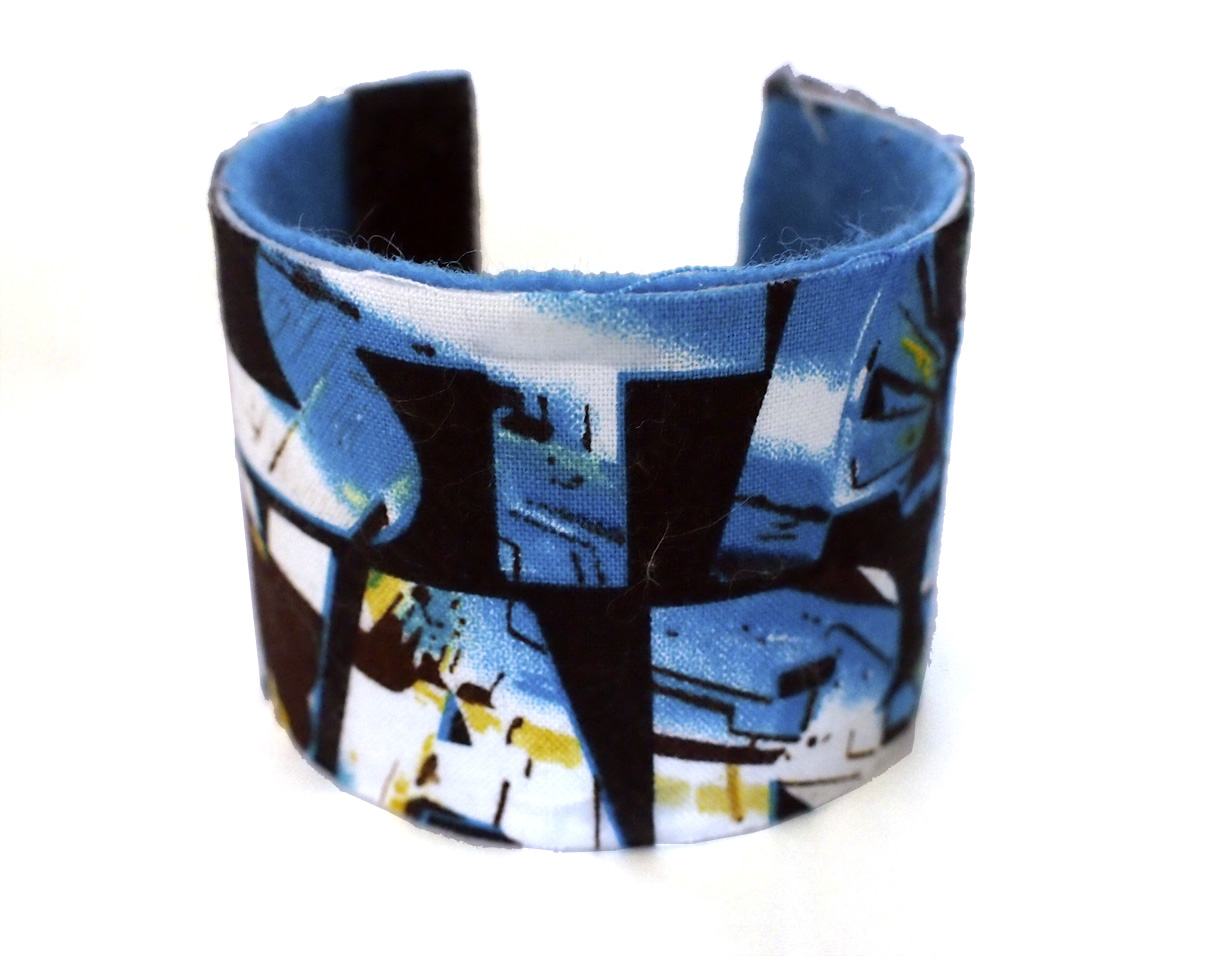
Sometimes as costumers, we often will find inspiration for a DIY from stuff we may have lying around from costume projects. As I was gearing up for Wondercon, I came up with an idea for a fun bracelet using a thermoplastic called Wonderflex, and this is what I came up with!
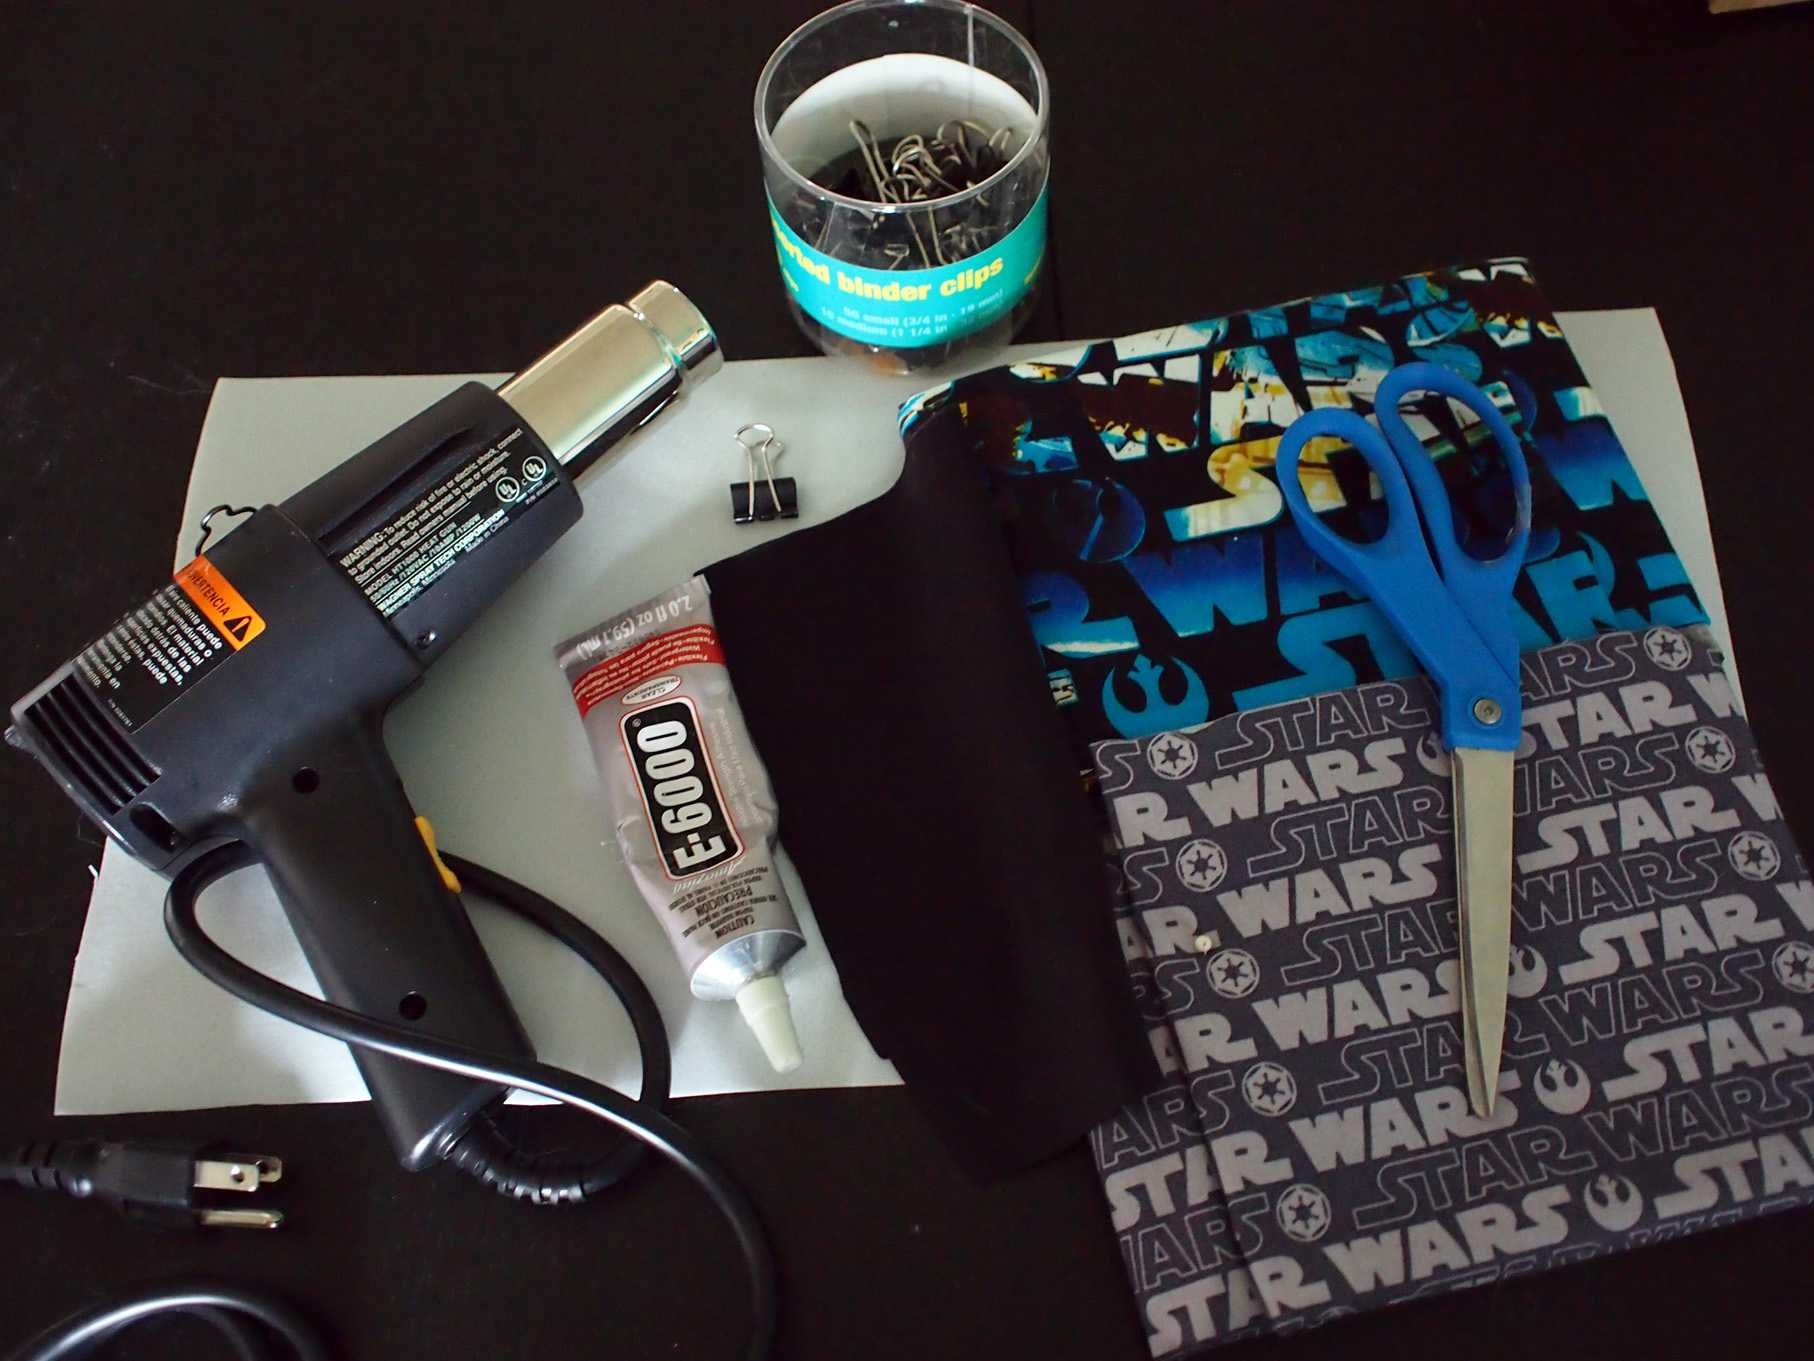
Supplies Needed:
- Wonderflex
- Fabric of choice
- Glue
- Binder clips
- Scissors
- Heat gun
- Velcro
First you’ll want to measure around your wrist the determine the length you’re going to need. Mine is about 7 inches. Now, you can either create a bracelet that’s open and just slips on, or you have the option you close it with something like velcro. That will determine how long you make it. I added 1″ since I wanted to make a closed bracelet. Once you have the length, you can determine how wide you’ll want it to be. Mine was determined by the fabric print I used.
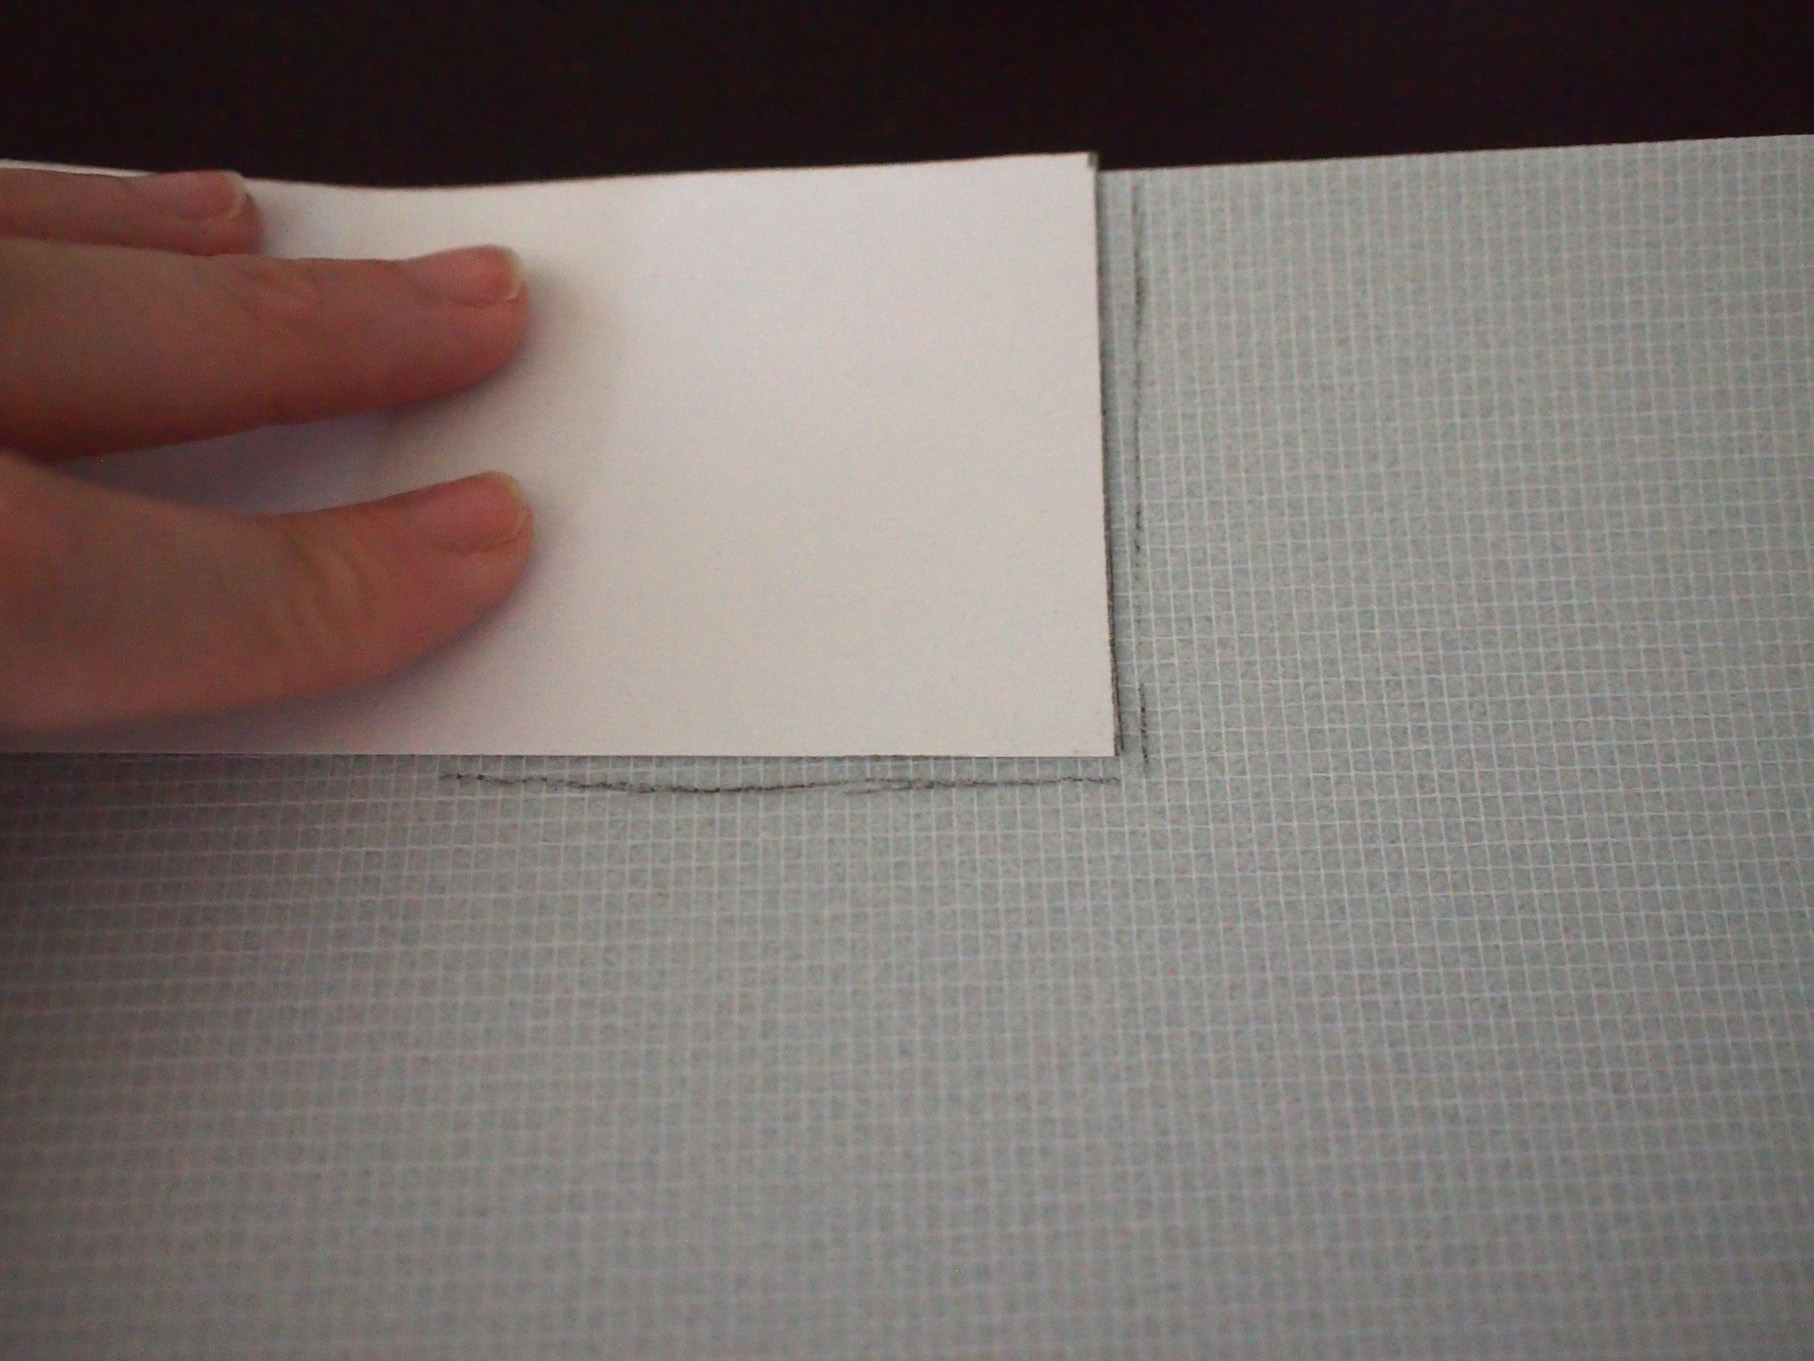
What I typically do next is I create a paper template to figure out my pattern.

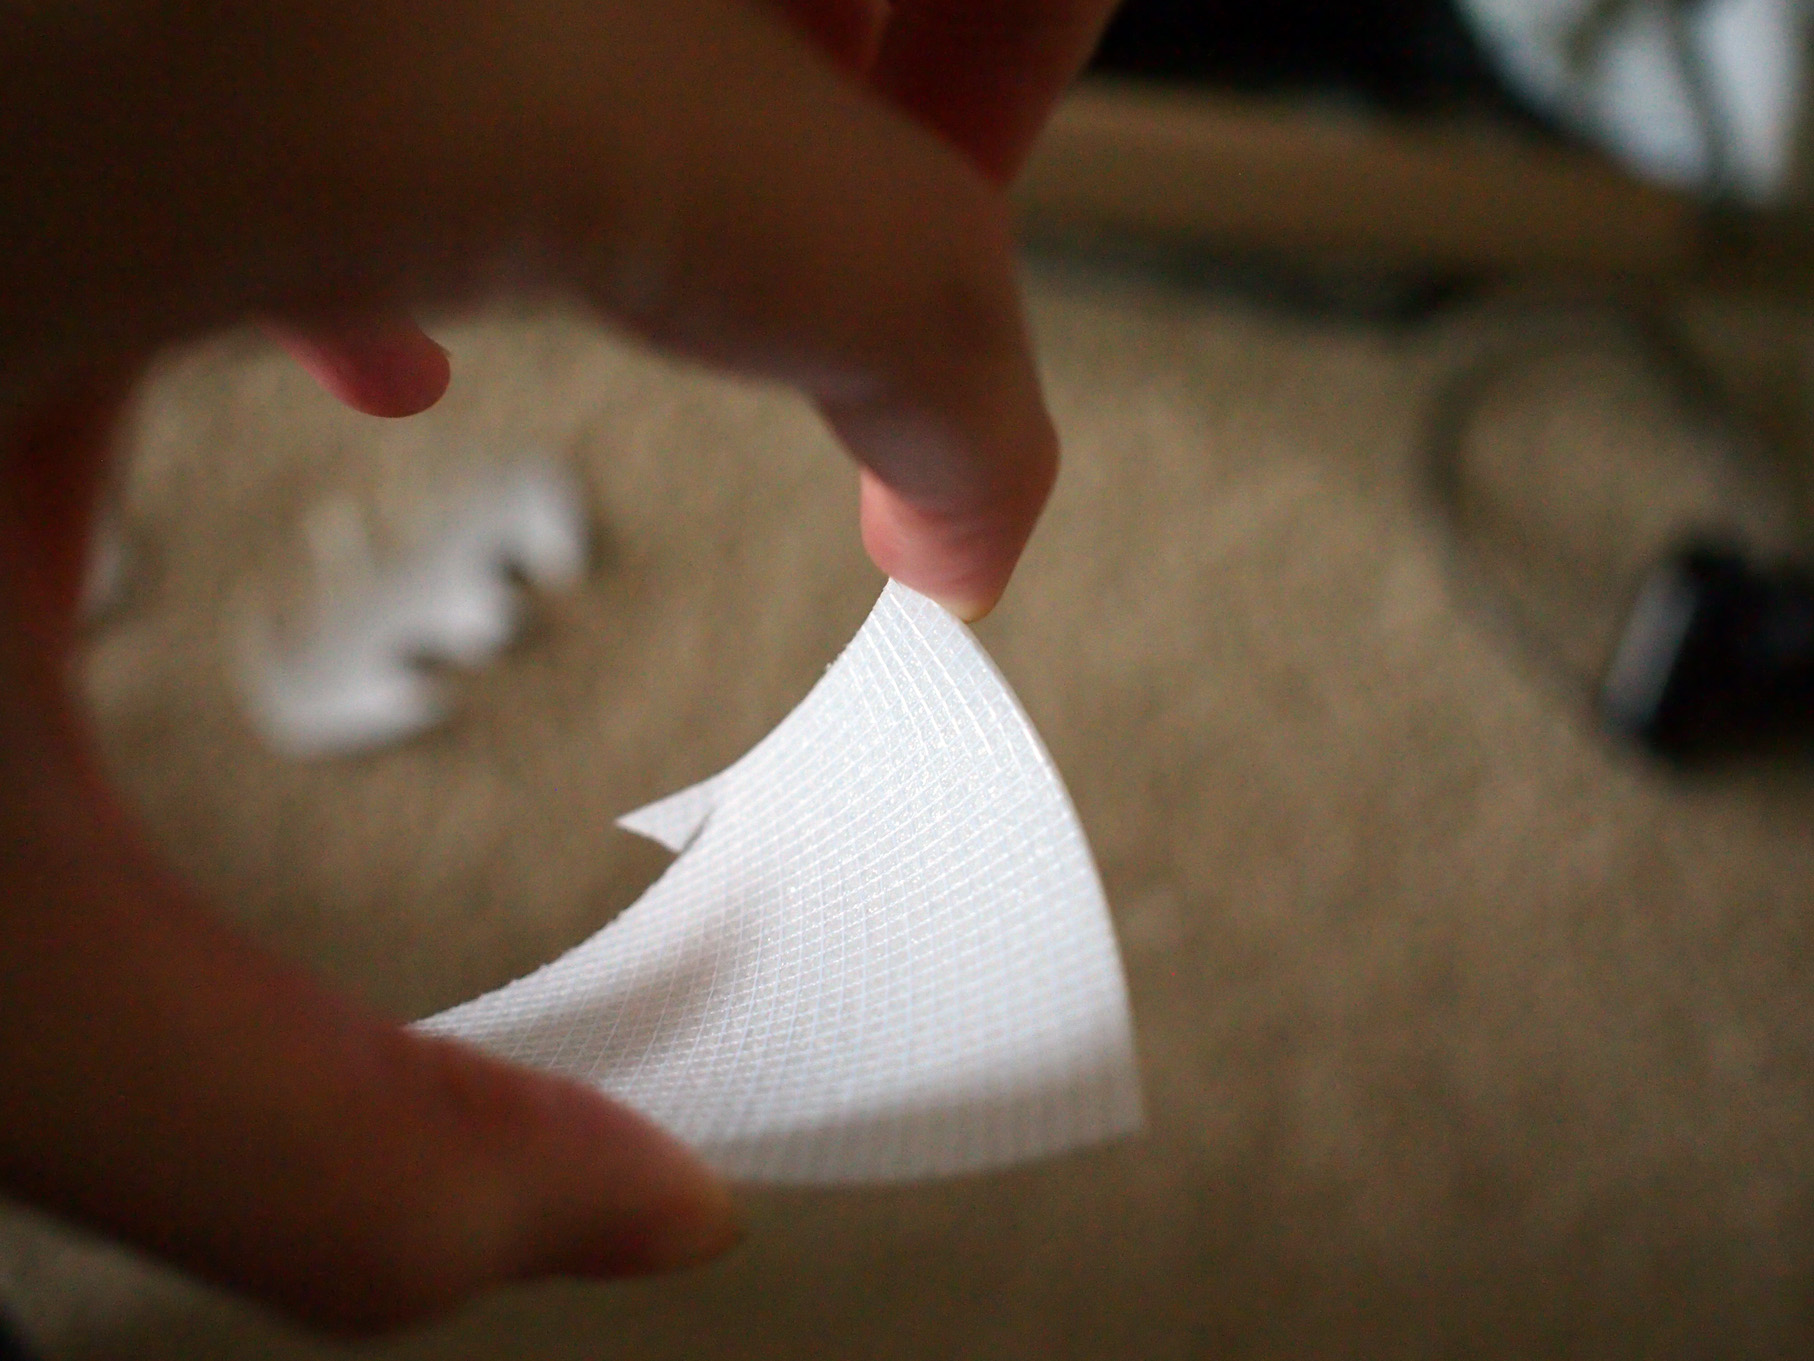
Once you have your template done, you’ll need to trace it onto your Wonderflex. Use a sturdy pair of scissors to cut out your shape.
Now comes the fun part. Take your heat gun and slowly start to heat up the Wonderflex. You’ll find that with heat it becomes kind of flimsy which means it’s mold-able. However, it doesn’t tend to get super hot, you can typically use your hands to shape it, but please use caution since you are using a heating tool.

Without Heat


After Heat
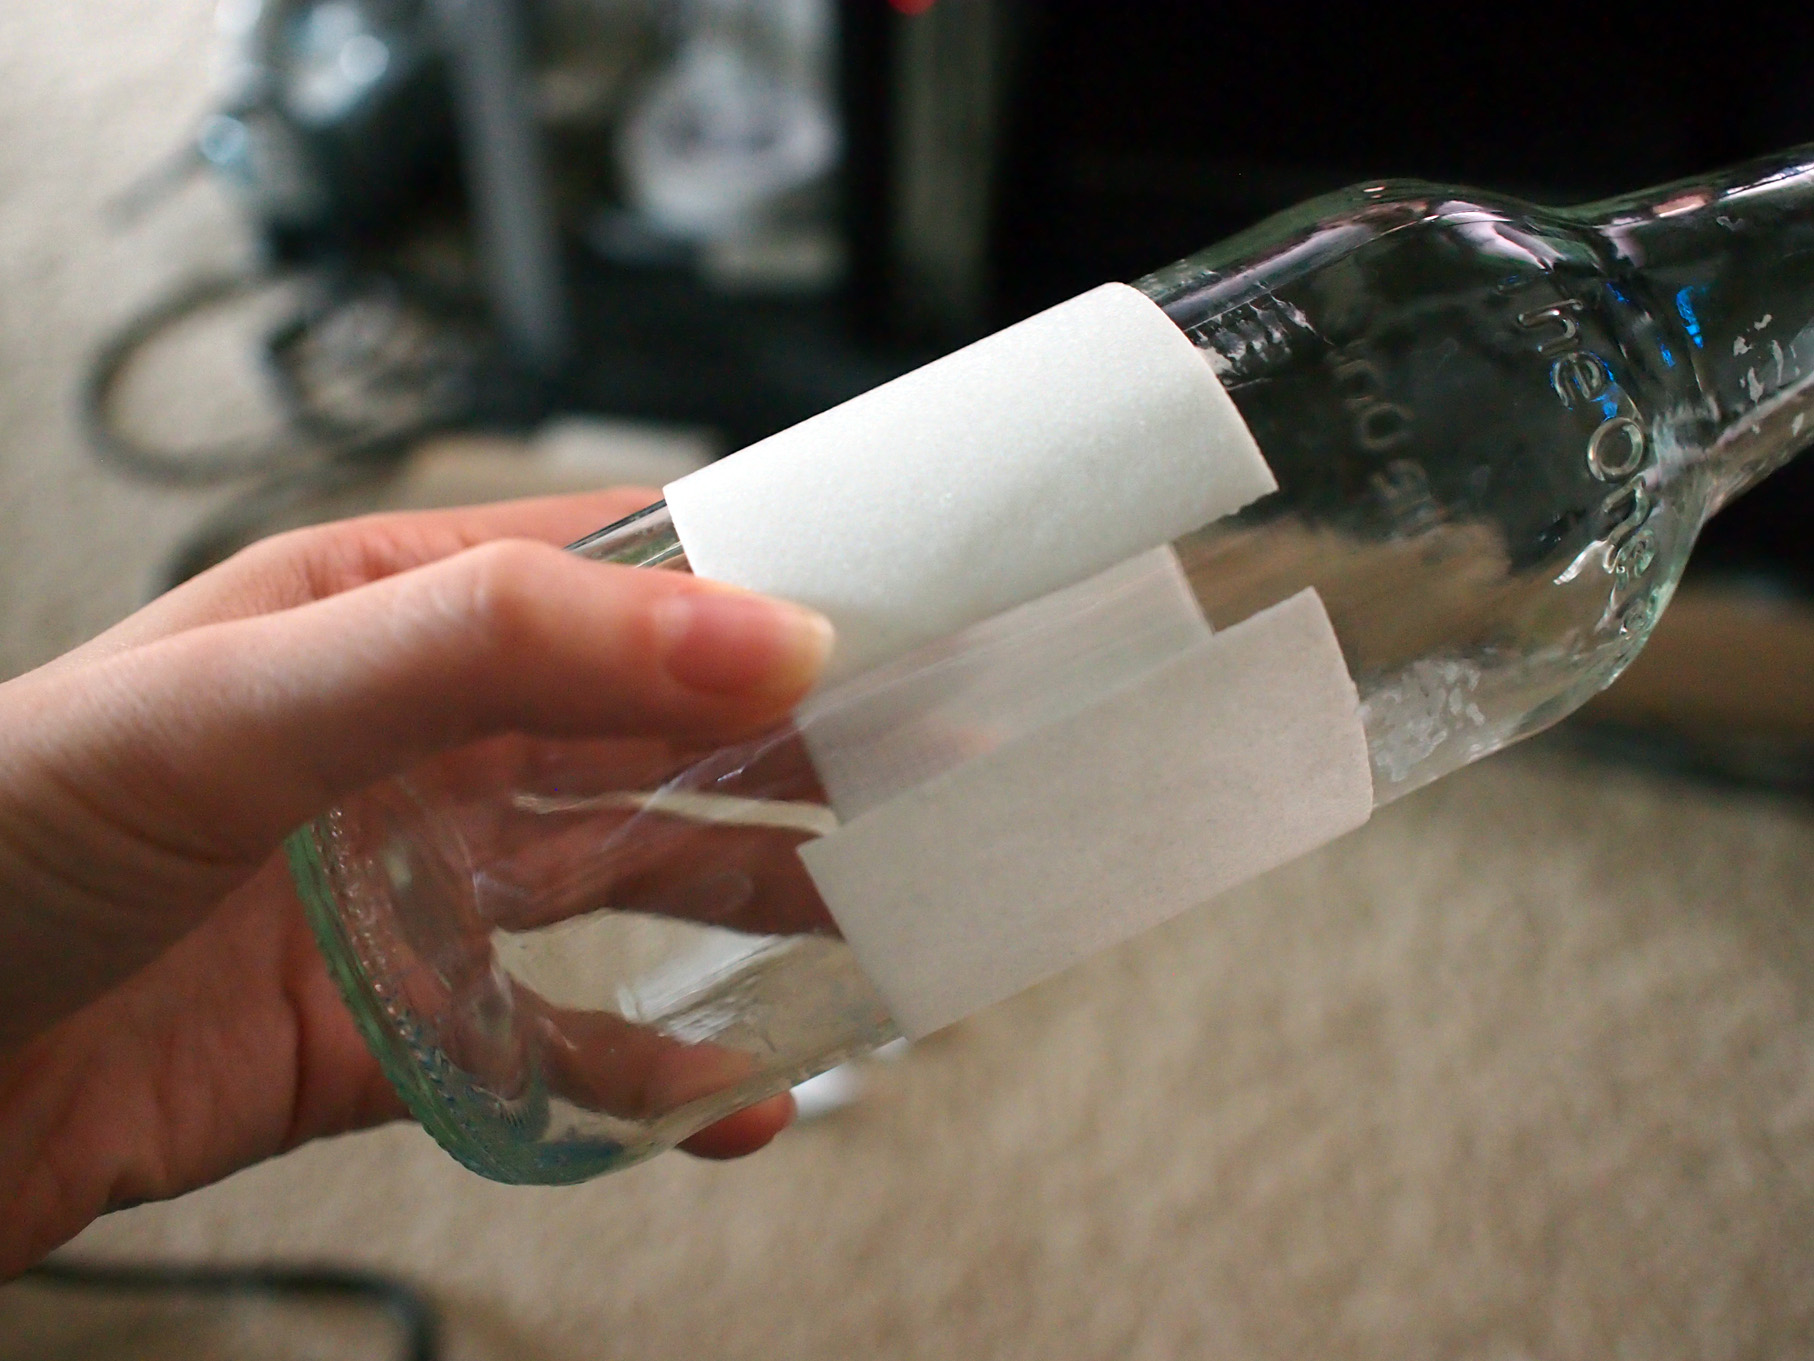
I decided to use a bottle to wrap around for the shape. If you find that one layer of Wonderflex isn’t strong enough, you can cut out a second layer for added thickness. The great thing is, you just have to heat up the pieces and push them together and they will “glue” themselves together.
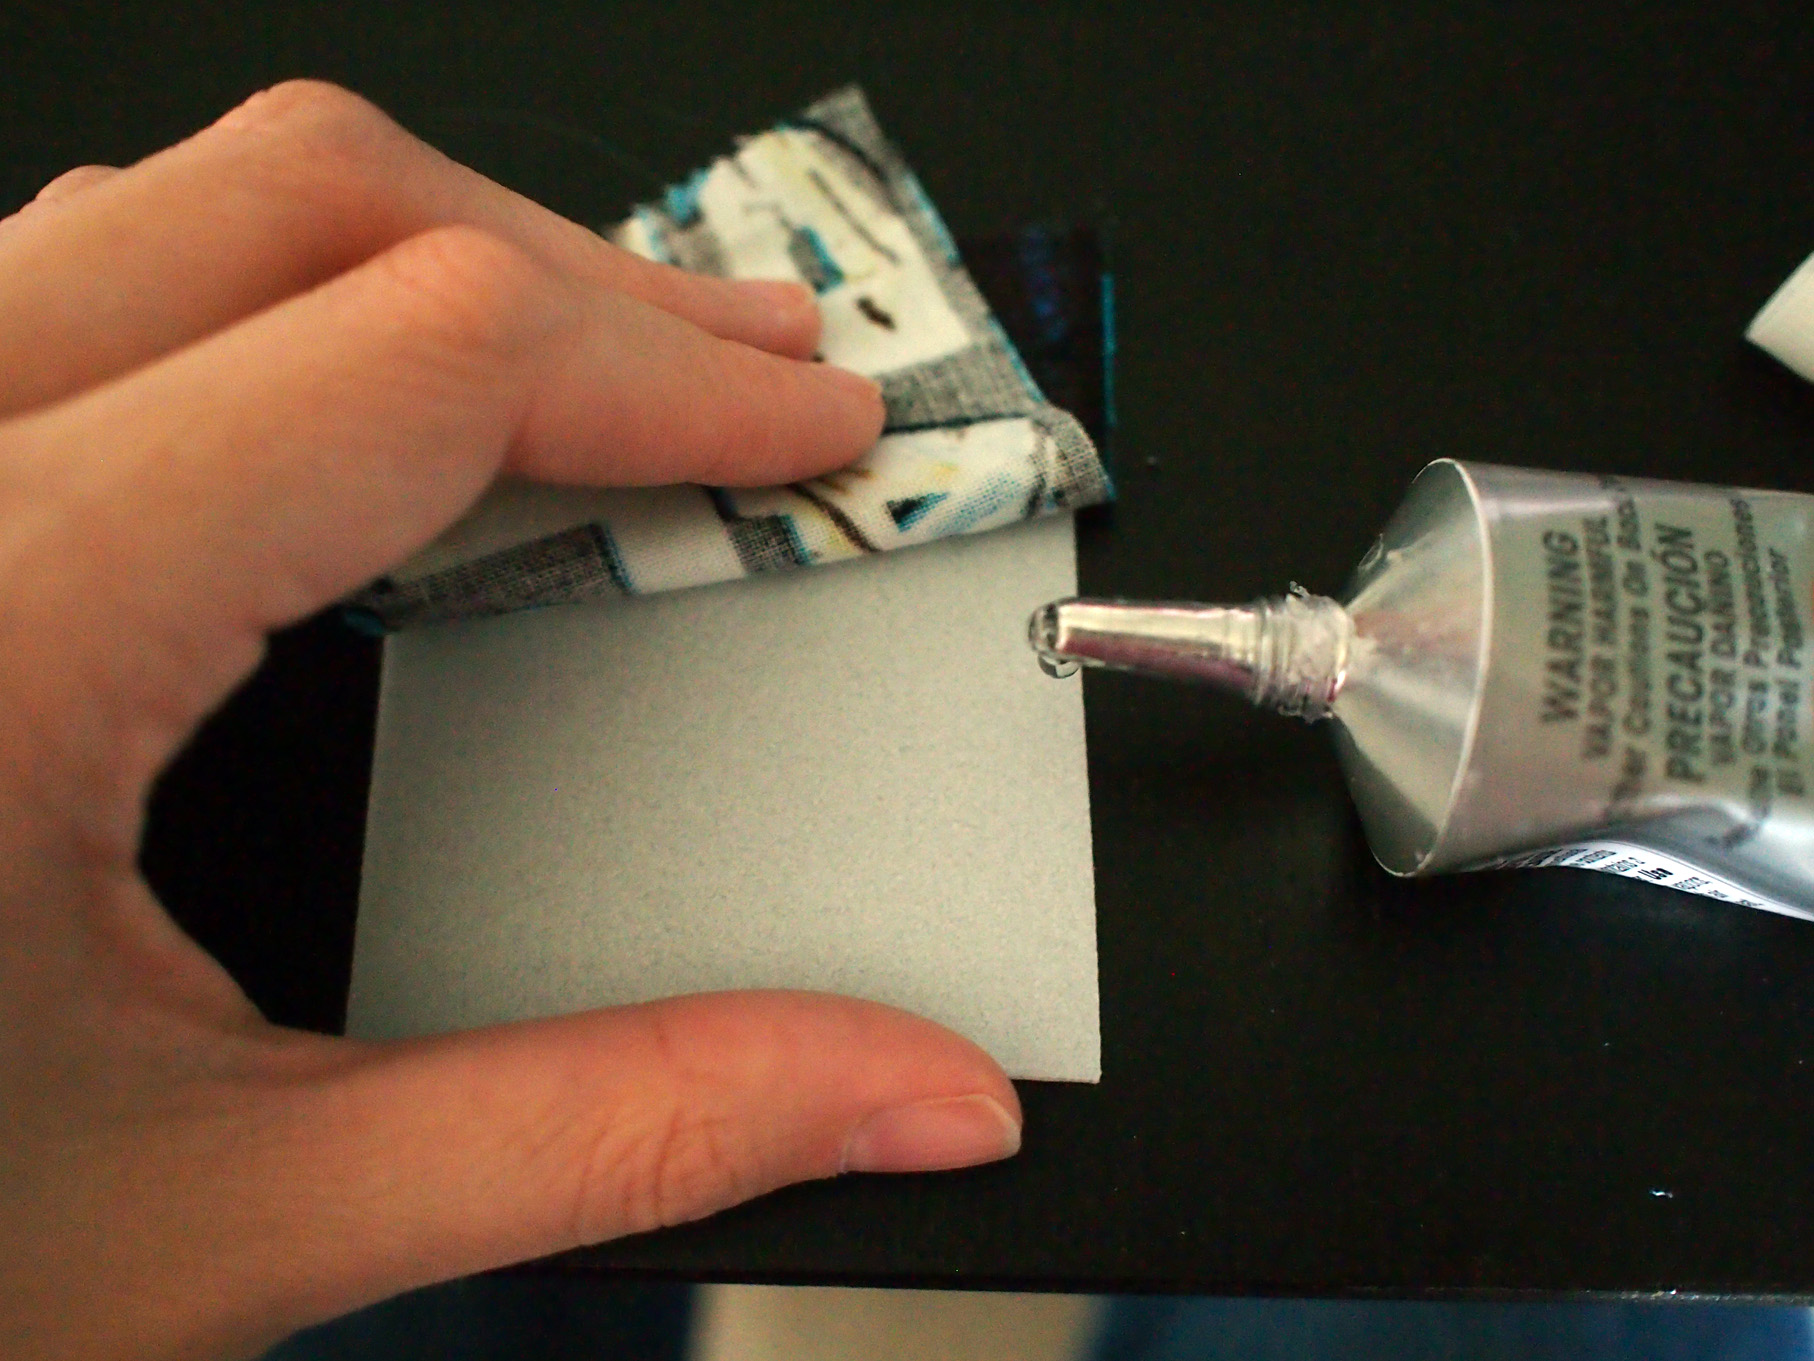
Once your Wonderflex has cooled down, you can remove it from what you were shaping it around. Now, for the fabric. The elasticity of your fabric will determine how it’s attached. If you have a stretchy fabric like spandex, you can just wrap it to the underside of your bracelet and glue that way. If it’s less stretchy, you may need to use glue on the front side.
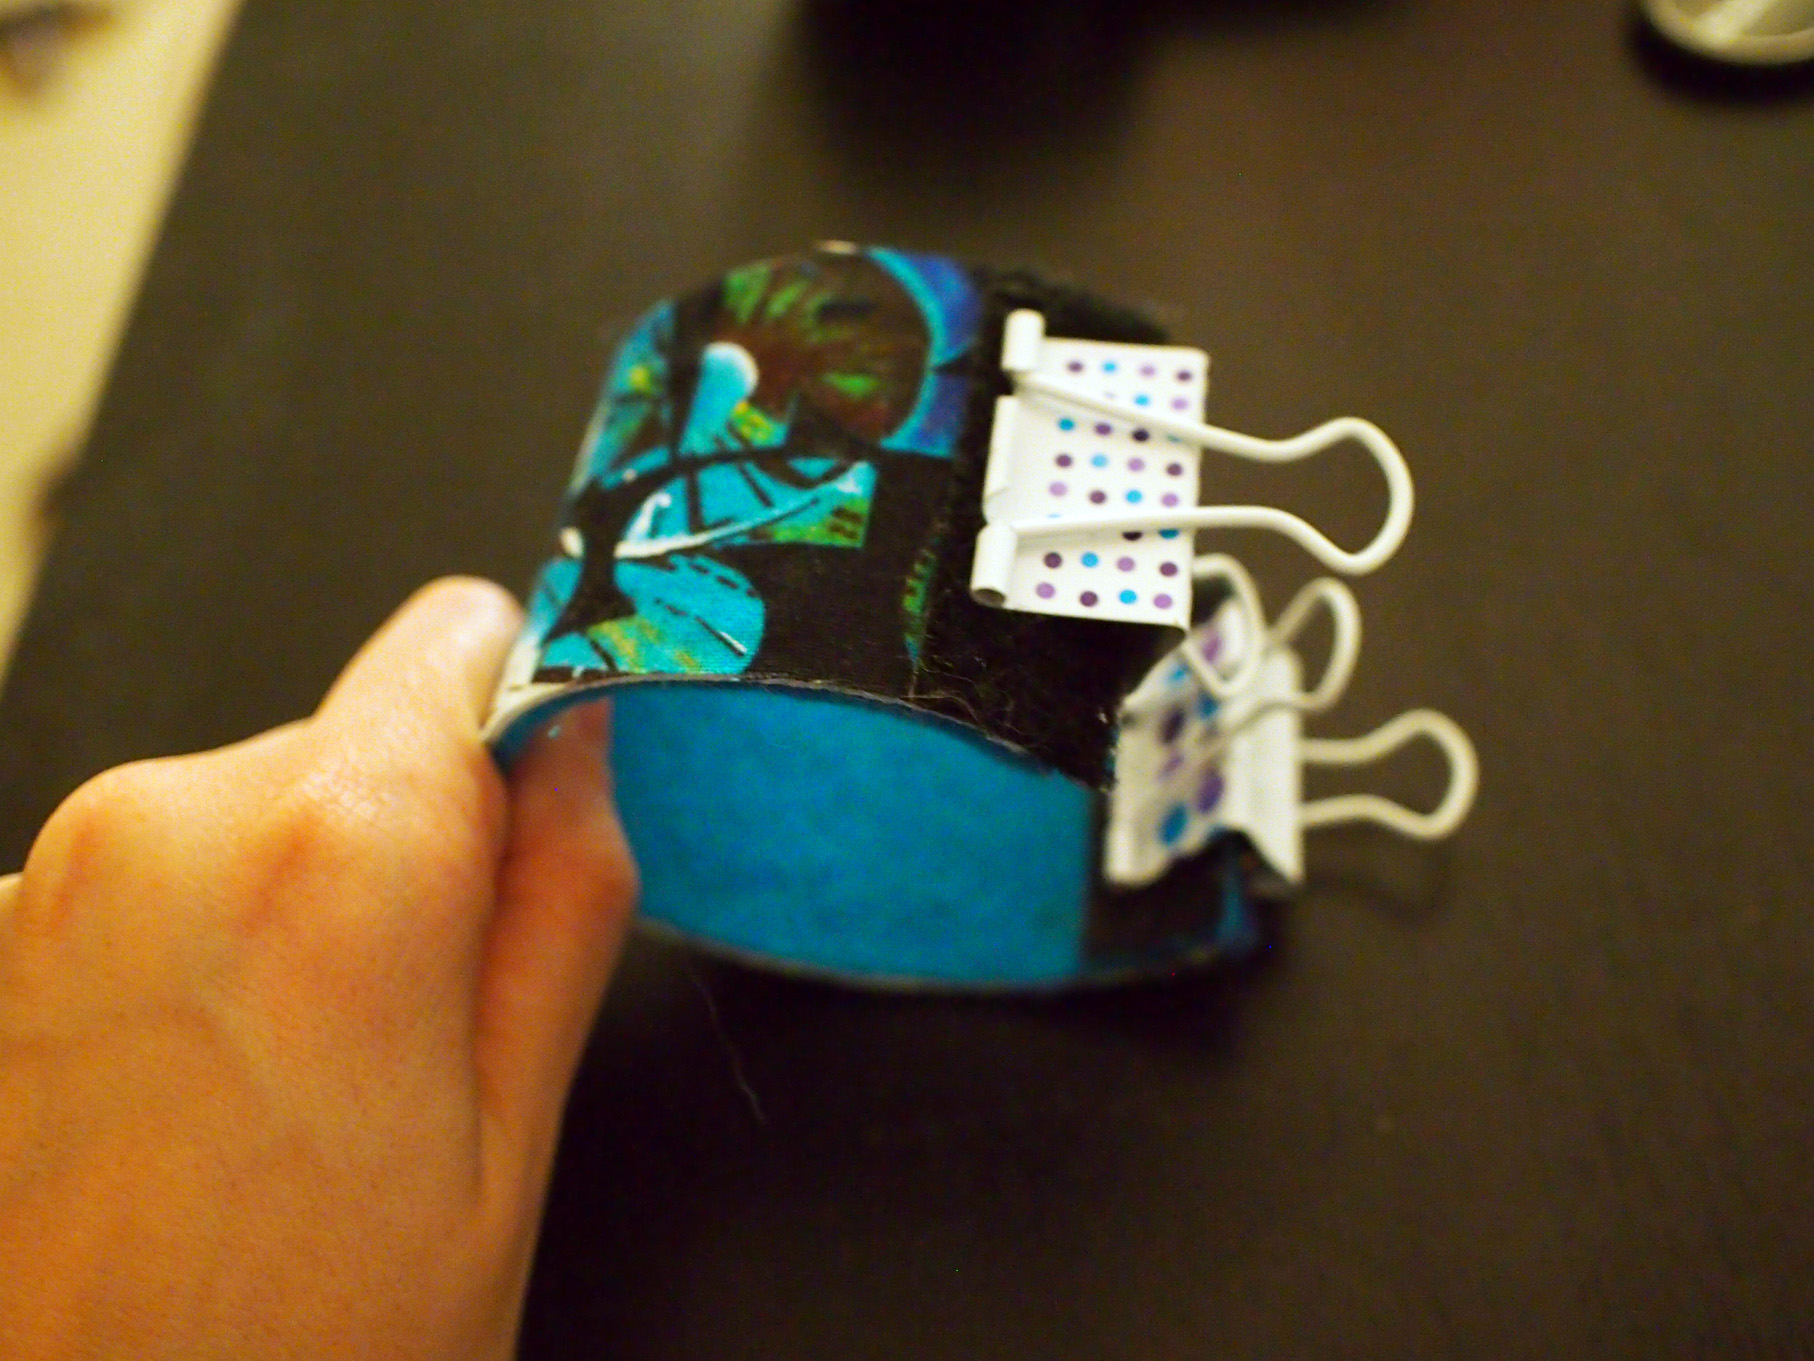
For the none stretchy fabric, I just added some e6000 around the edge of my wonderflex. You’ll want to make sure that you don’t use a hot glue for this because it will melt the plastic. After that, I used small binder clips around the edges so that the glue could set completely overnight.

To give my bracelet a more complete look, I added fabric to the underside.One thing I would probably have changed is made the fabric wide enough that I could wrap it to the backside. However, since I didn’t I just trimmed the edges before adding the fabric to the back.


Now, if you made a closed version bracelet, here’s when you would attach the velcro. I used a sticky back version since that’s what I had on hand, but you could also just use glue and regular velcro, similar to what you did with the fabric. I also binder clipped the velcro on to make sure it was secured to the fabric.
You can either call it done, or add some decorative elements like rhinestones or glitter if you want. Now you have a fun geeky bracelet!
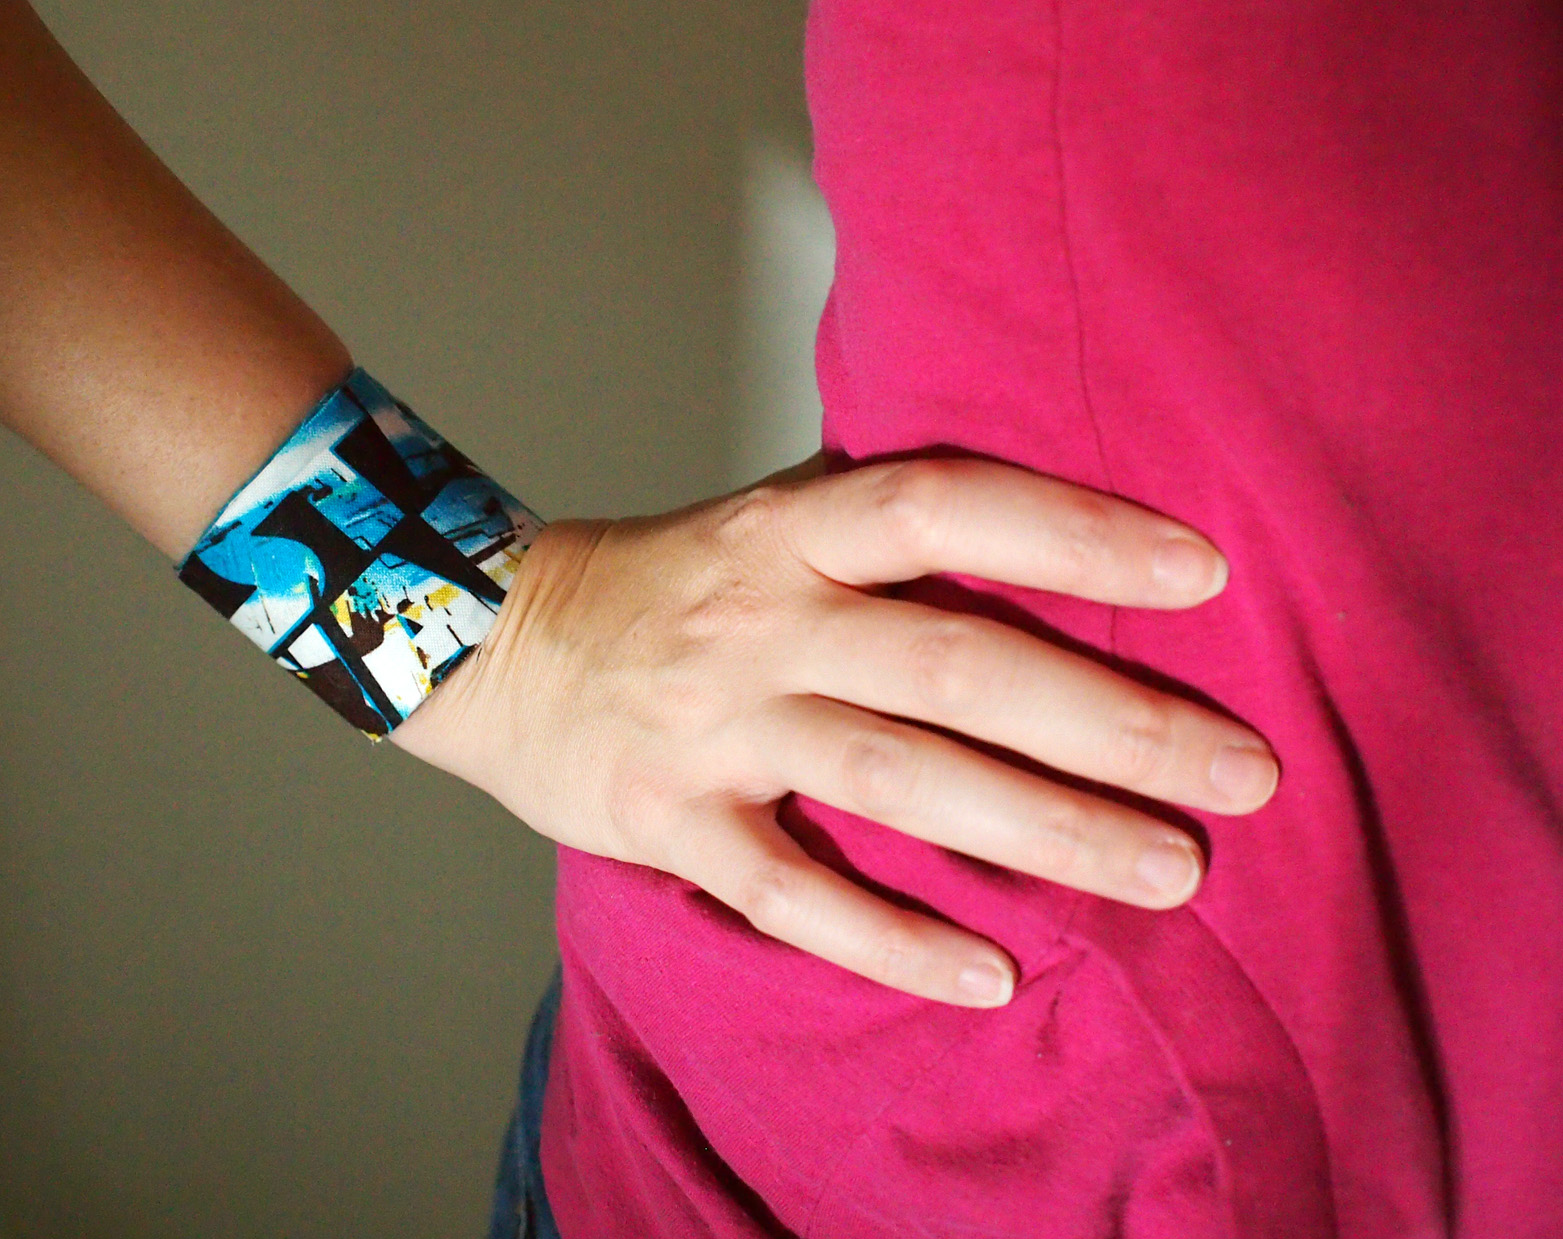
While this tutorial may not be applicable to everyone, I hope that it gives you ideas on what you can create with just items you have on hand. I plan on making a part two to this tutorial so you can really see why a thermoplastic might be a great was to make accessories.
One last thing! Today is the last day to enter the giveaways on both our Facebook Page and at this post. Thank you to all who have entered so far!


That’s so cool! I’m going to try that. Can you get wonderflex at the craft store or do I need to order it online?
You’ll definitely have to order it online. I ordered mine from here: http://www.dazian.com/product-details/?sku=Wonderflex+Super+White&variantSku=&categoryId=70&subCategoryId=86&catalog=Dazian because I wanted a larger sheet. However, you can also get smaller sheets or a sample to play with from here http://www.cosplaysupplies.com/wonderflex/
Hope that helps!
Love the cuff! Looks great.
Nice work….the staff of http://www.wonderflexworld.com enjoyed your “show & tell” …..nice photos